
I’ve spent many holidays living overseas and it’s always been exciting to see how other cultures celebrate. Except for Thanksgiving. Being an exclusively American holiday (sorry Canada, you don’t count) I always felt especially isolated and foreign when Thanksgiving rolled around. However, my Thanksgivings abroad have been anything but boring, and by far the most memorable ones ever. Read on for my accounts of getting trapped inside an ancient Italian castle, cooking a Thanksgiving feast for a crew in Italy, and the best Thanksgiving surprise in Manila. The common denominator has been my Auntie Linda’s pumpkin bread…be it baking one in Italy or eating one in Manila that had been shipped to me from half way around the world. So read on for the recipe for the only classic pumpkin bread you should ever bake. And this year I’ve been experimenting with grain-free baking, so bonus recipe…Paleo Pumpkin Bread!
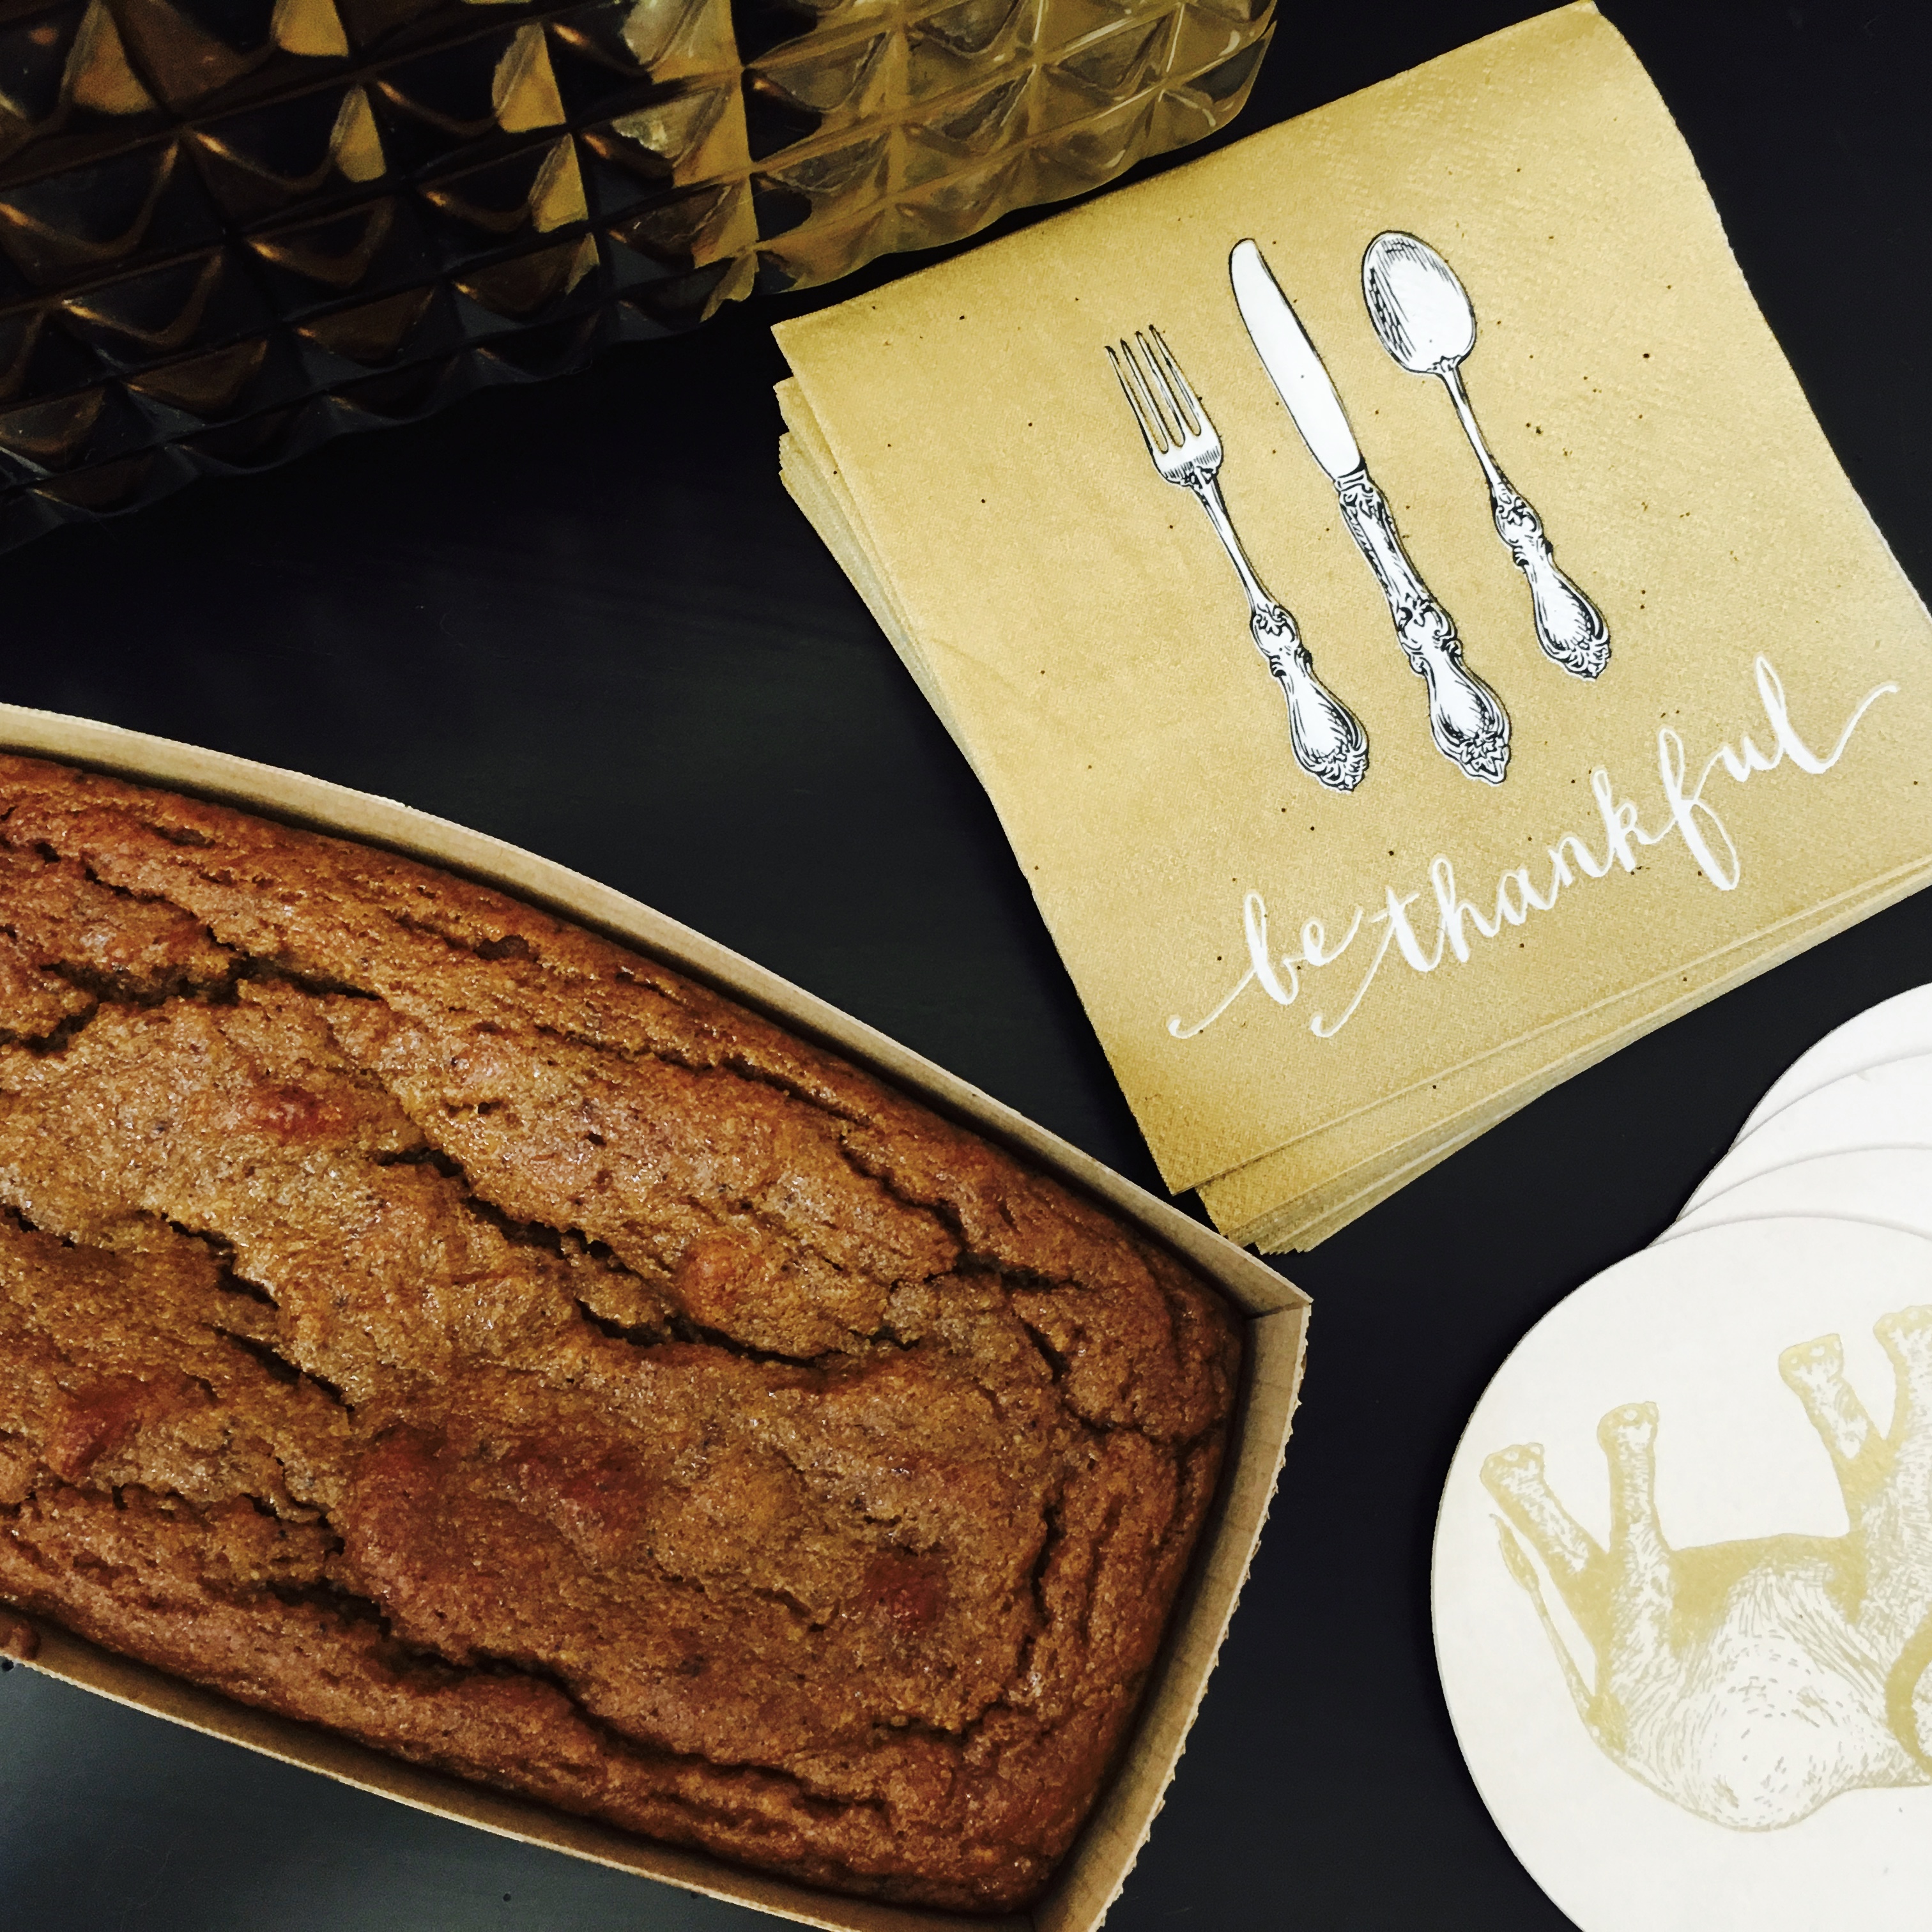
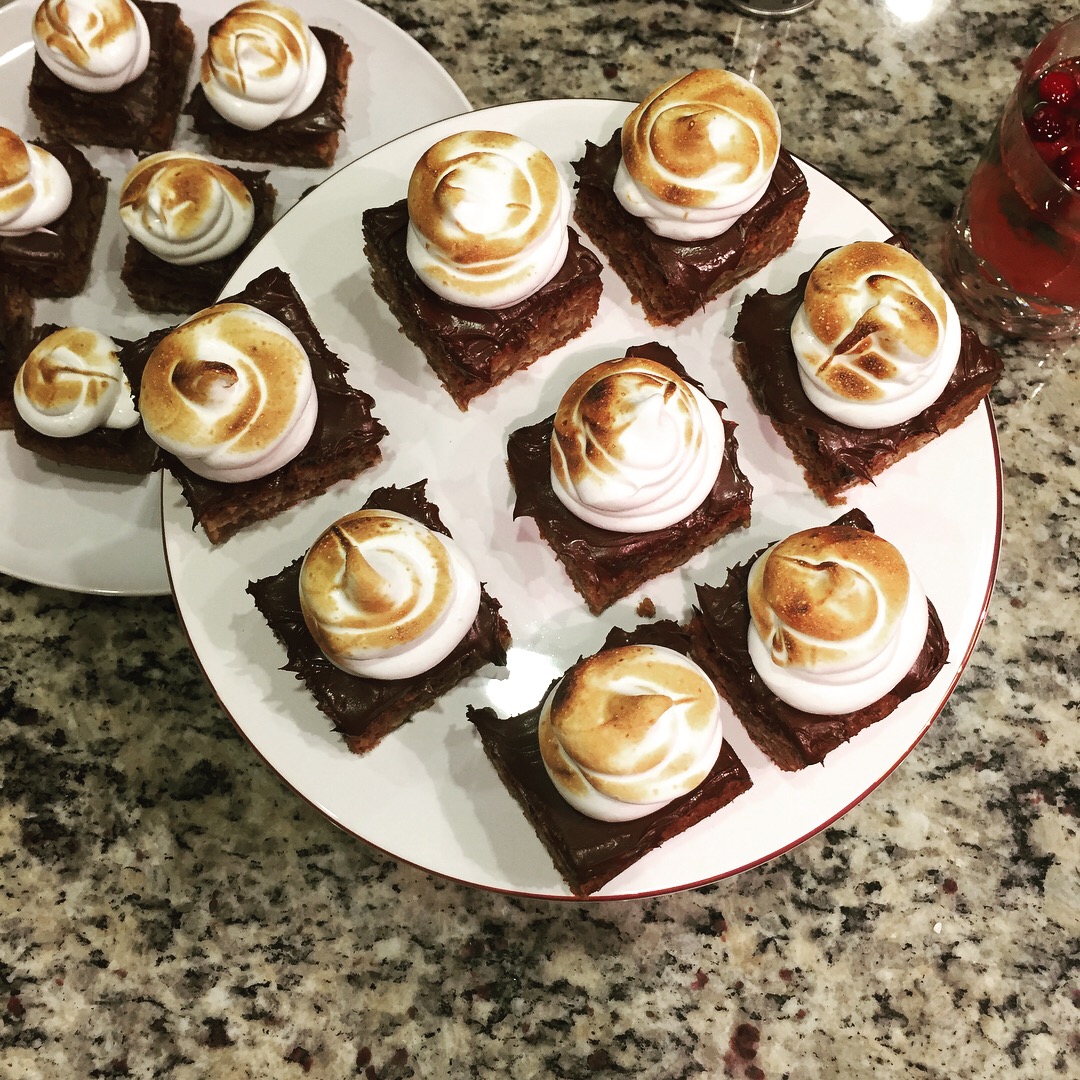
For as long as I can remember, one of the dishes I’ve looked forward to most each holiday is my Auntie Linda’s pumpkin bread. This pumpkin bread has ruined me from being able to enjoy any other pumpkin bread out there. It is incredibly moist but with a slight chewiness, and the sweetness is tempered by an intense pumpkin flavor and perfect blend of spice. Some loaves are flecked with walnuts, some with chocolate chips, and some left plain (for the pumpkin purists). Our family has been enjoying this treat since long before the dawn of America’s pumpkin craze/commercialization…did you know that the first day of autumn is no longer September 21, but it’s been officially changed to the day in August when Starbucks releases its pumpkin spice latte?
Growing up I’d always spend Thanksgiving morning helping my mom in the kitchen or setting the table (probably a bit begrudgingly) but would always get excited when tasked with slicing the pumpkin bread and putting it on a plate, as I got to nibble on any crumbs that “accidentally” appeared, while knowing that there’d be mutiny in my family if I dared take a piece before dinner was served! My cousins and siblings are equally obsessed, and we would always fight over the leftovers, savoring each bite, and reminding ourselves that more would be coming to another holiday soon (we now request it at Christmas and Easter!)
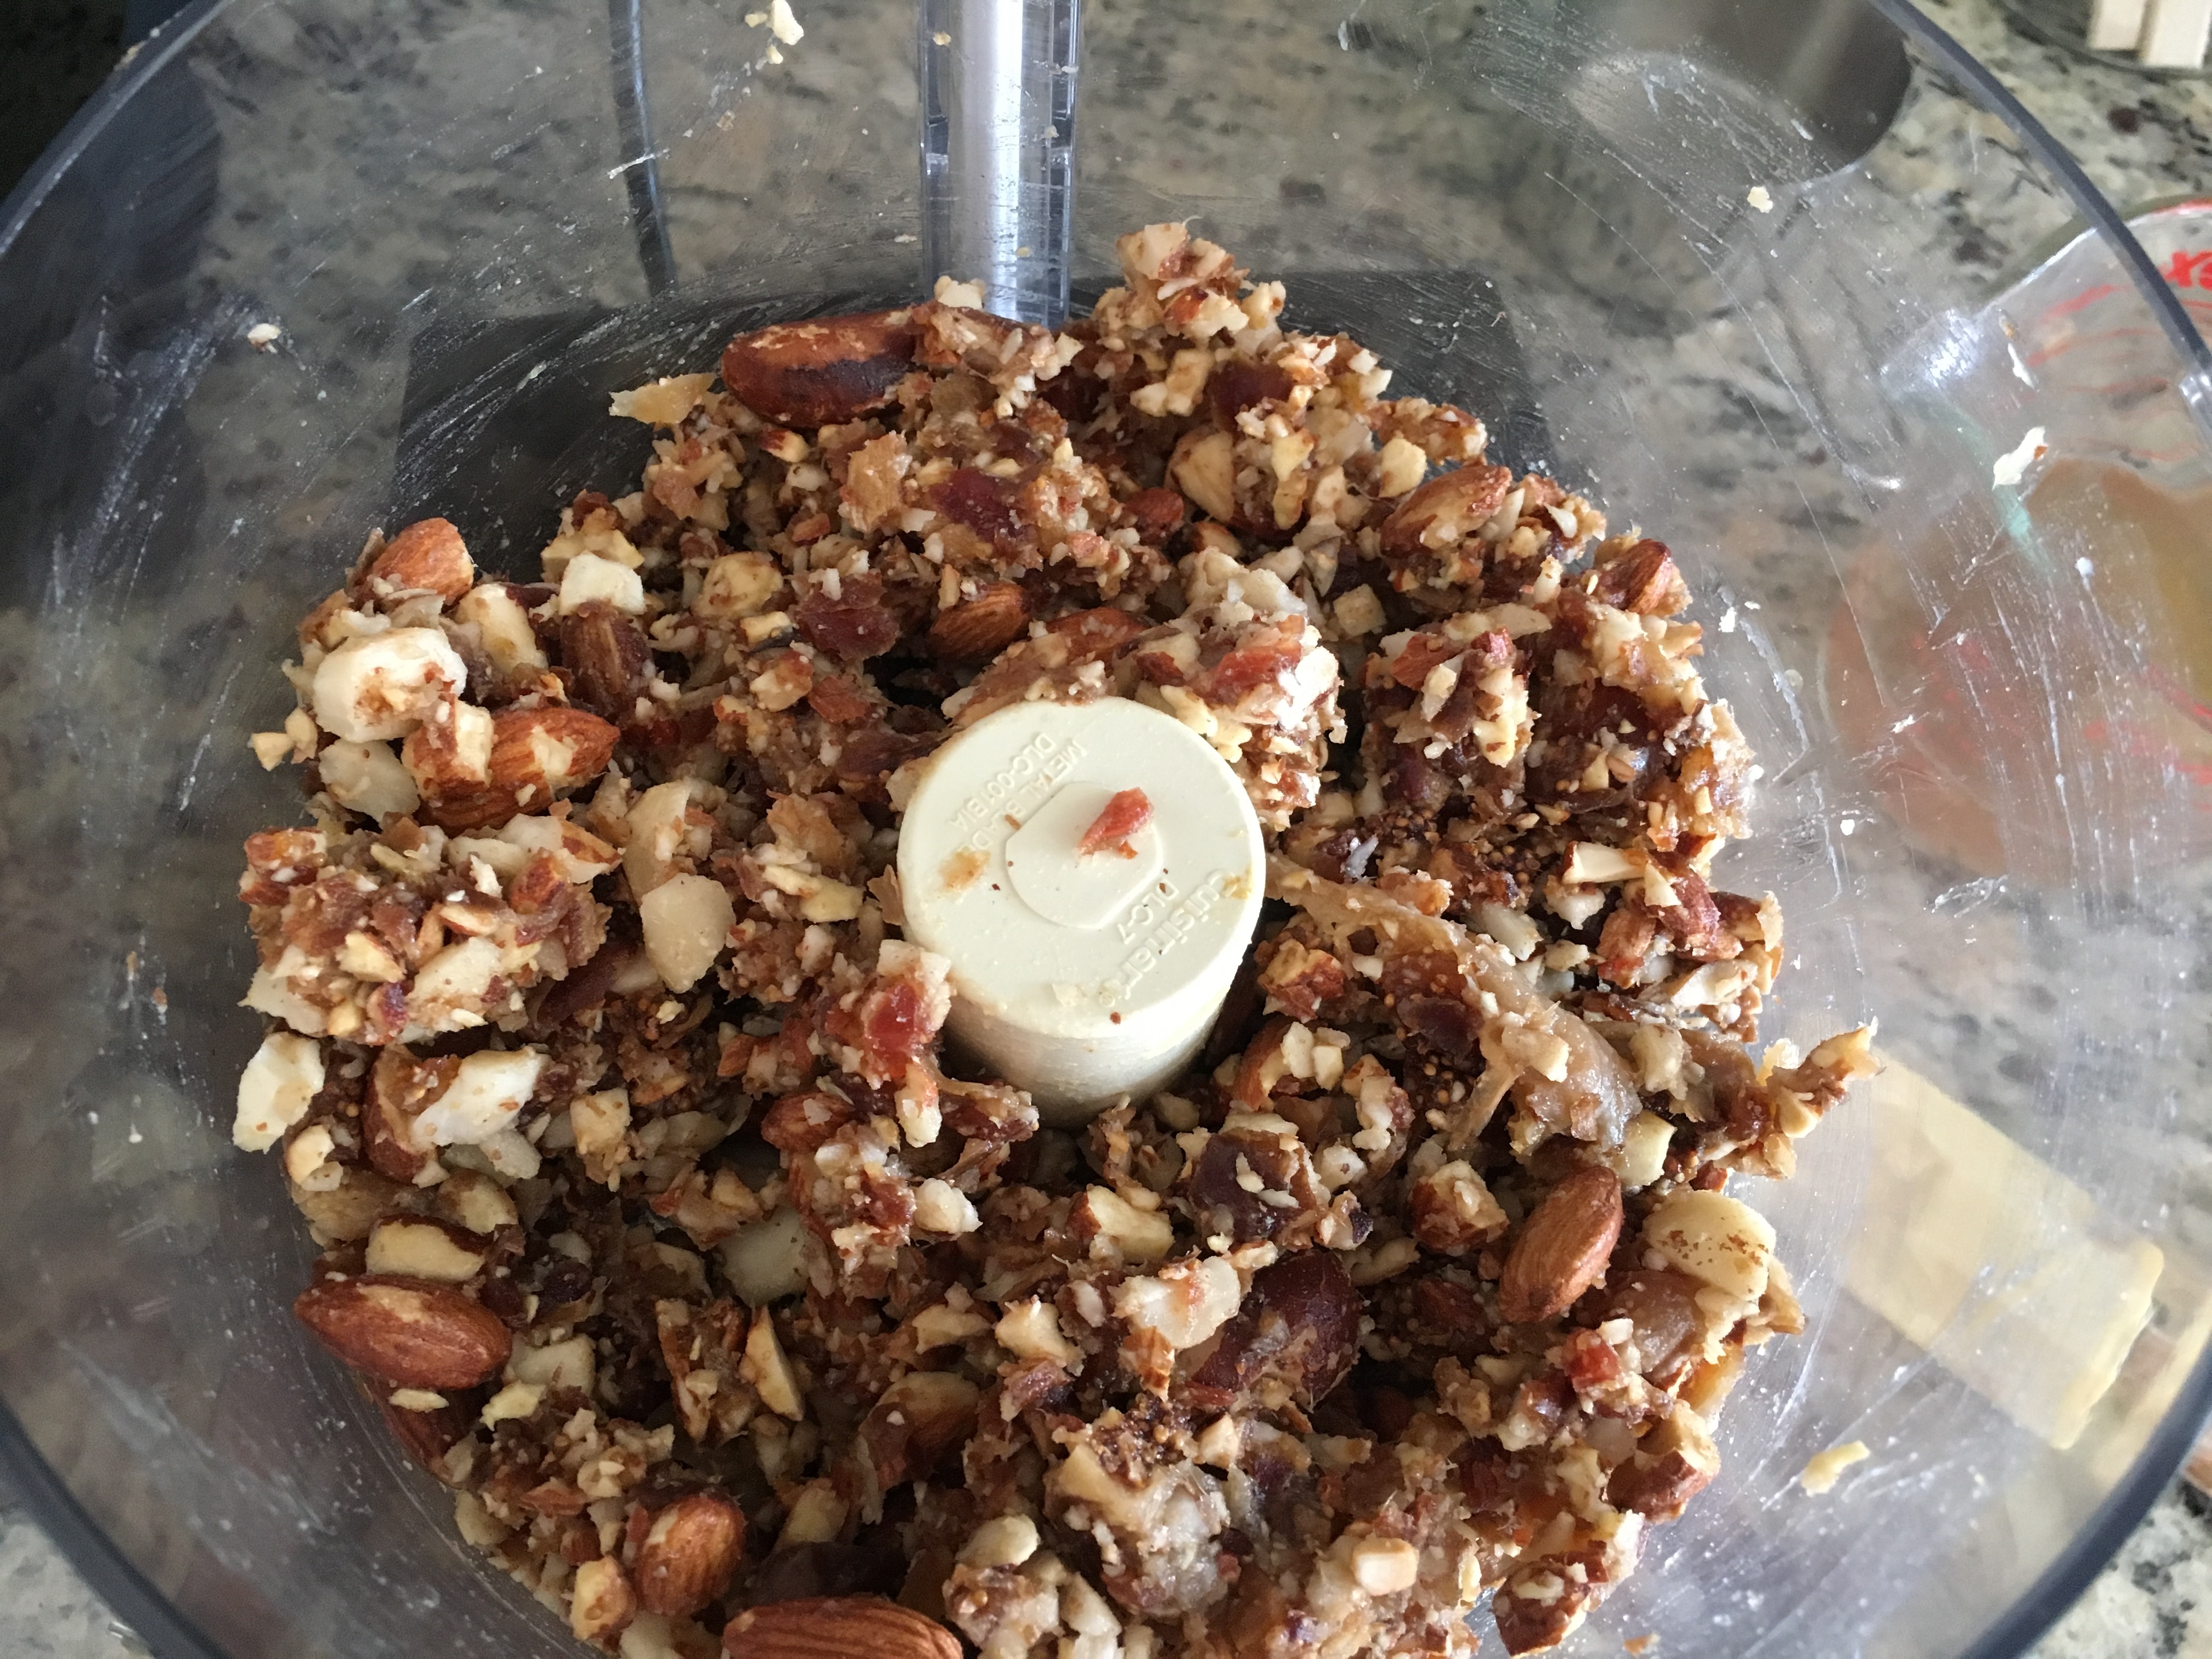
Our family is now scattered about, so when any of us can’t join the Ondrick/Rogers clan in Massachusetts we just bake the pumpkin bread ourselves. The first Thanksgiving I ever spent away from my family I was spending a semester abroad in Florence, and took a train to Nice to meet up with a college friend. I have a vivid memory of eating gingerbread gelato Thanksgiving night, as it was the closest I could get to the flavors of pumpkin spice. That experience in Italy is what made me want to become a chef, BTW! So fast-forward 5 years to my second time away for Thanksgiving, back in Italy but this time for culinary school! As the leaves started to turn and the air got crisp, I started to crave pumpkin bread. Fresh pumpkin was easy to find, but I couldn’t find canned pumpkin anywhere. So I bought a fresh pumpkin, cut it up, and cooked it in a cryovacked bag in my school’s steam oven. I then stayed late after class, joined by two classmates, to pass the pumpkin through a sieve, yielding a delicious creamy puree. We changed out of our uniforms and puree in-hand, attempted to head home. Now, our school was in an old castle with a 12 foot wrought-iron gate surrounding it. It was close to 8pm, and when we tried to leave, the gate was locked…we were trapped inside the school grounds! We went back into our building and looked for anyone who was still lingering or a janitor cleaning up from the day, but everyone was gone. Trying not to panic, we began searching for a way out, while periodically calling out for anyone who might hear us to come to our rescue. Finally we found a back entrance where the gate was only about six feet tall. We rallied our courage, threw our bags (and pumpkin) over first, and then helped to hoist each other over the gate! I made it home, baked two loaves in pans I borrowed from school, shared one with my class and kept the other for my roommate Christine and I to eat for breakfast. It was so worth almost having to spend a night sleeping in our school kitchen!
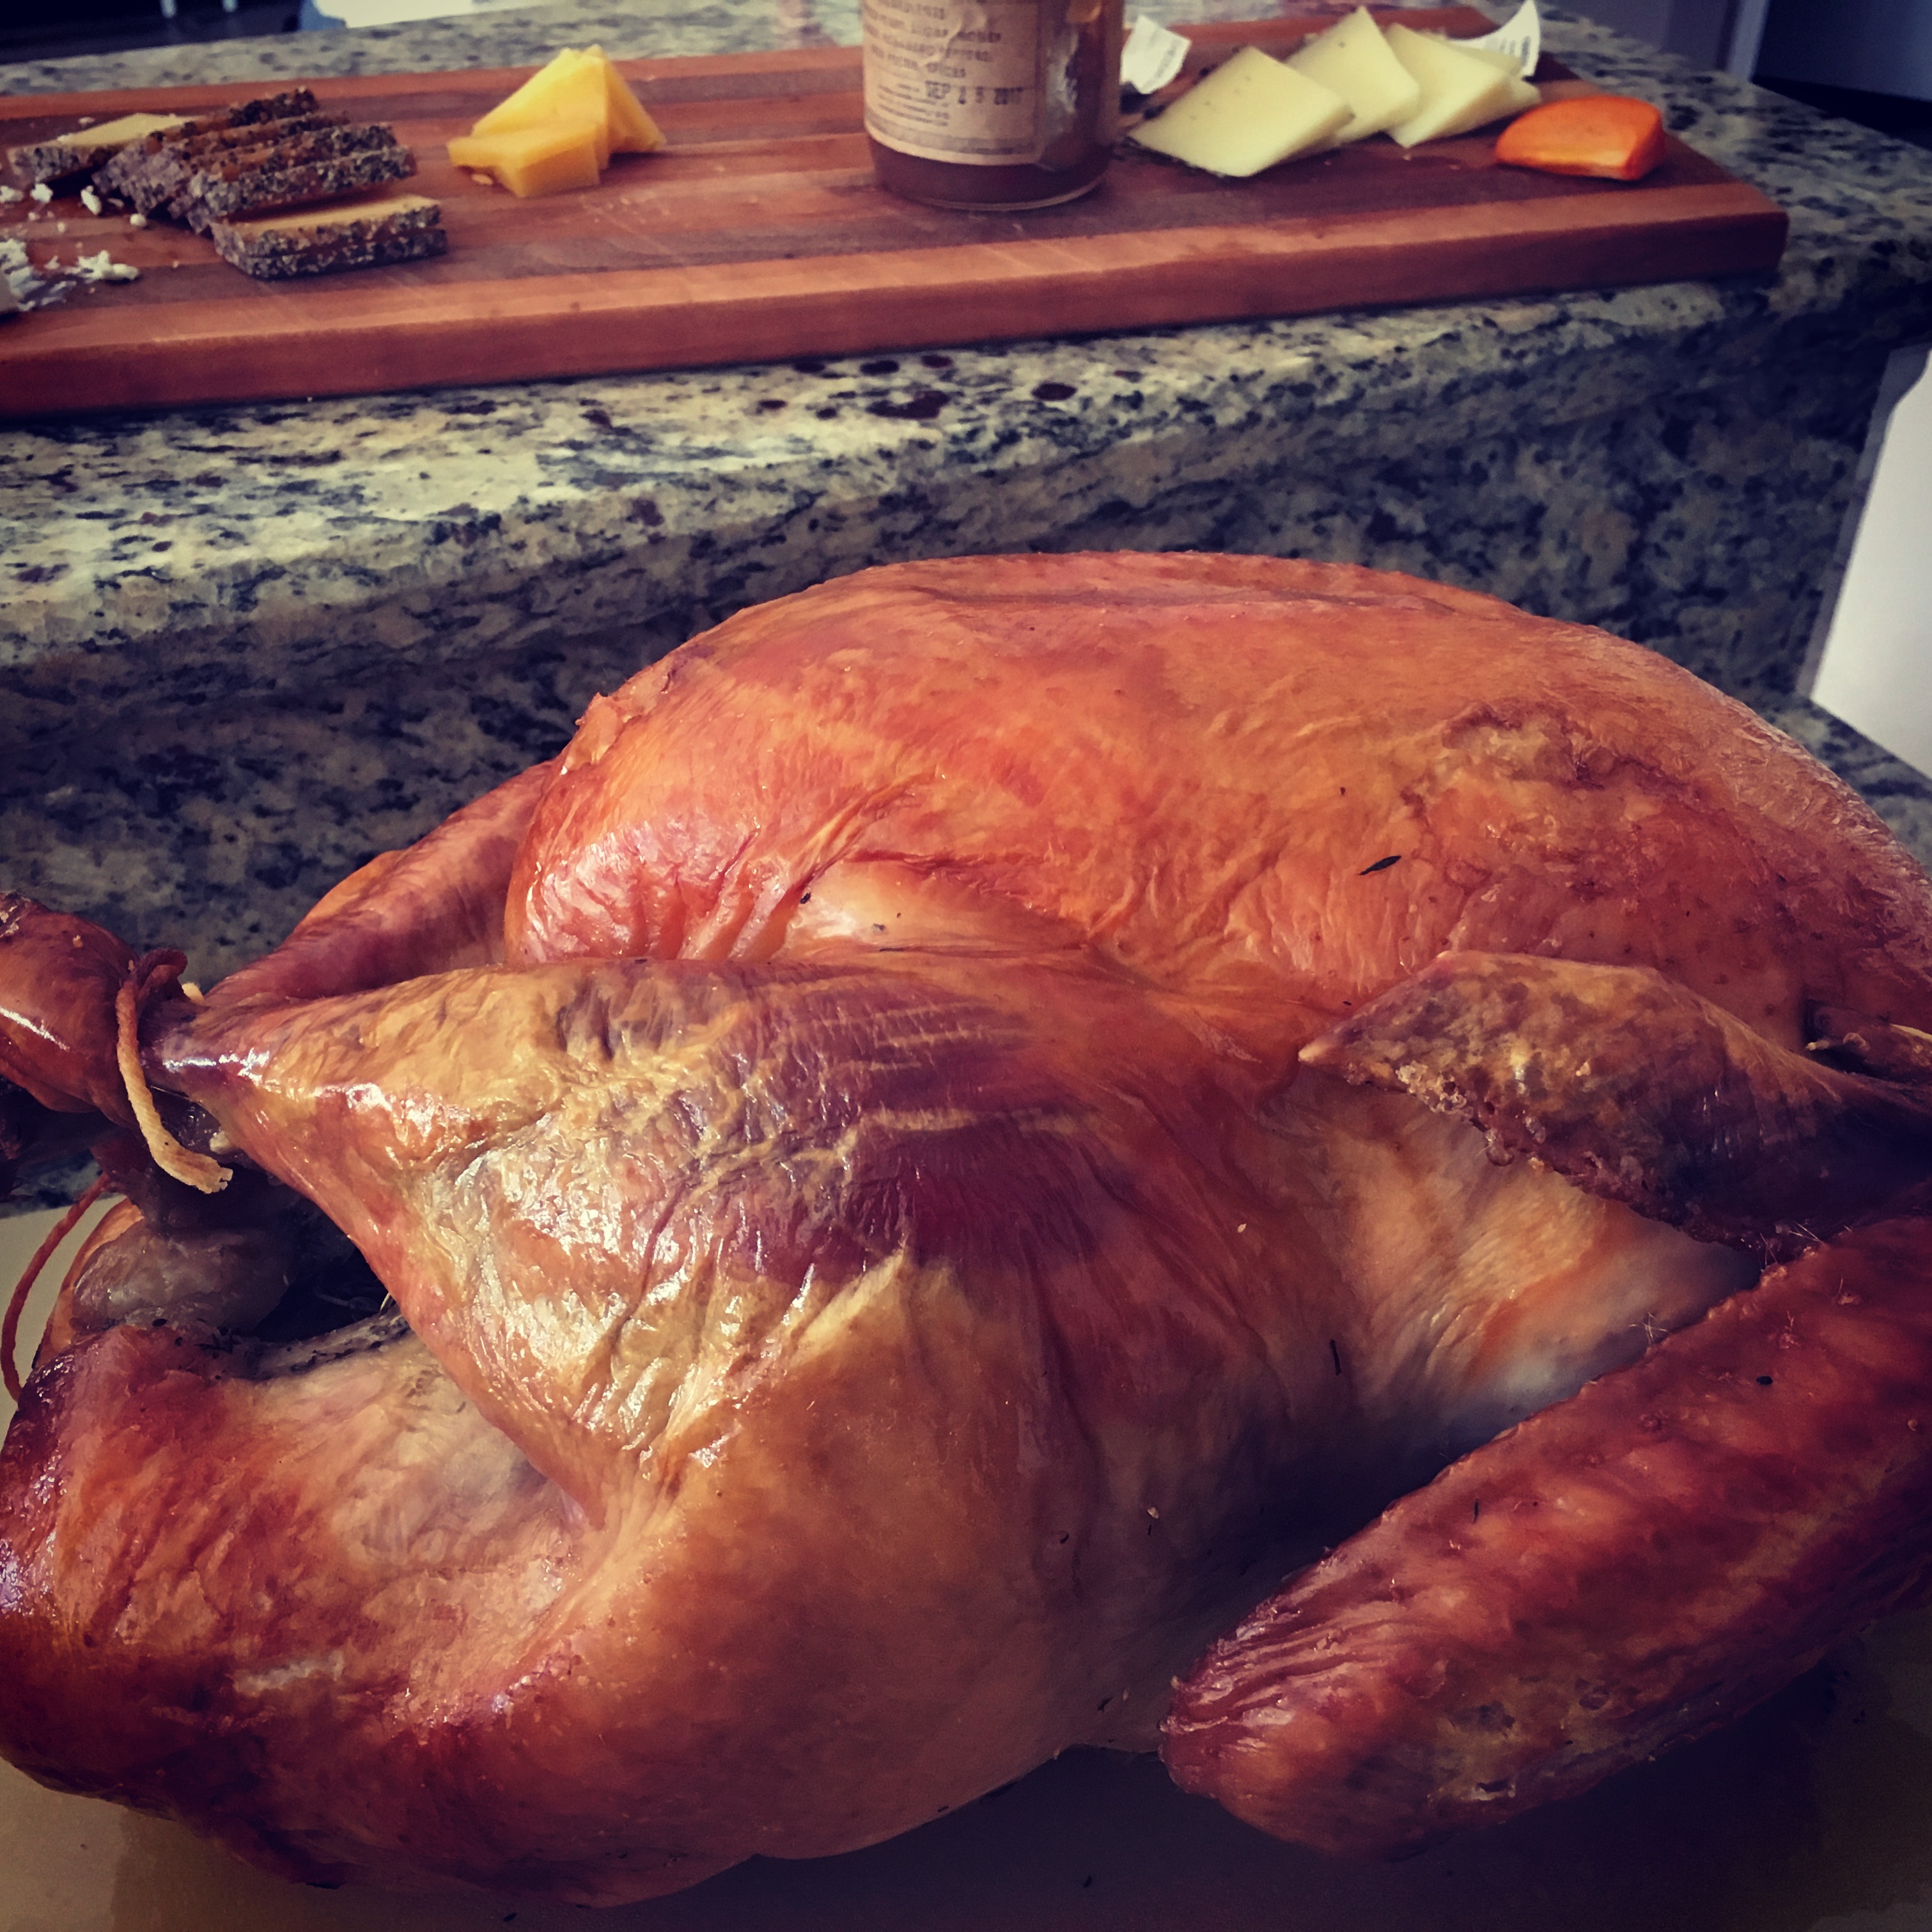
On the actual day of Thanksgiving that year, I had moved on from school and was staging at Ristorante l’Angolo d’Abruzzo in Carsoli, Italy. The restaurant owner, Lanfranco, asked if I wanted to cook a traditional Thanksgiving meal for the kitchen crew, and I excitedly agreed! The chef, Valerio, asked what ingredients I would need – turkey, potatoes, chestnuts, fresh currents (as a substitute for cranberries), apples, and of course – pumpkin. A few days before I was to cook this feast, Lanfranco informed me that the only turkey they were able to find weighed 30 pounds! This was out of the question, so the whole dinner was in jeopardy of not happening. I stayed optimistic, and the day before started preparing some items – currant “cranberry” sauce with orange and spice, dough for my apple crostata, pumpkin pie, and pumpkin bread. All the cooks scrunched their noses at the idea of a dessert made of pumpkin. “How can this be? Pumpkin in a cake? It makes no sense! Surely this can’t taste good!” I just smiled and thought, “they’ll see!” That night, Lanfranco still didn’t know if the turkey was going to arrive, but early the next morning I awoke to him yelling, “Ashley, la tacchino e arrivata!” The turkey had arrived! I jumped out of bed, threw on my clothes, and ran down into the kitchen. I examined the turkey – it was about 15 pounds and a real looker. I made a stuffing with roasted chestnuts and apples and got it into the blast chiller so that I didn’t give us all food poisoning (never stuff a cold bird with hot stuffing!) I got the turkey stuffed and into the oven, then made an apple-mock mincemeat crostata with an almond crumble, buttery herb biscuits, and mashed potatoes. The sous chef, Manuel, was supposed to come in and help me, and when he finally strolled into the kitchen later that morning all he cared about was seeing where the turkey was stuffed…nel cullo! Lanfranco had invited a bunch of friends over, and I was now feeding a group of 20! He uncorked some wine as I brought out all the dishes, serving them family style, and then Valerio attempted to carve the turkey. He was looking at it like it was a foreign object, and before he butcher the poor bird, asked if I’d carve it instead. They all sat in amazement as I removed the legs and wings, carved the breast, and then the dark meat. The meal was a hit! When it came time for dessert, I whipped up some cream and served a small slice of each of the three tortas. This was a tough crowd, and lets just say that I don’t think America’s obsession with pumpkin sweets will ever catch on in Italy. But everyone cleaned their plates! That Thanksgiving is definitely one I’ll never forget.
Three years ago I spent Thanksgiving in Manila. As the warm summer turned to fall in the US, July to November is rainy season in the Philippines thus it had been hot, humid, and rainy since I arrived in July. But without any change in seasons to spark my pumpkin cravings, it happened anyway! I’ll blame it on social media, since pretty much all my Instagram and Pinterest feeds are food-related. One day while browsing the grocery store shelves (one of my favorite activities) I found a lone can of Libby’s pumpkin! I was so excited, but on further inspection I found the can dented and dirty, and the expiration date told me it had been sitting on the shelf since last year. I acquiesced to living without pumpkin for a year, and besides, our condo didn’t have an oven. Shortly after, my amazing cousin Lily told me she wanted to send me a package and asked what I’d like. I immediately responded, “pumpkin!” She mailed the package the beginning of November, and three weeks later when it still hadn’t arrived I started to worry. I prayed all week that it would arrive by Thanksgiving so that I’d have some taste of home. Wednesday evening while at work I received a notification that my package was ready to be picked up at the post office! I would be picking up my package on Thanksgiving! Thanksgiving morning I received a sweet email from my Auntie Linda, telling me that she was baking away…pumpkin bread, sweet potato casserole, and she even sent a picture of a loaf in an adorable pumpkin patch pan sent to her by…Lily! I loved the email and could smell the sweet spice from her kitchen as I read it. But man, did it make my mouth water for some pumpkin bread. I think I was craving that more than any other Thanksgiving food. I decided that I would request it at the next holiday I spent at home, and tried to put it out of my mind. Penny and I went to the post office to pick up my package, dodging Jeepney’s and the other wild motorists. I couldn’t wait to open it and found it filled with pumpkin goodness – pumpkin spice coffee, pumpkin crackers, and something wrapped tightly in tinfoil and plastic. As soon as I began to open it, I was hit with the unmistakable aroma…it was Auntie Linda’s pumpkin bread!! Lily had baked me a loaf, brimming with chocolate chips that helped keep it moist. I broke into it with my bare hands, with the biggest smile on my face, savoring every bite. It didn’t matter that it was now three weeks old, and had traveled half way around the world. This pumpkin bread is the best!! My first thought was that I couldn’t let anyone know about my treasure. I would take it back to my condo, and slowly eat it over the next week (or who am I kidding, eat half of it that night for Thanksgiving dinner!) But the more I thought about it, the more I knew that I would enjoy it most if I shared it with others. That’s what I love about being a chef – sharing meals together and seeing the delight on people’s faces when they are enjoying good food.
All night I kept smiling when I thought of this recent series of events…going from missing my family and our Thanksgiving feast, to my amazement and delight when I opened Lily’s package and found the pumpkin bread inside. These are the moments when there is no denying that not only is there a sovereign God who makes null coincidence, but that he is intimately in tune with all our needs, and loves to delight his children. “And I pray that you, being rooted and established in love, may have power, together with all the saints, to grasp how wide and long and high and deep is the love of Christ, and to know this love that surpasses knowledge – that you may be filled to the measure of all the fullness of God.” (Ephesians 3:17-19) One of my favorite verses, and was part of that day’s devotional!
My breakfast the next morning consisted of a hunk of pumpkin bread and a steaming mug of pumpkin spice coffee. I then cut the loaf into pieces, just like when I was a kid helping my mom on Thanksgiving morning, left a piece for my roommate, and brought the rest into work with me. As I unwrapped the loaf in my office, I shared with my co-workers the story of the pumpkin bread, how it’s my Aunt’s recipe that we have at every holiday – a family favorite, and how my cousin had baked this and shipped it all the way from the US to Manila. Together we finished every last bite, and they kept exclaiming, “masarap!” which means, “delicious!” Don’t be surprised if the pumpkin craze does catch on in the Philippines!
I love that we have a whole day devoted to giving thanks. It doesn’t matter where we are or who we’re with, what we’re eating or what circumstances we find ourselves in, there is always a reason to give thanks! And I’m making it really easy…here are two reasons to give thanks…the best ever classic pumpkin bread and Paleo pumpkin bread!
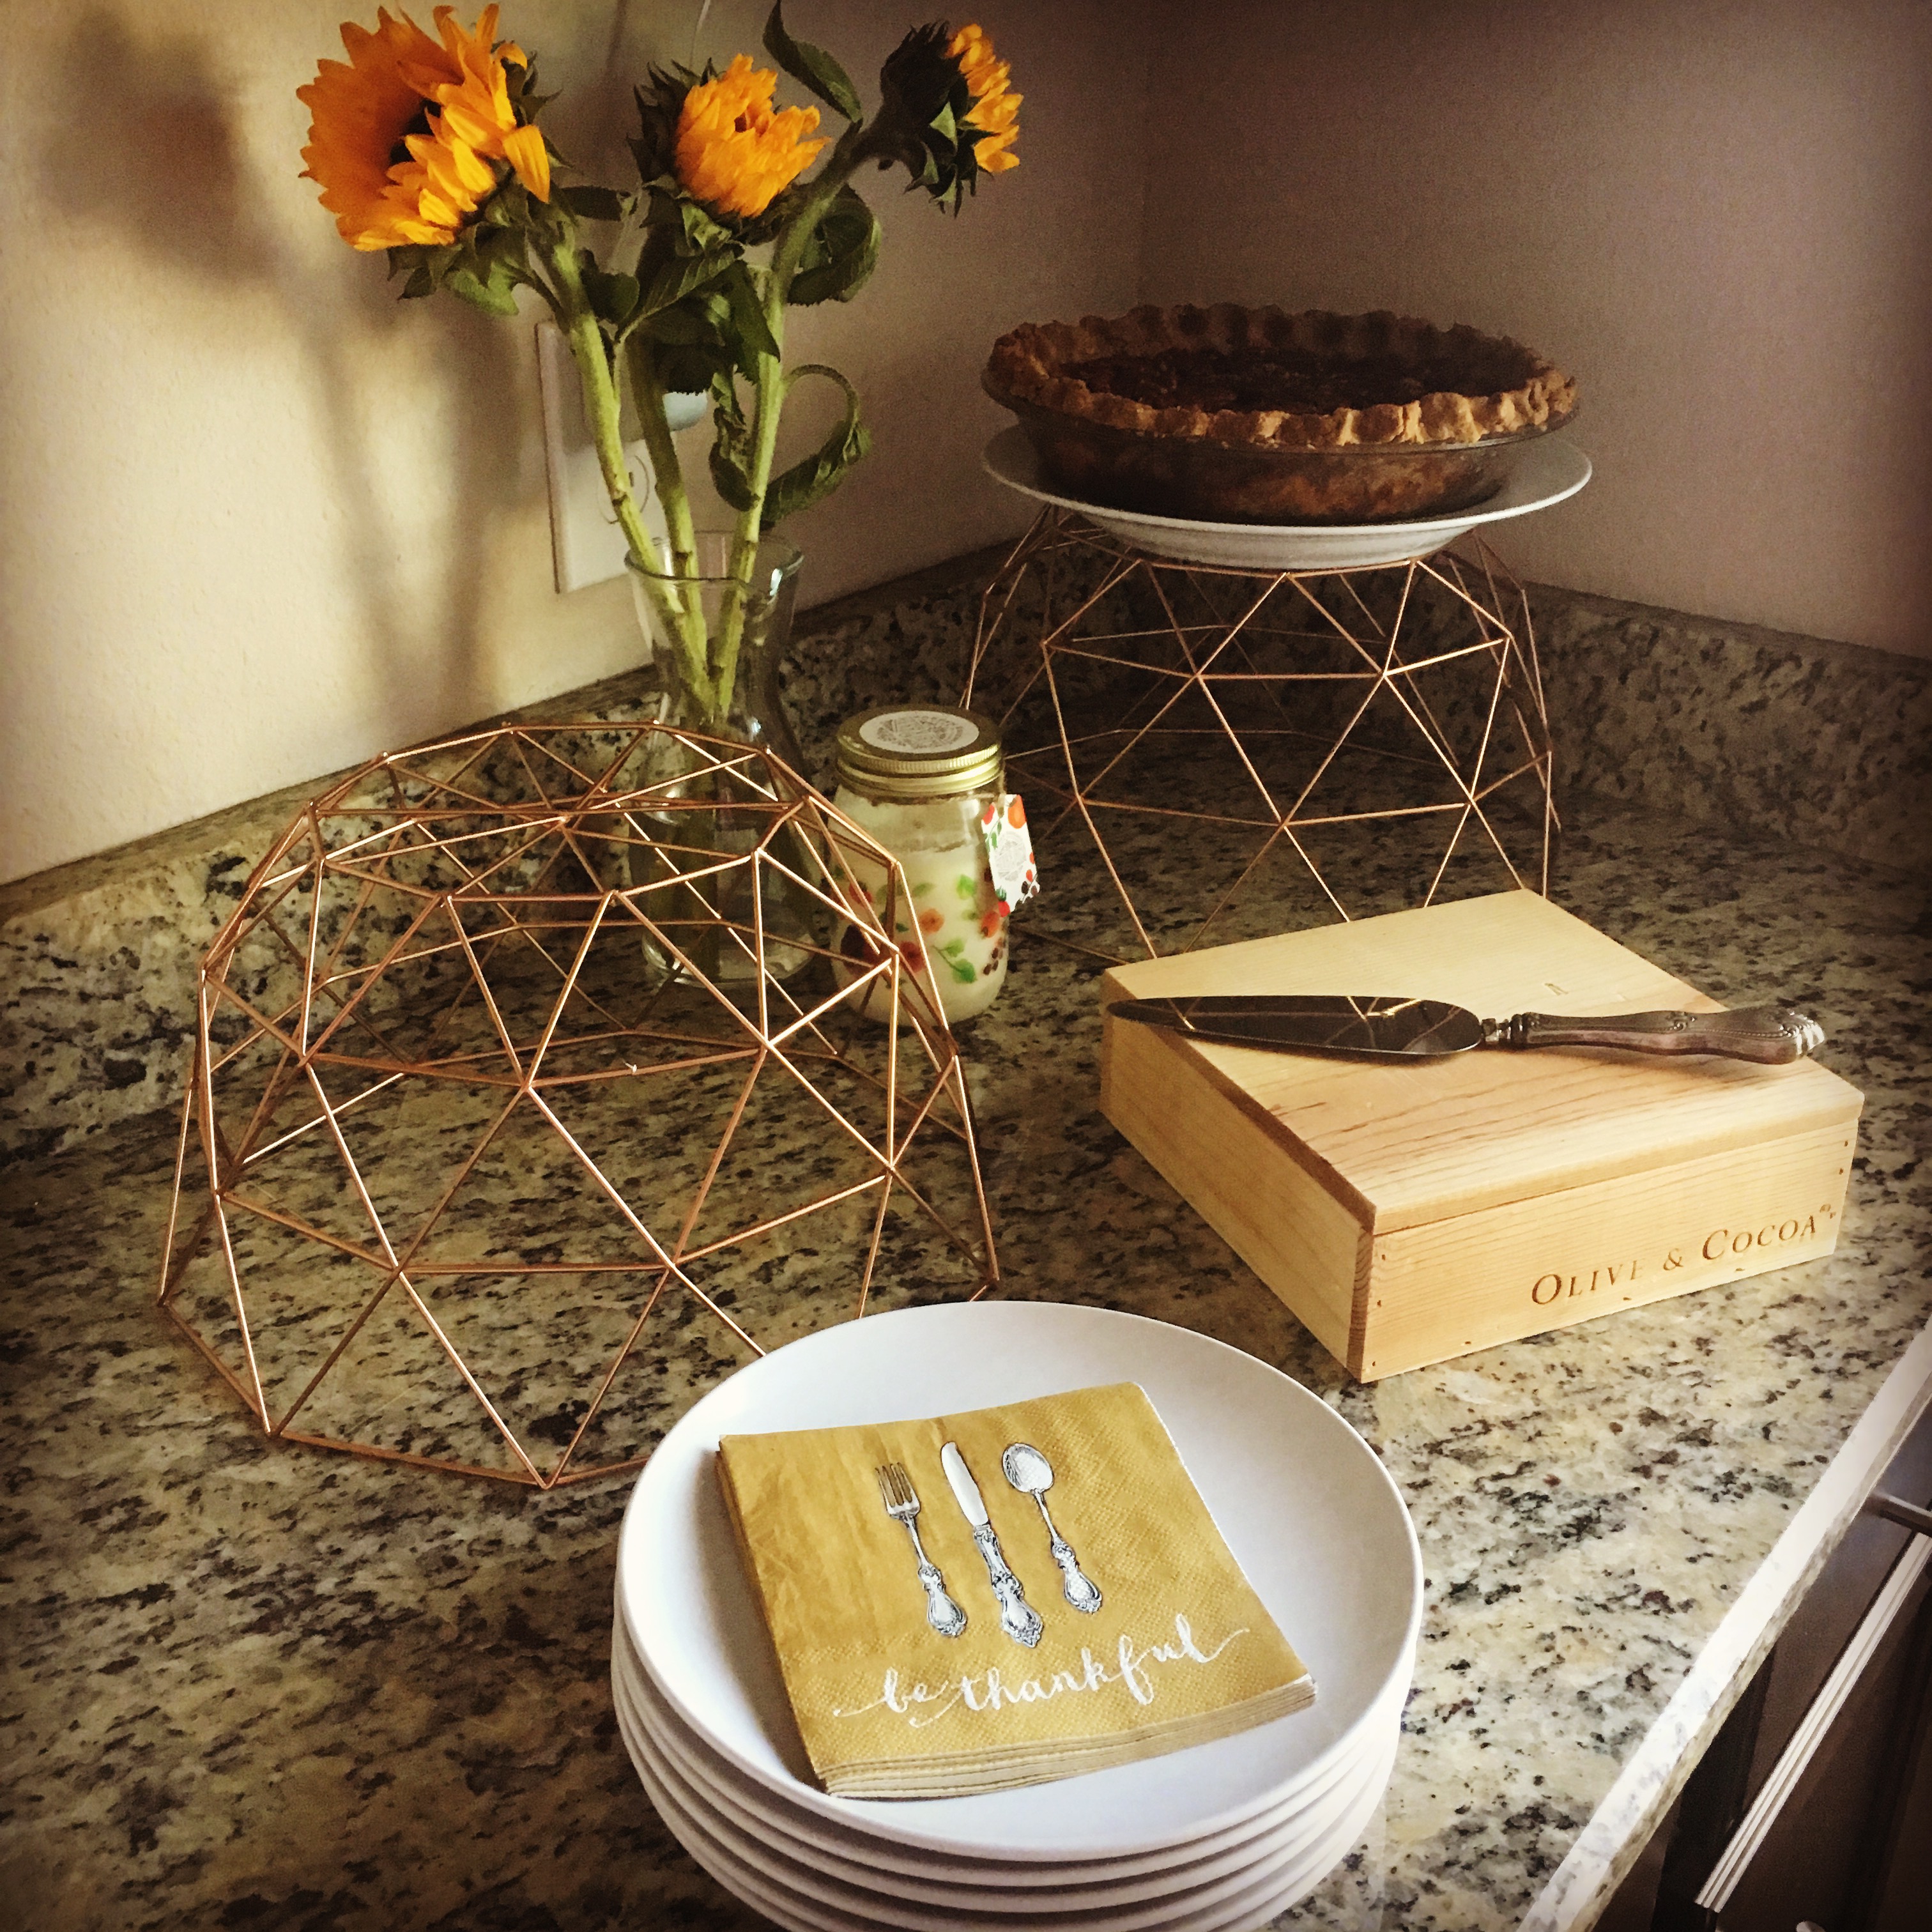
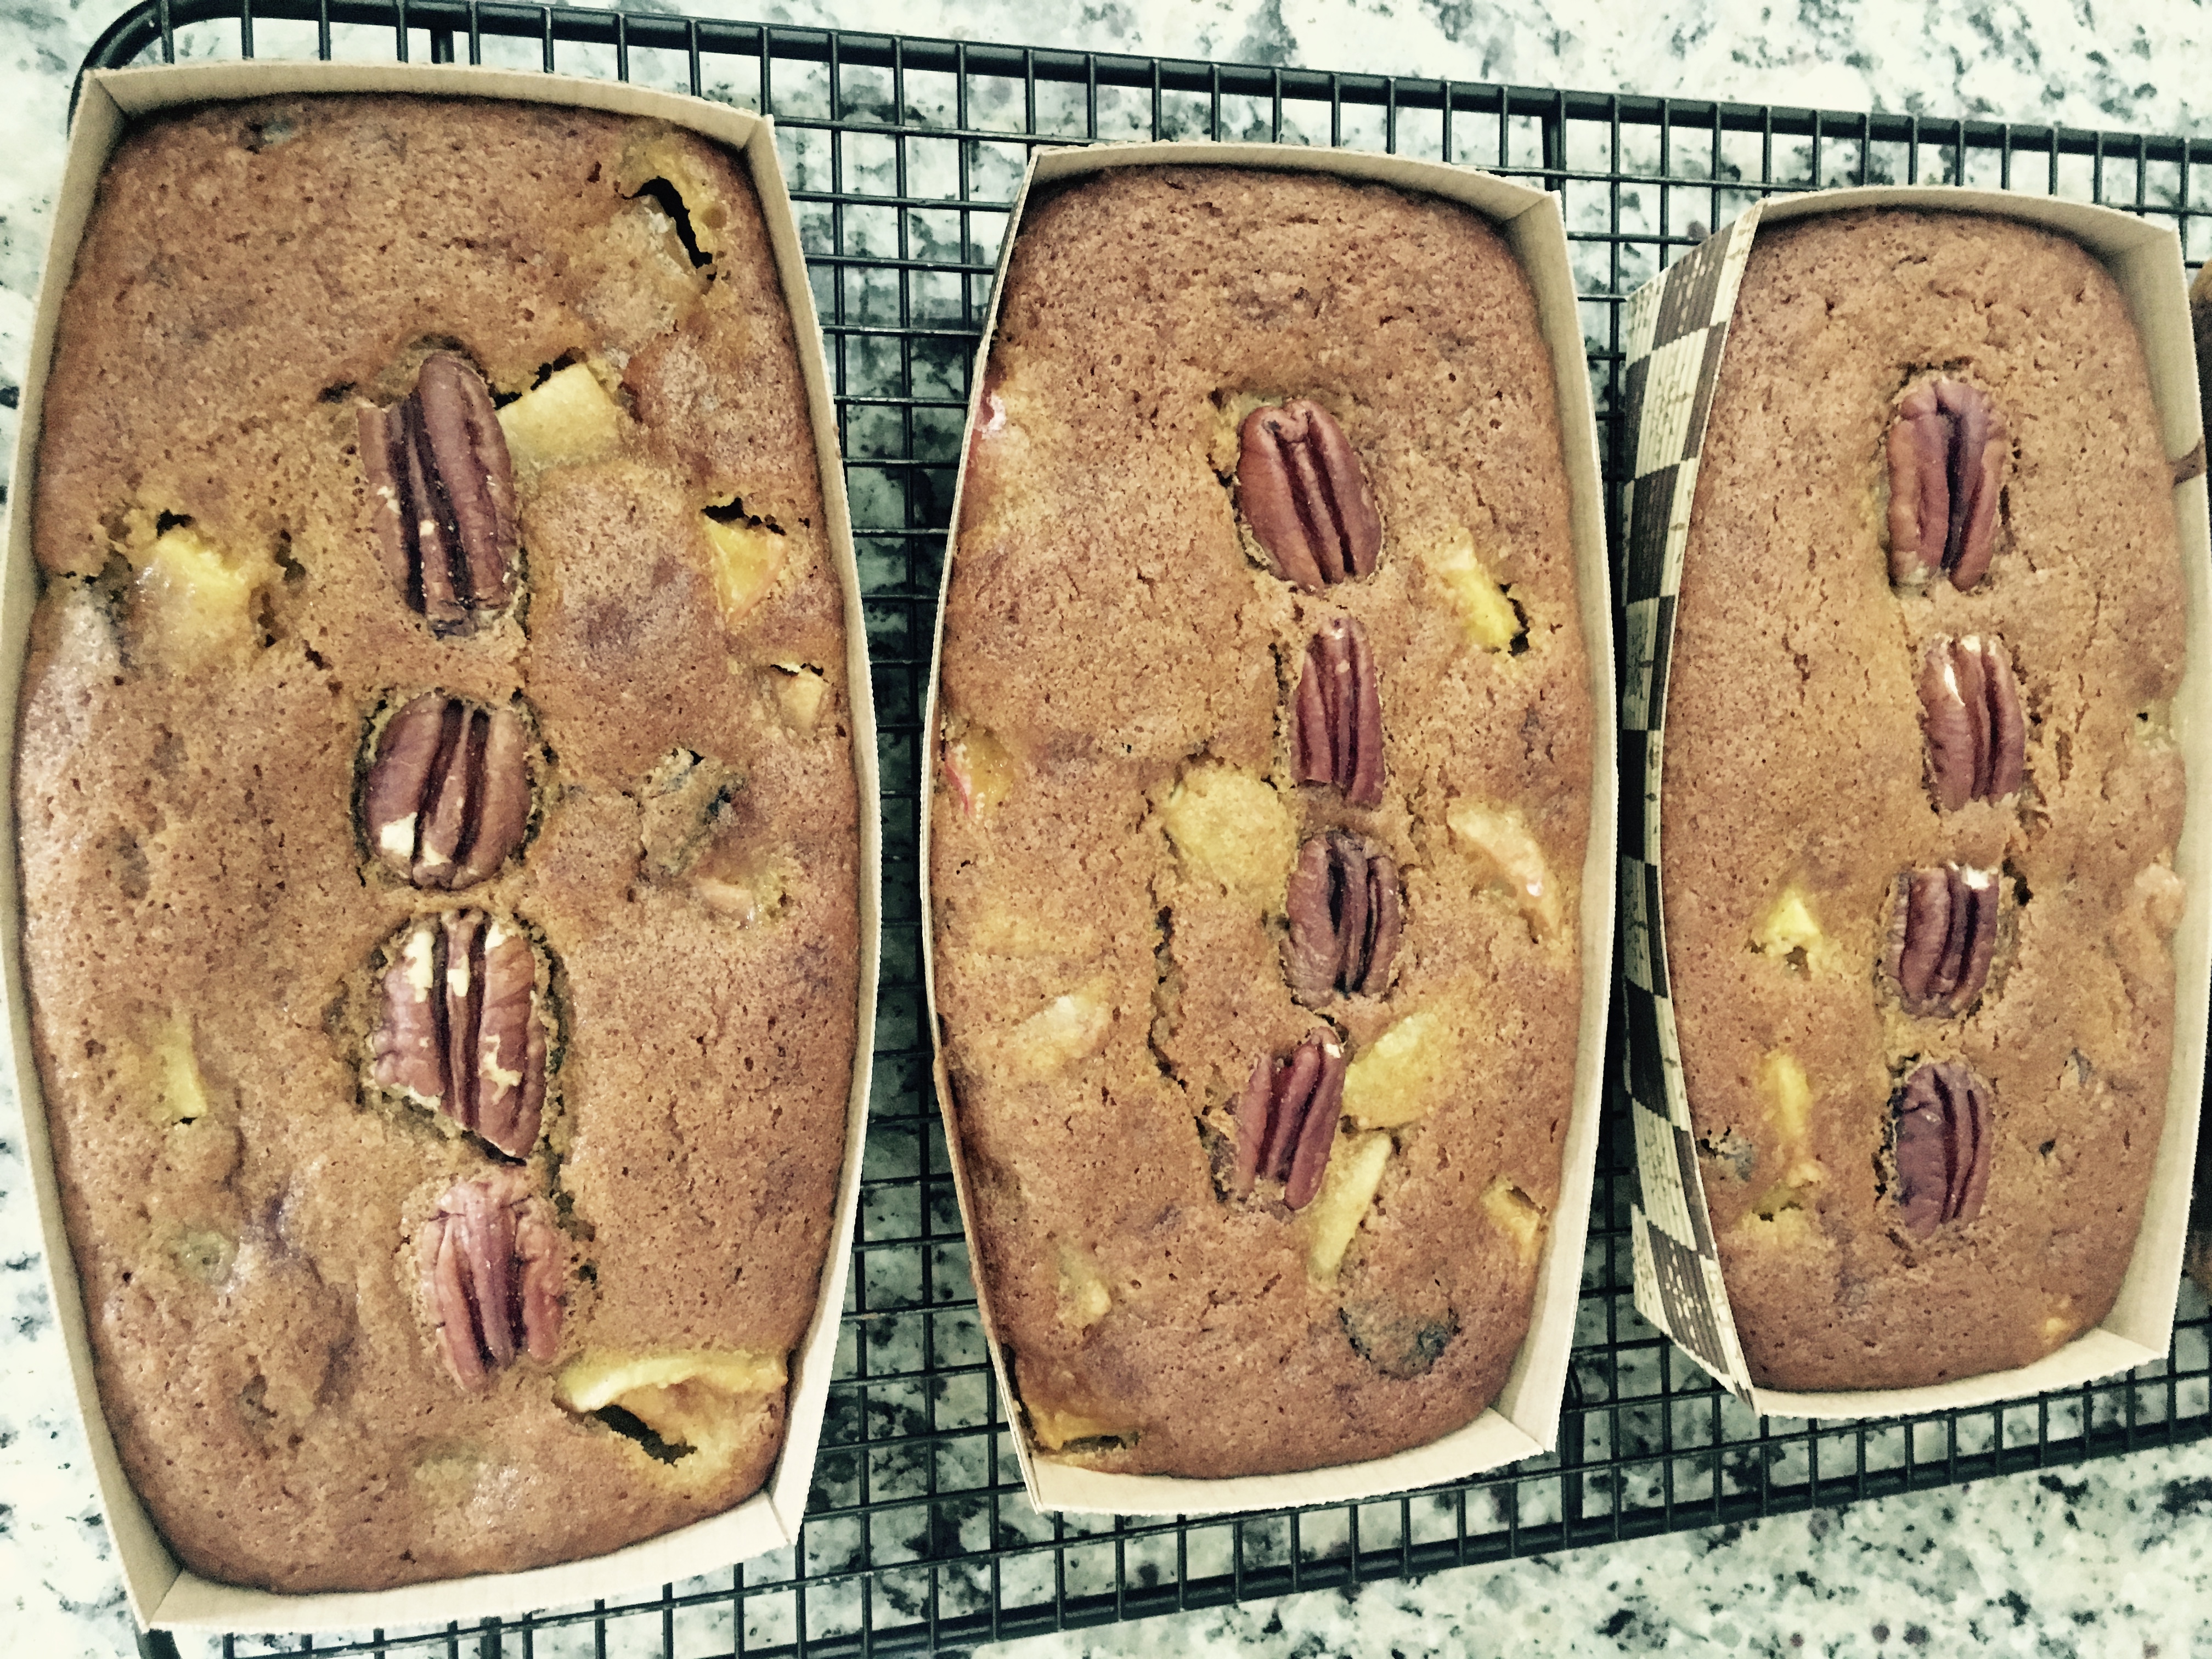
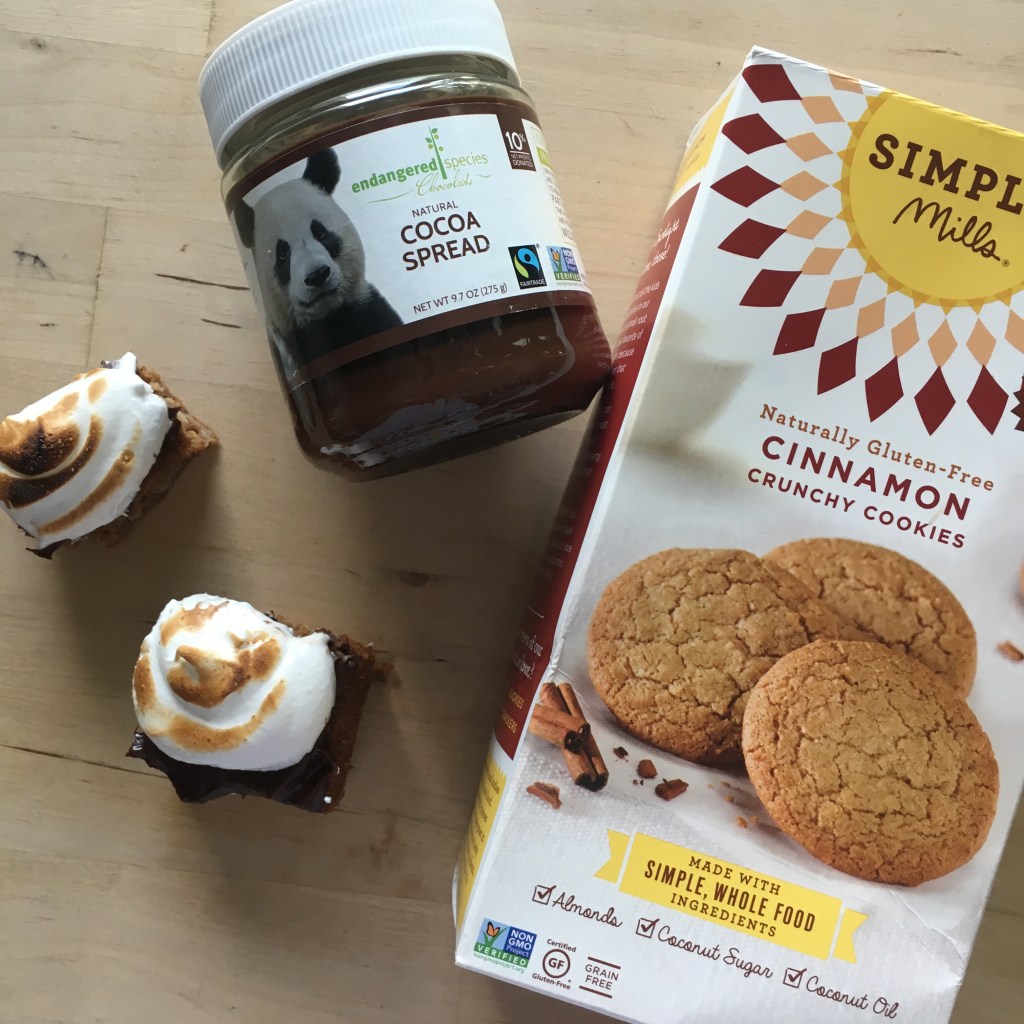
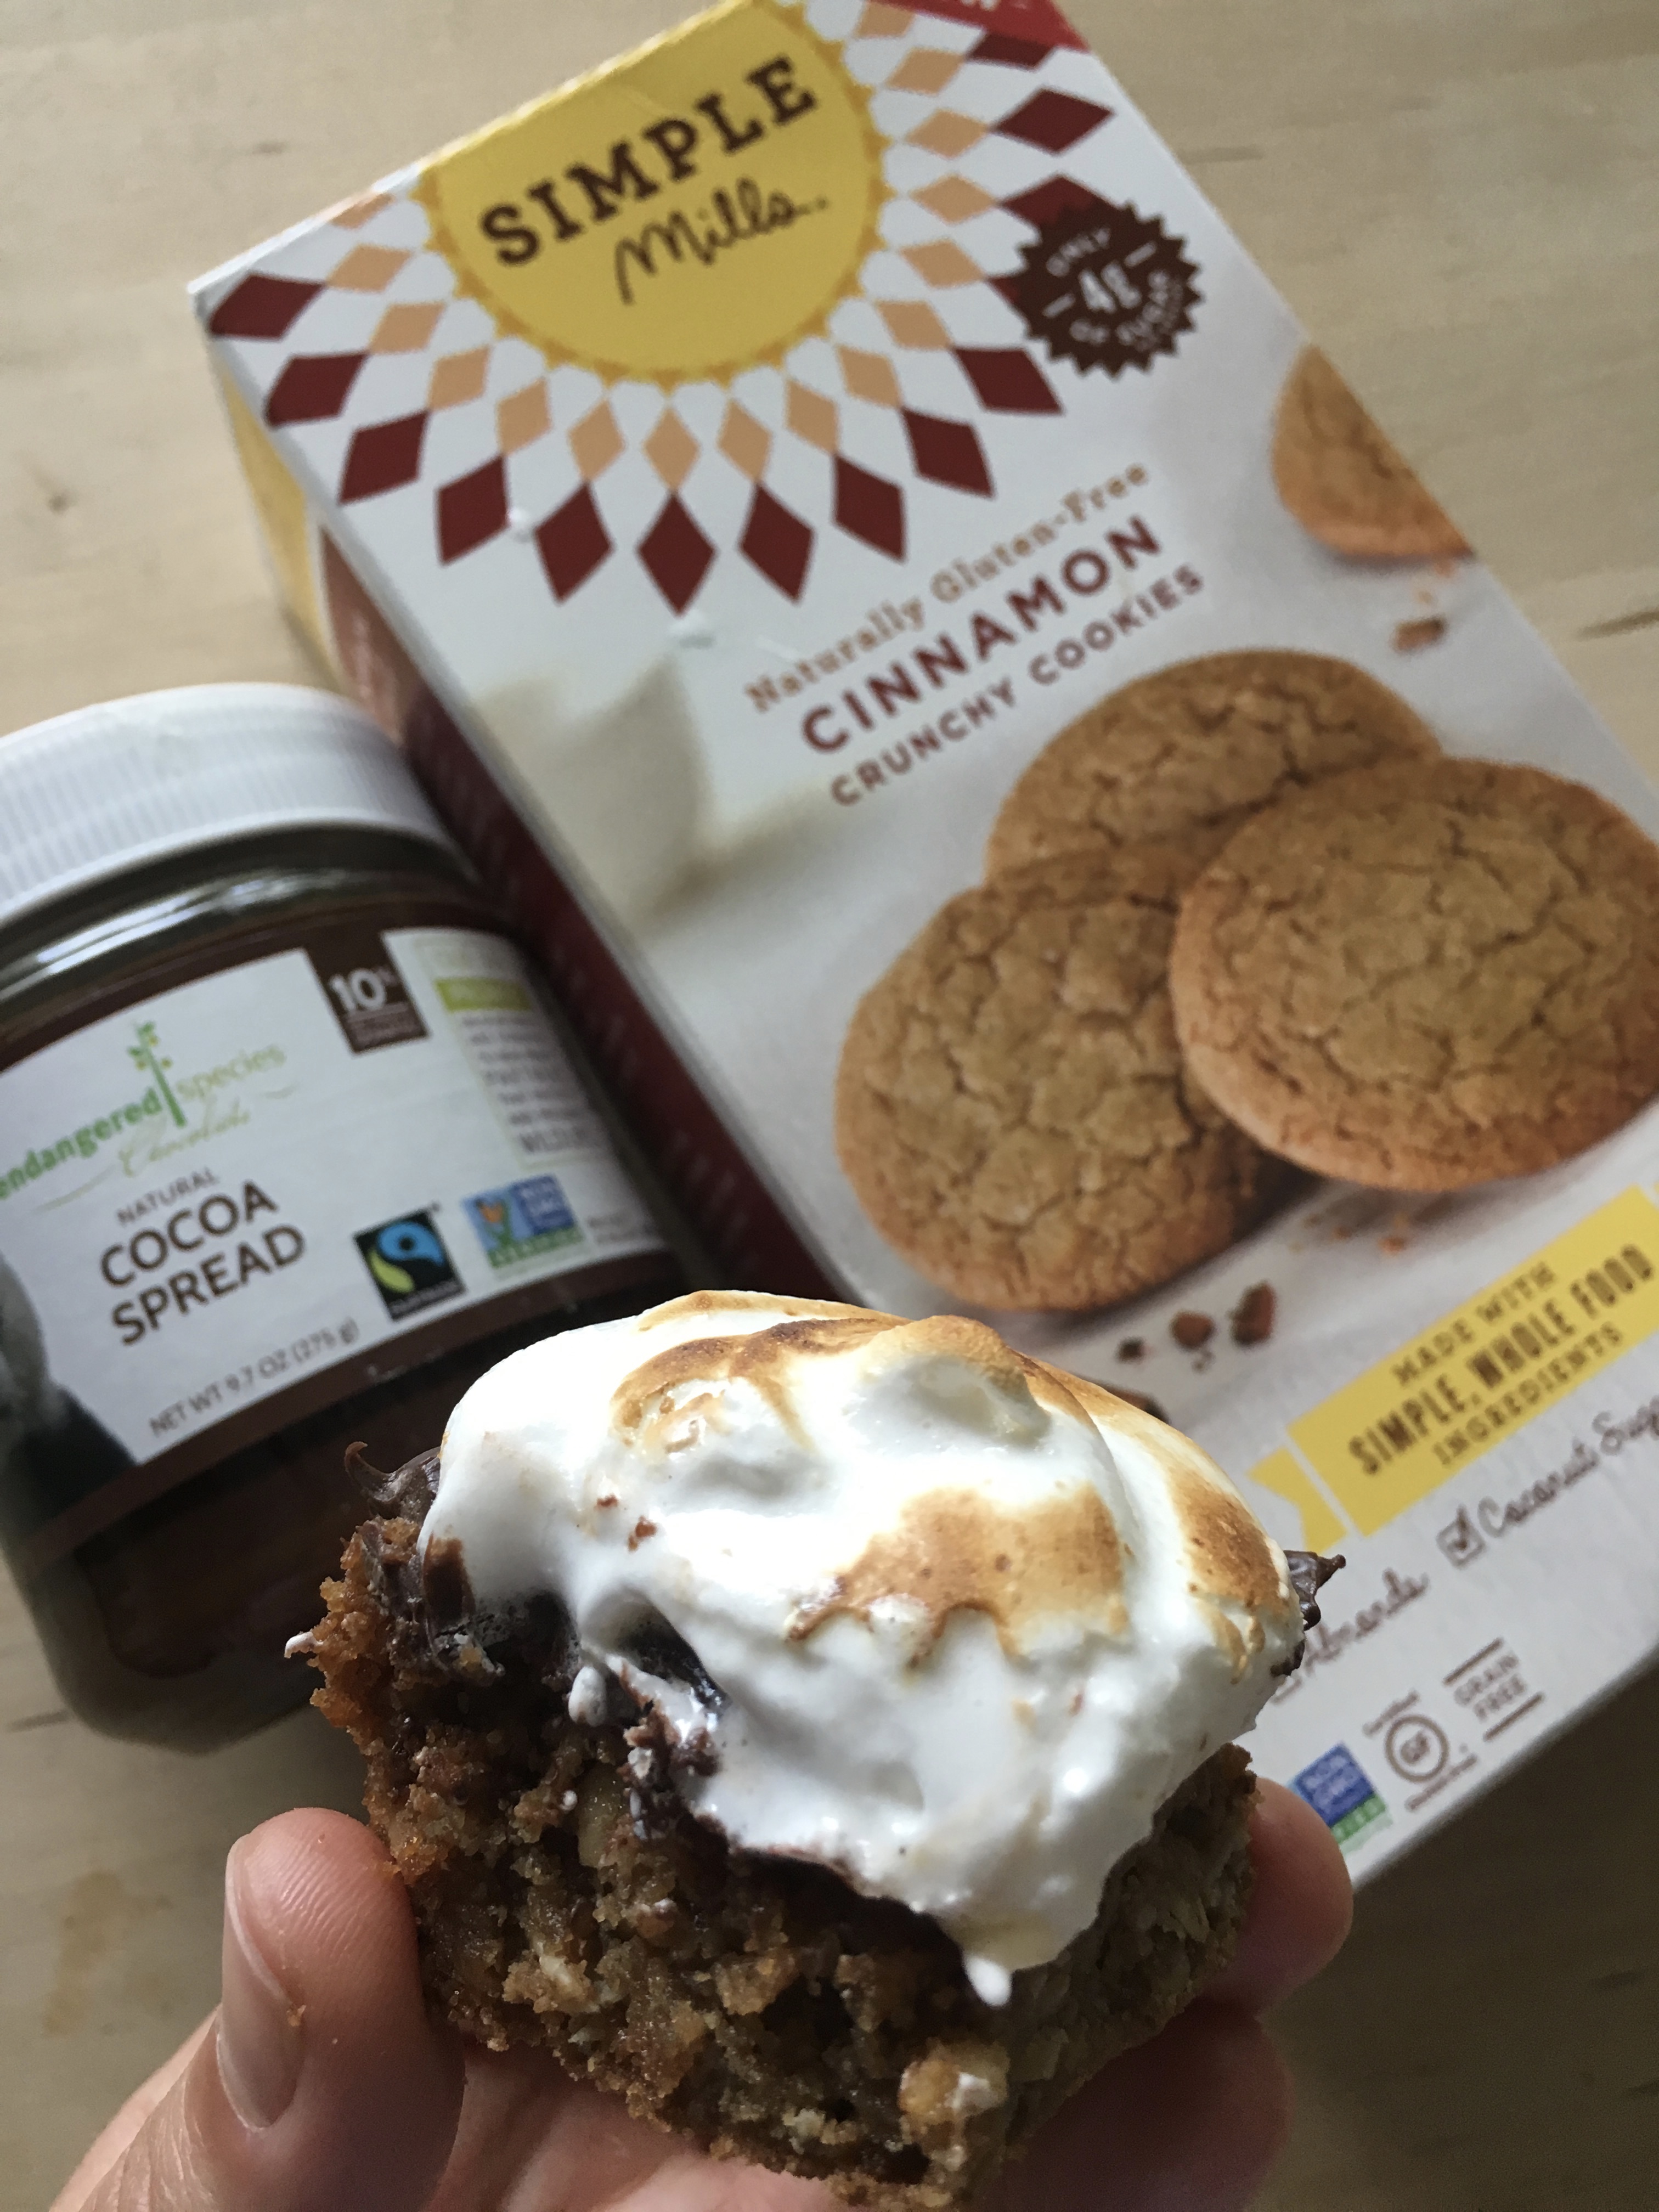
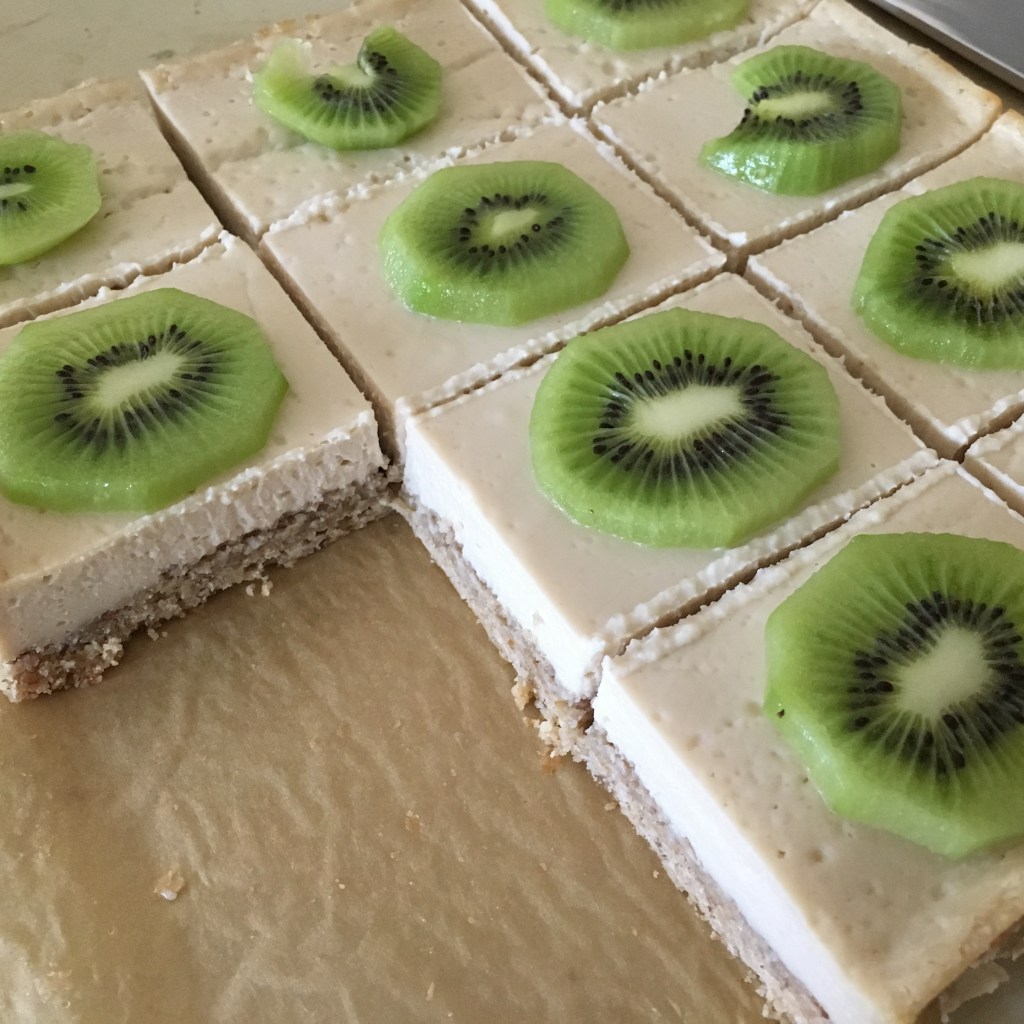
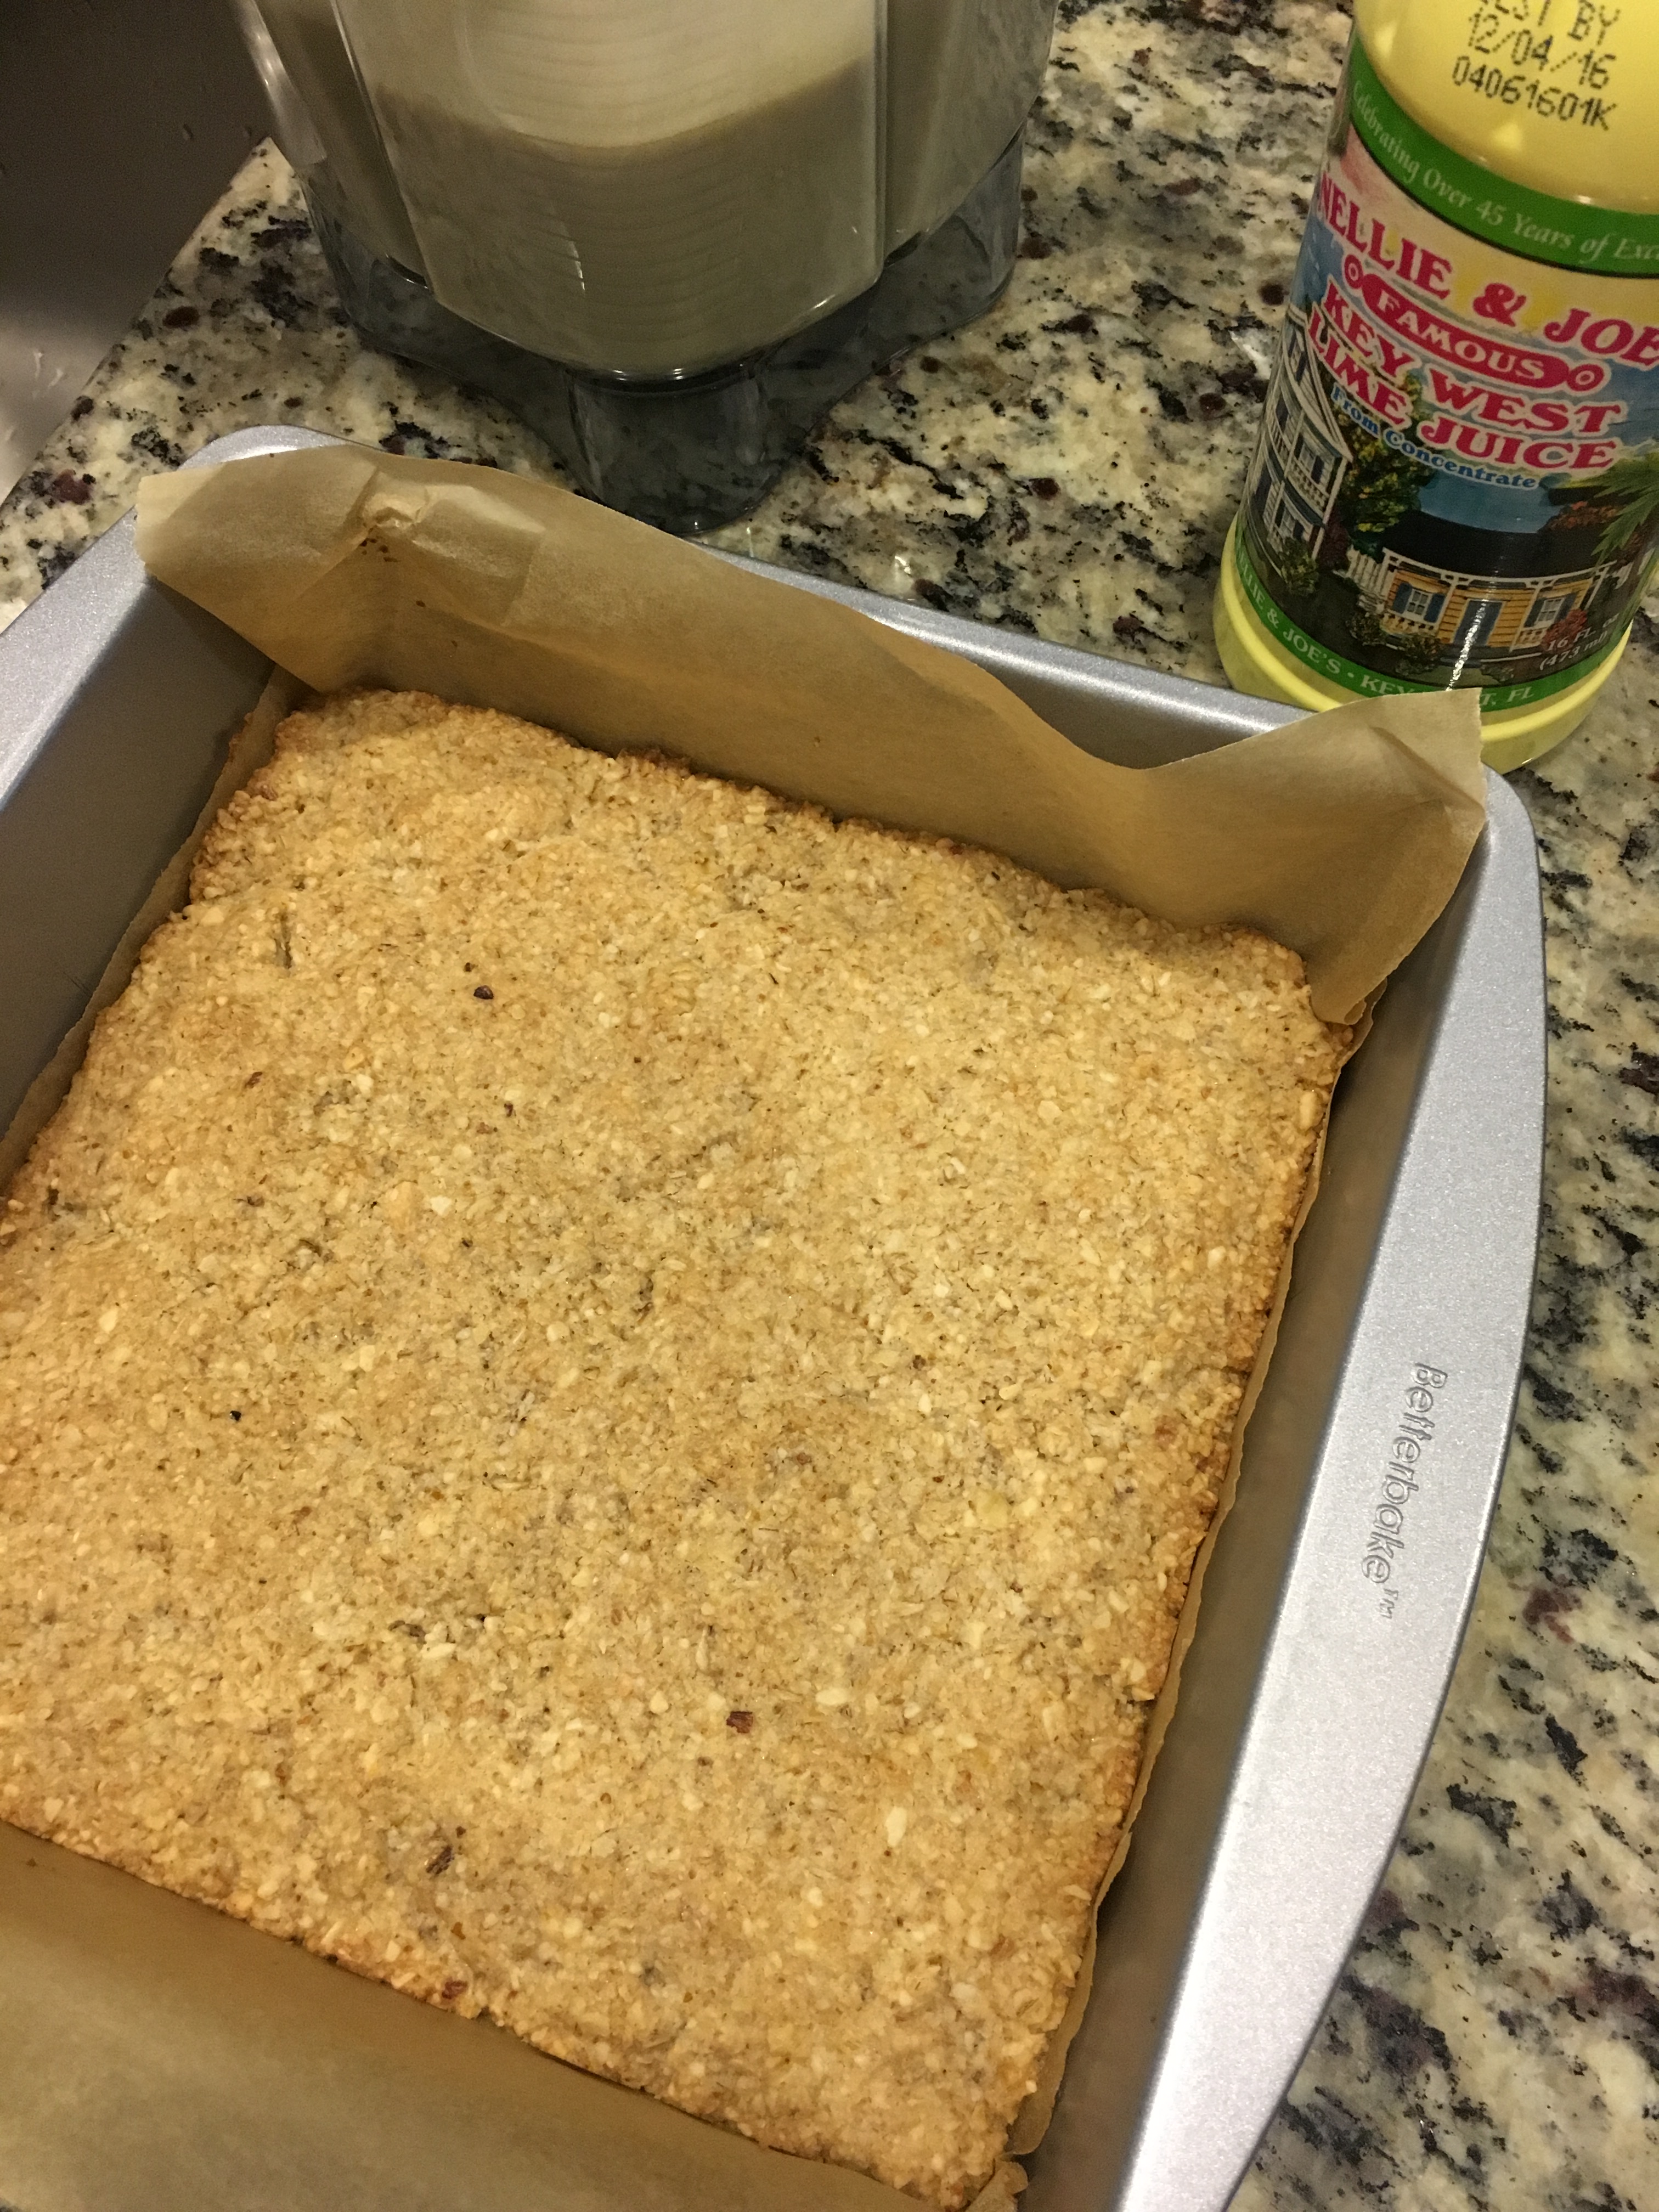
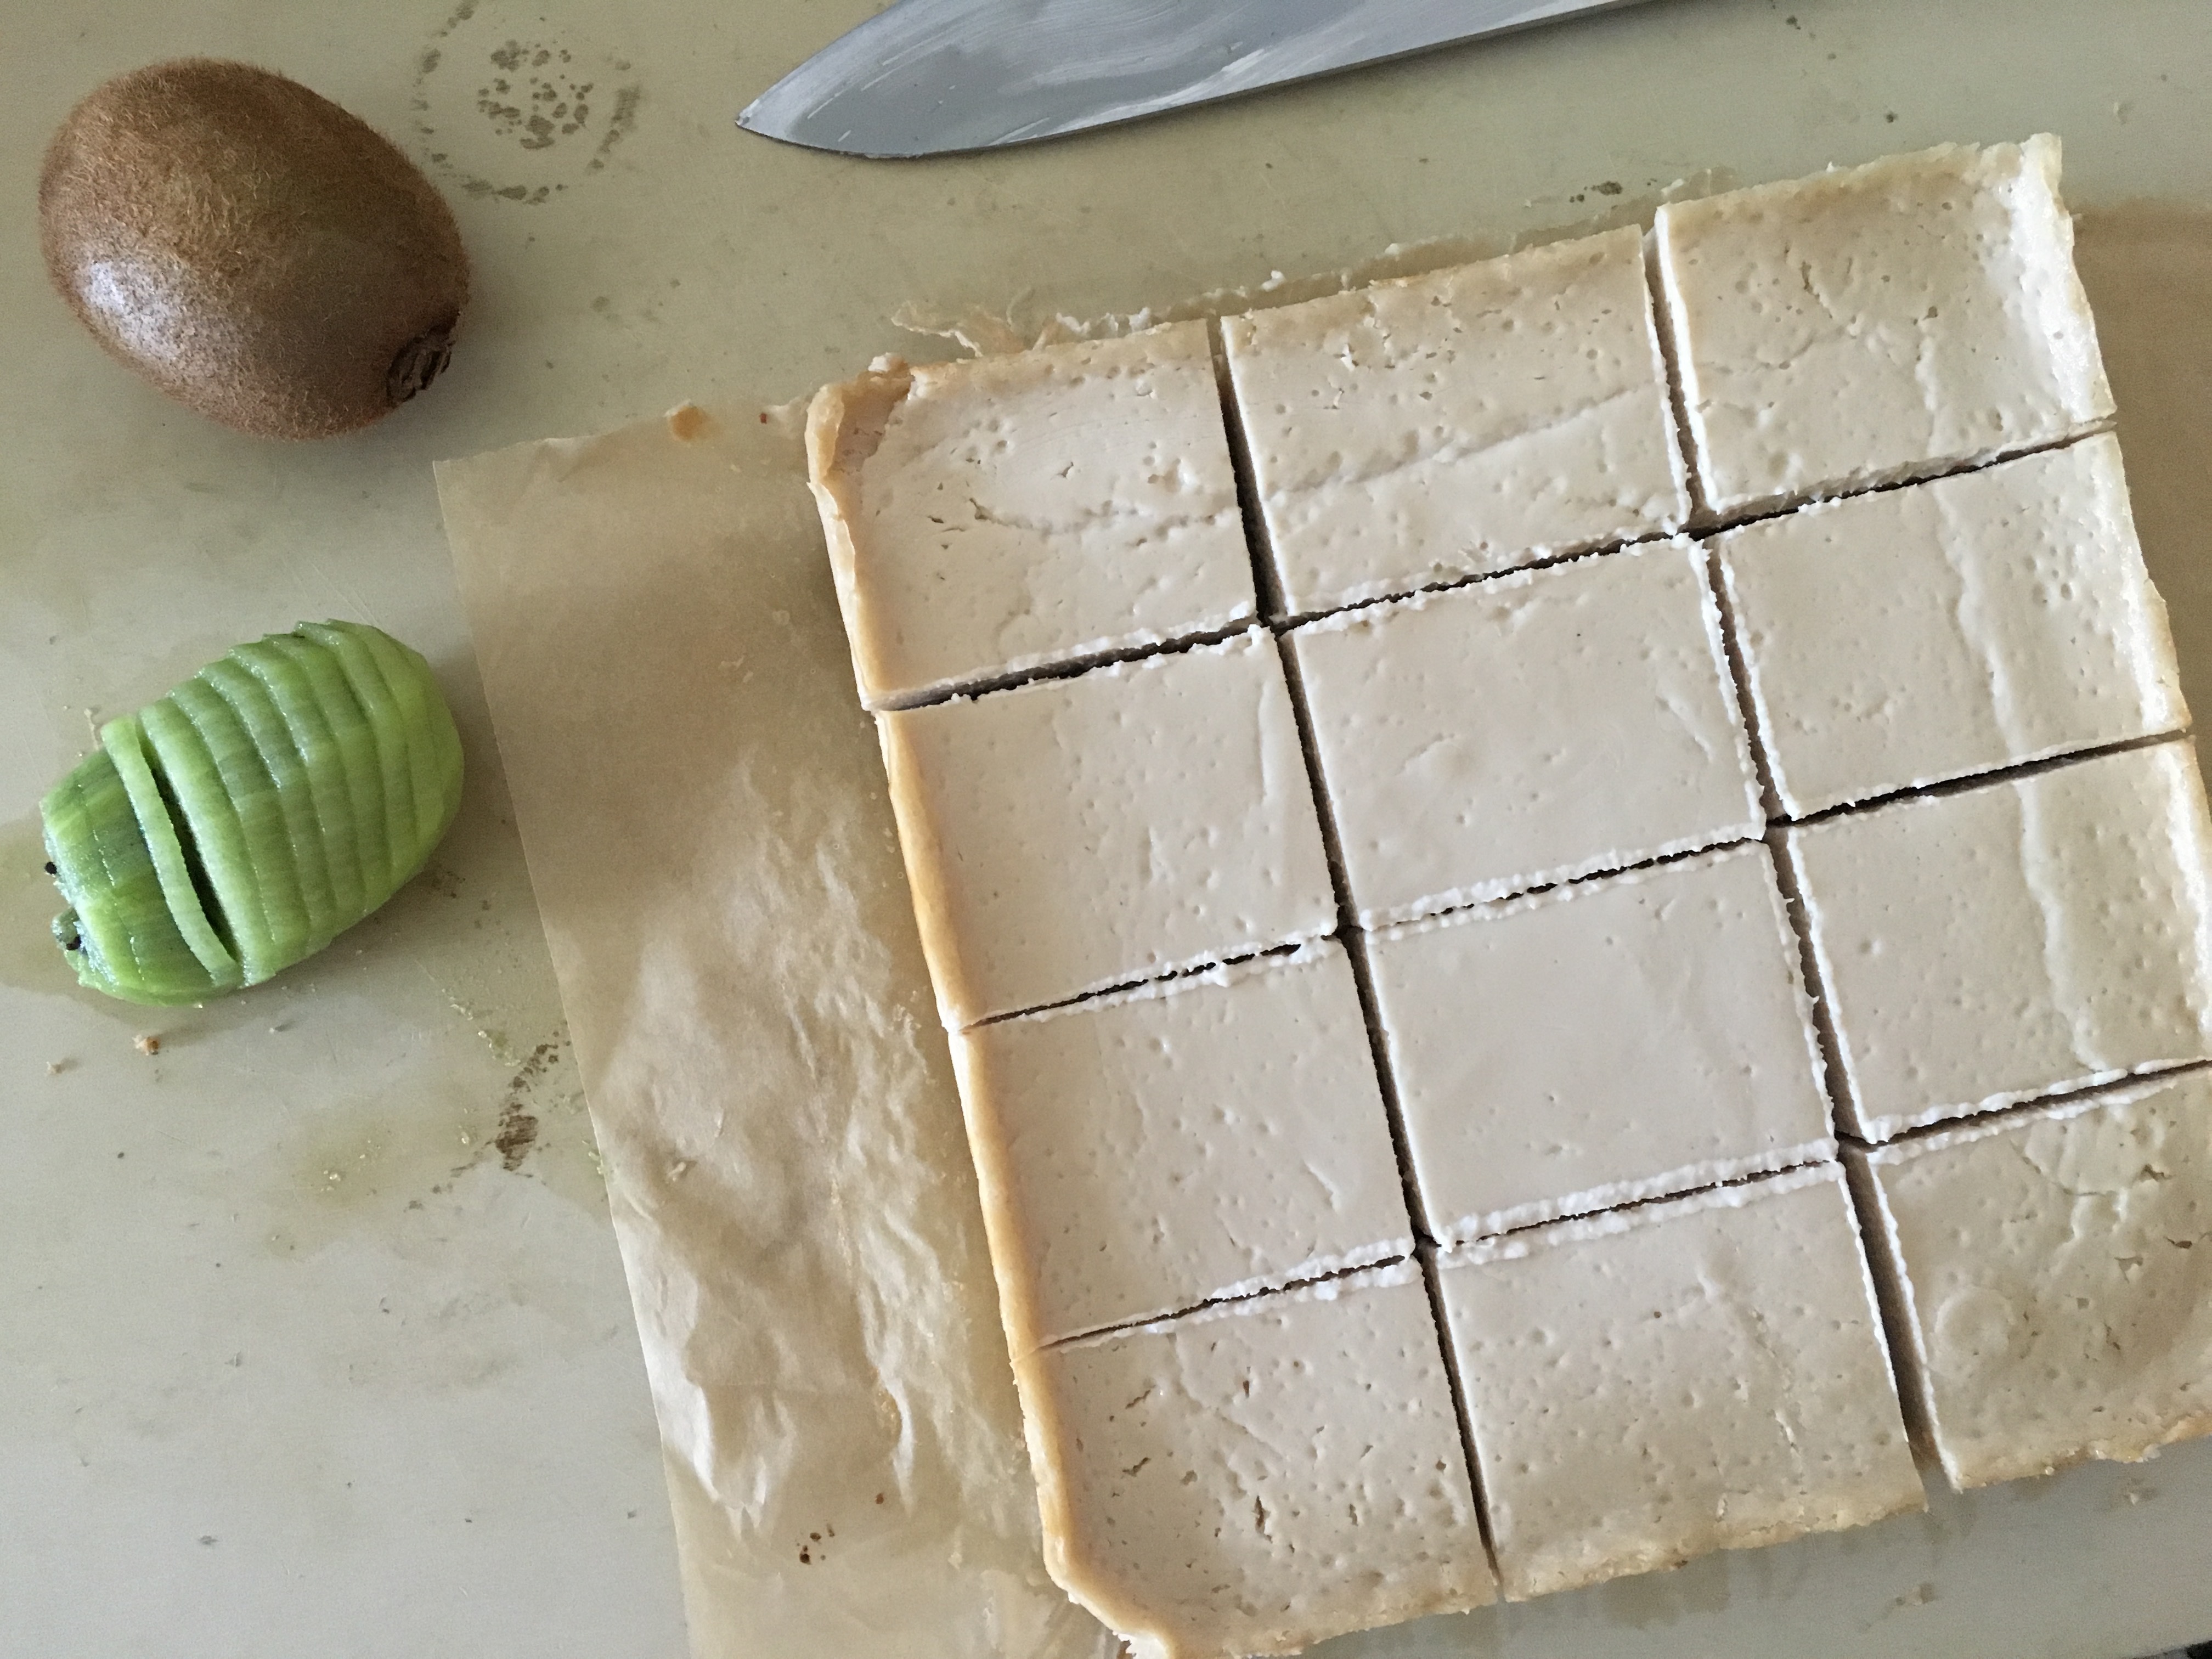
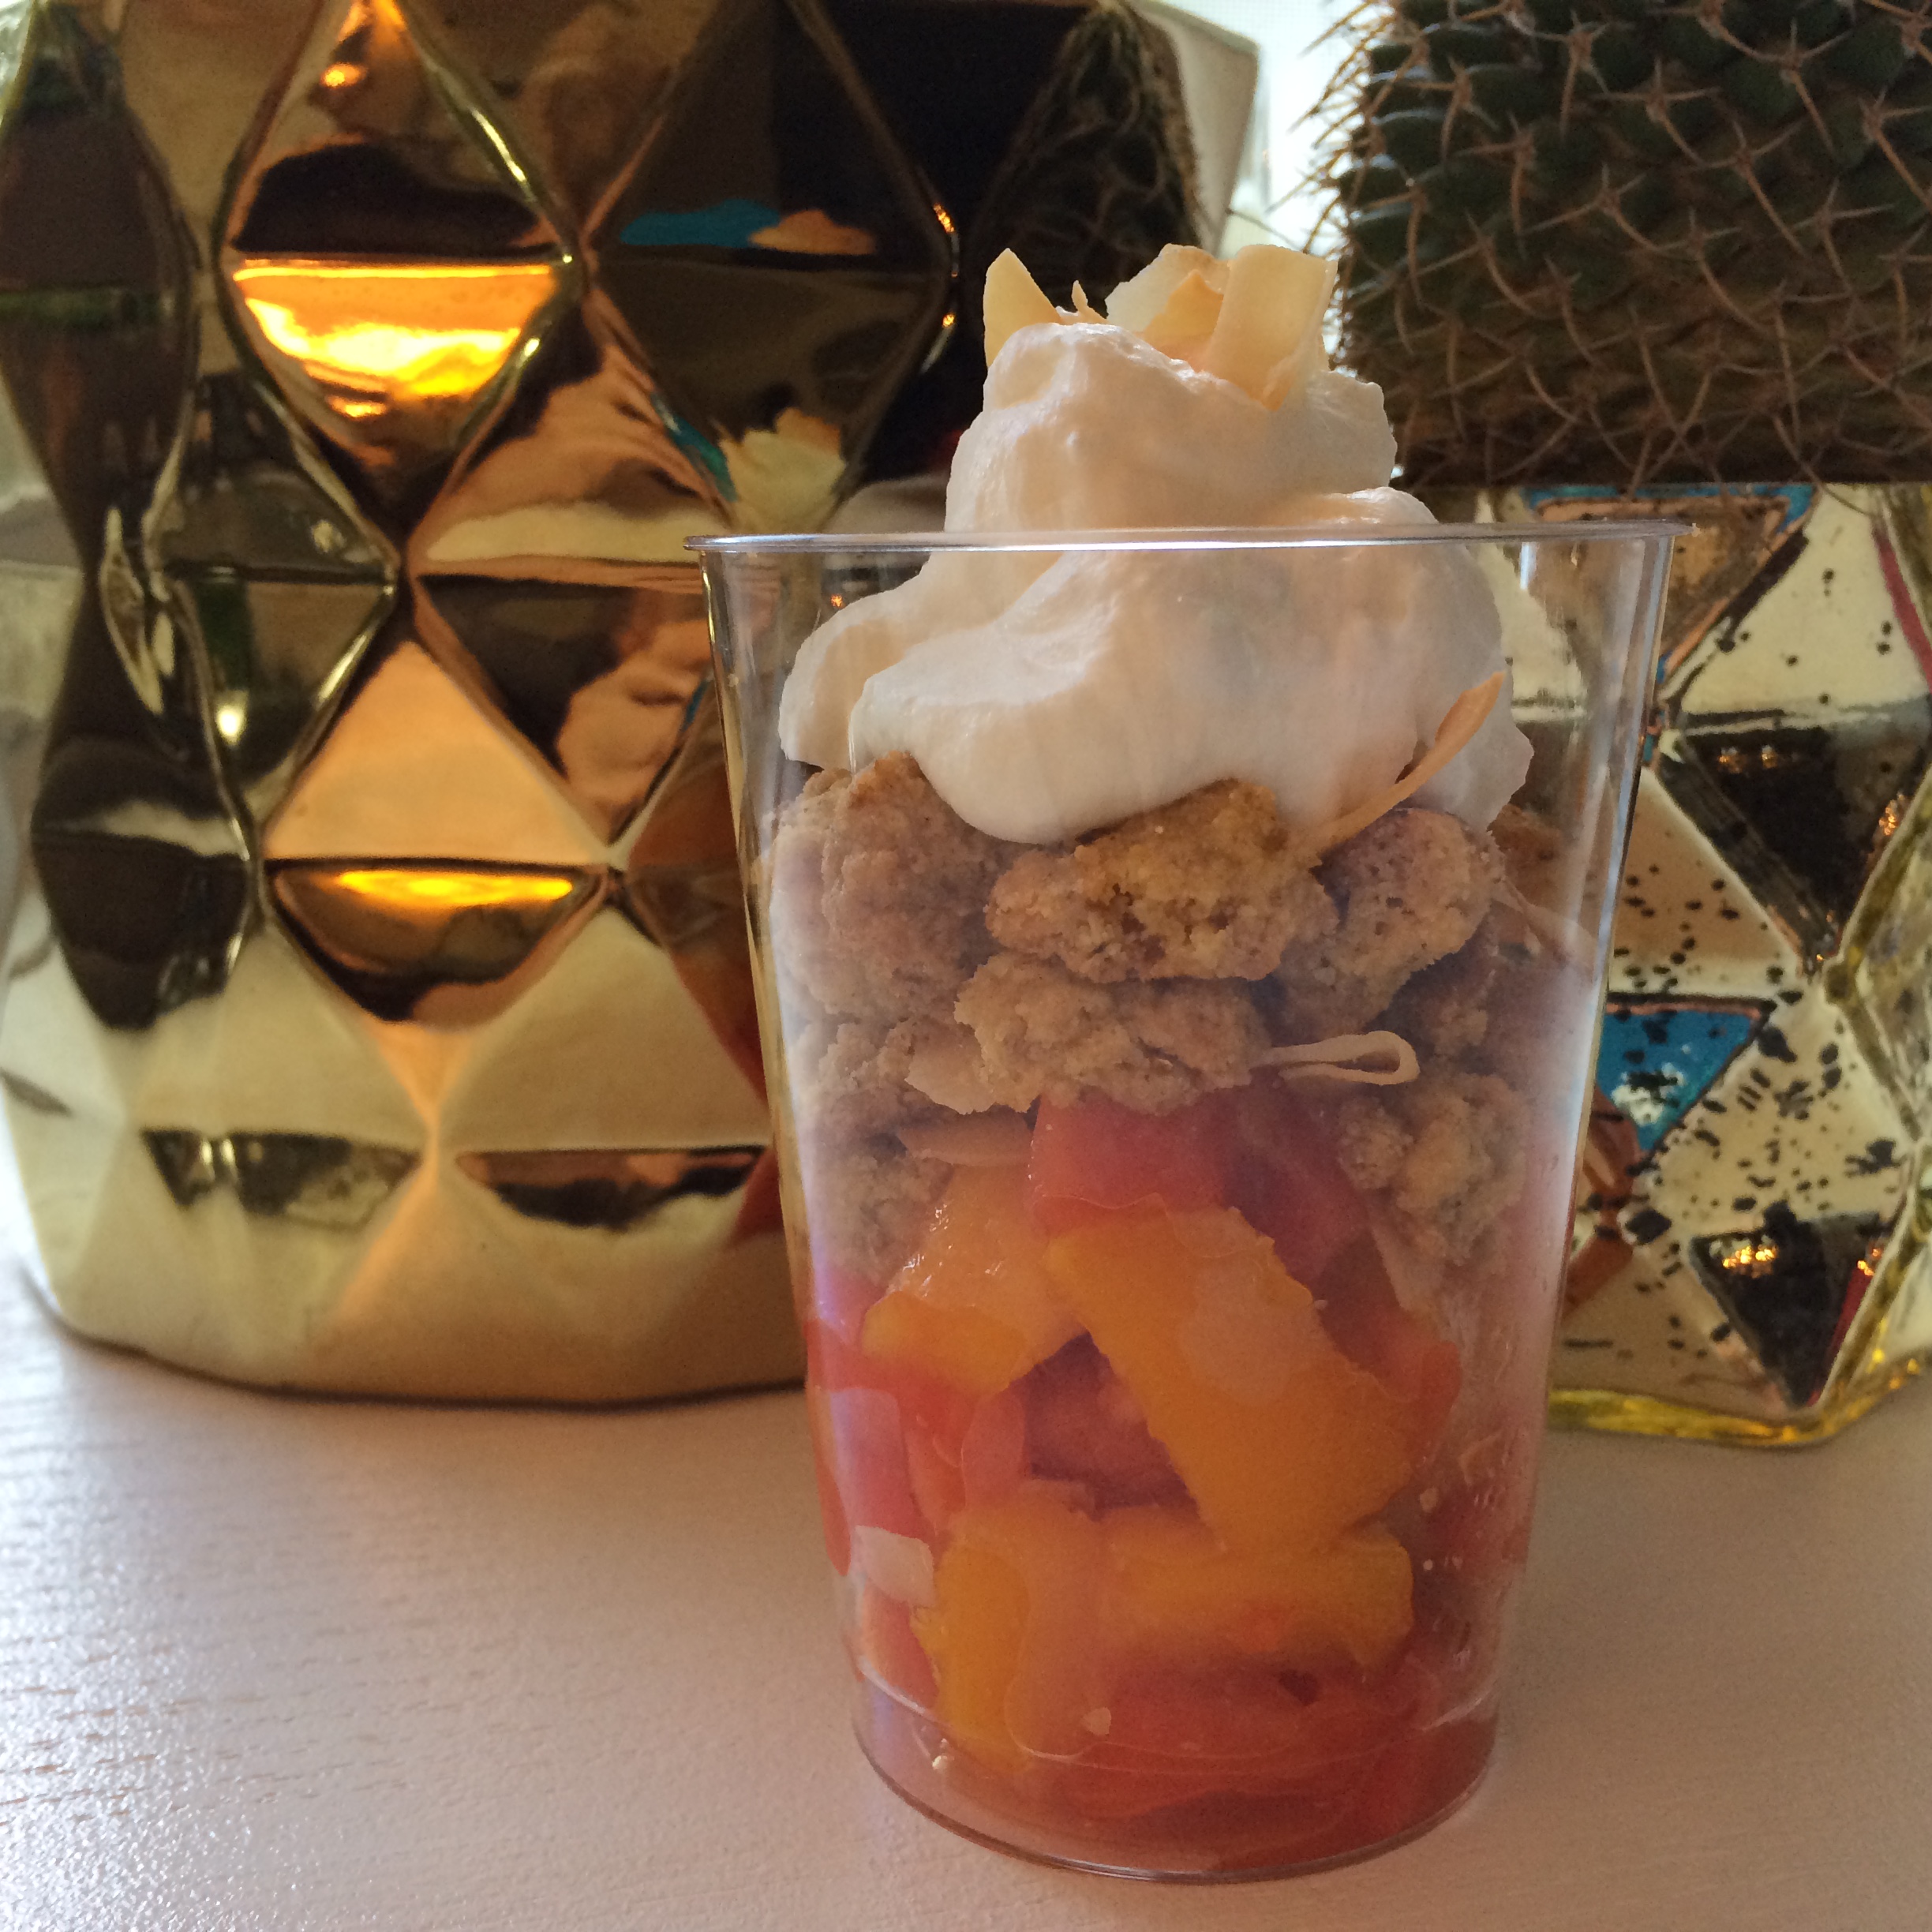
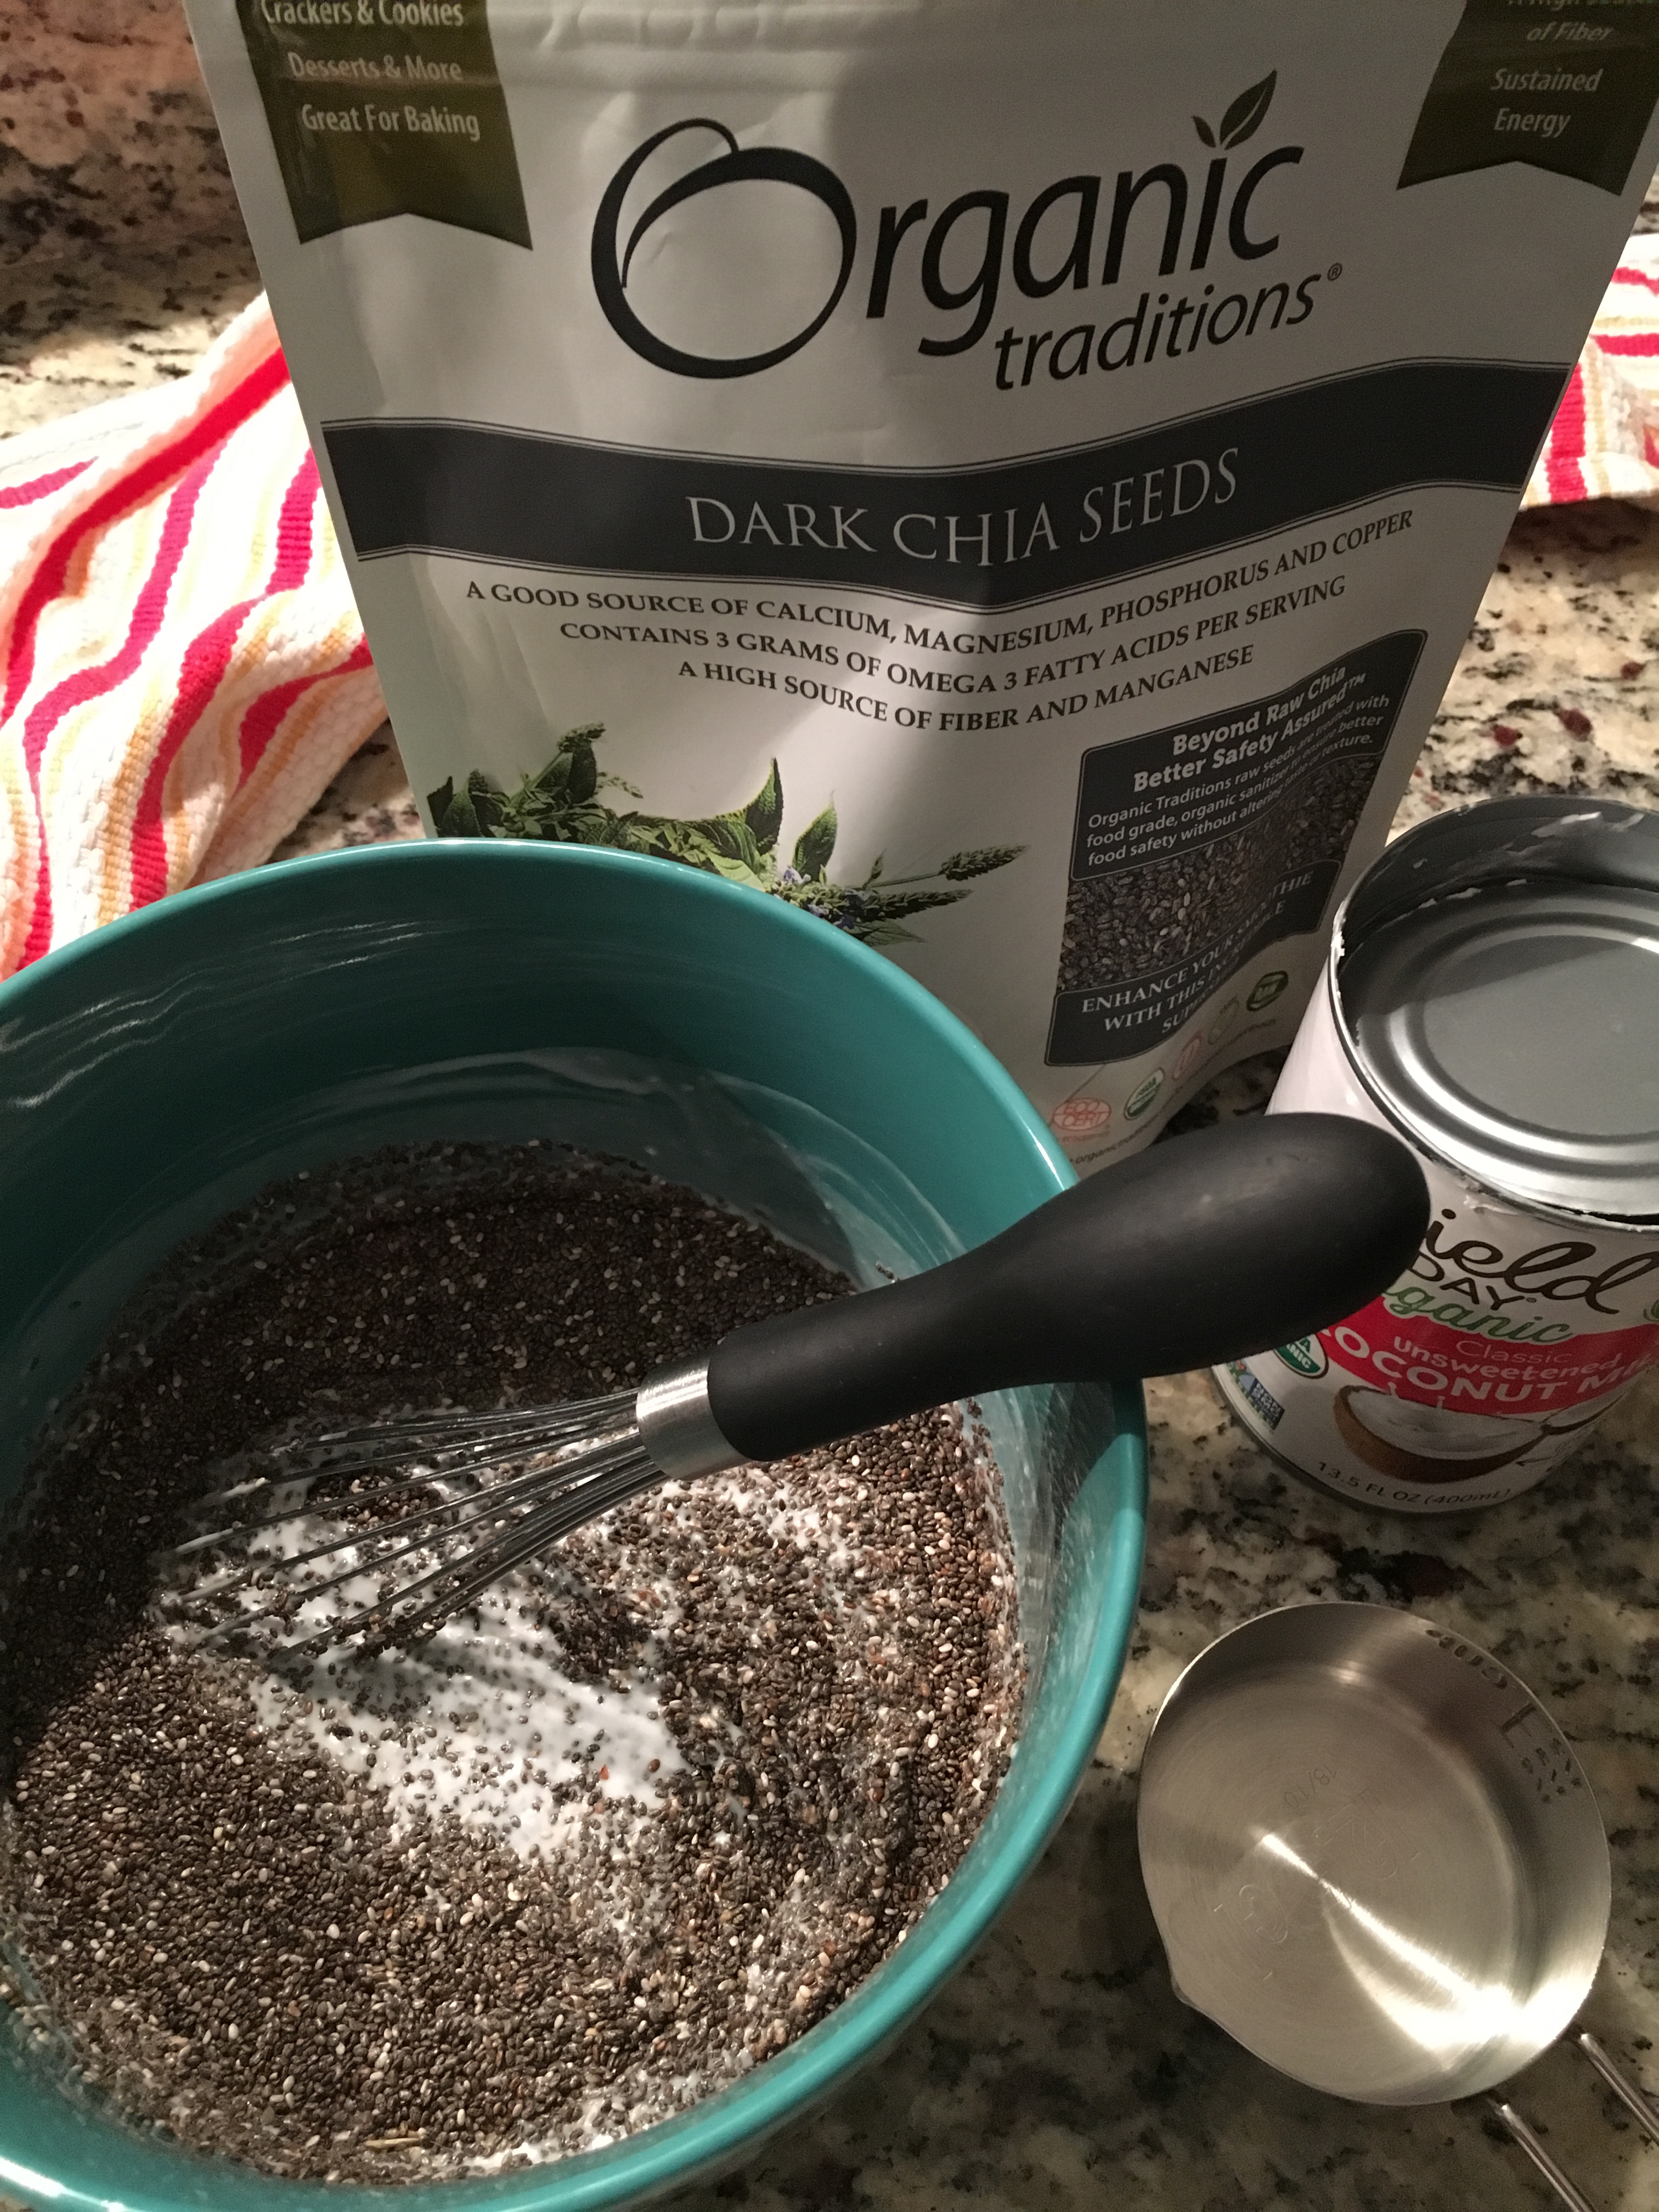
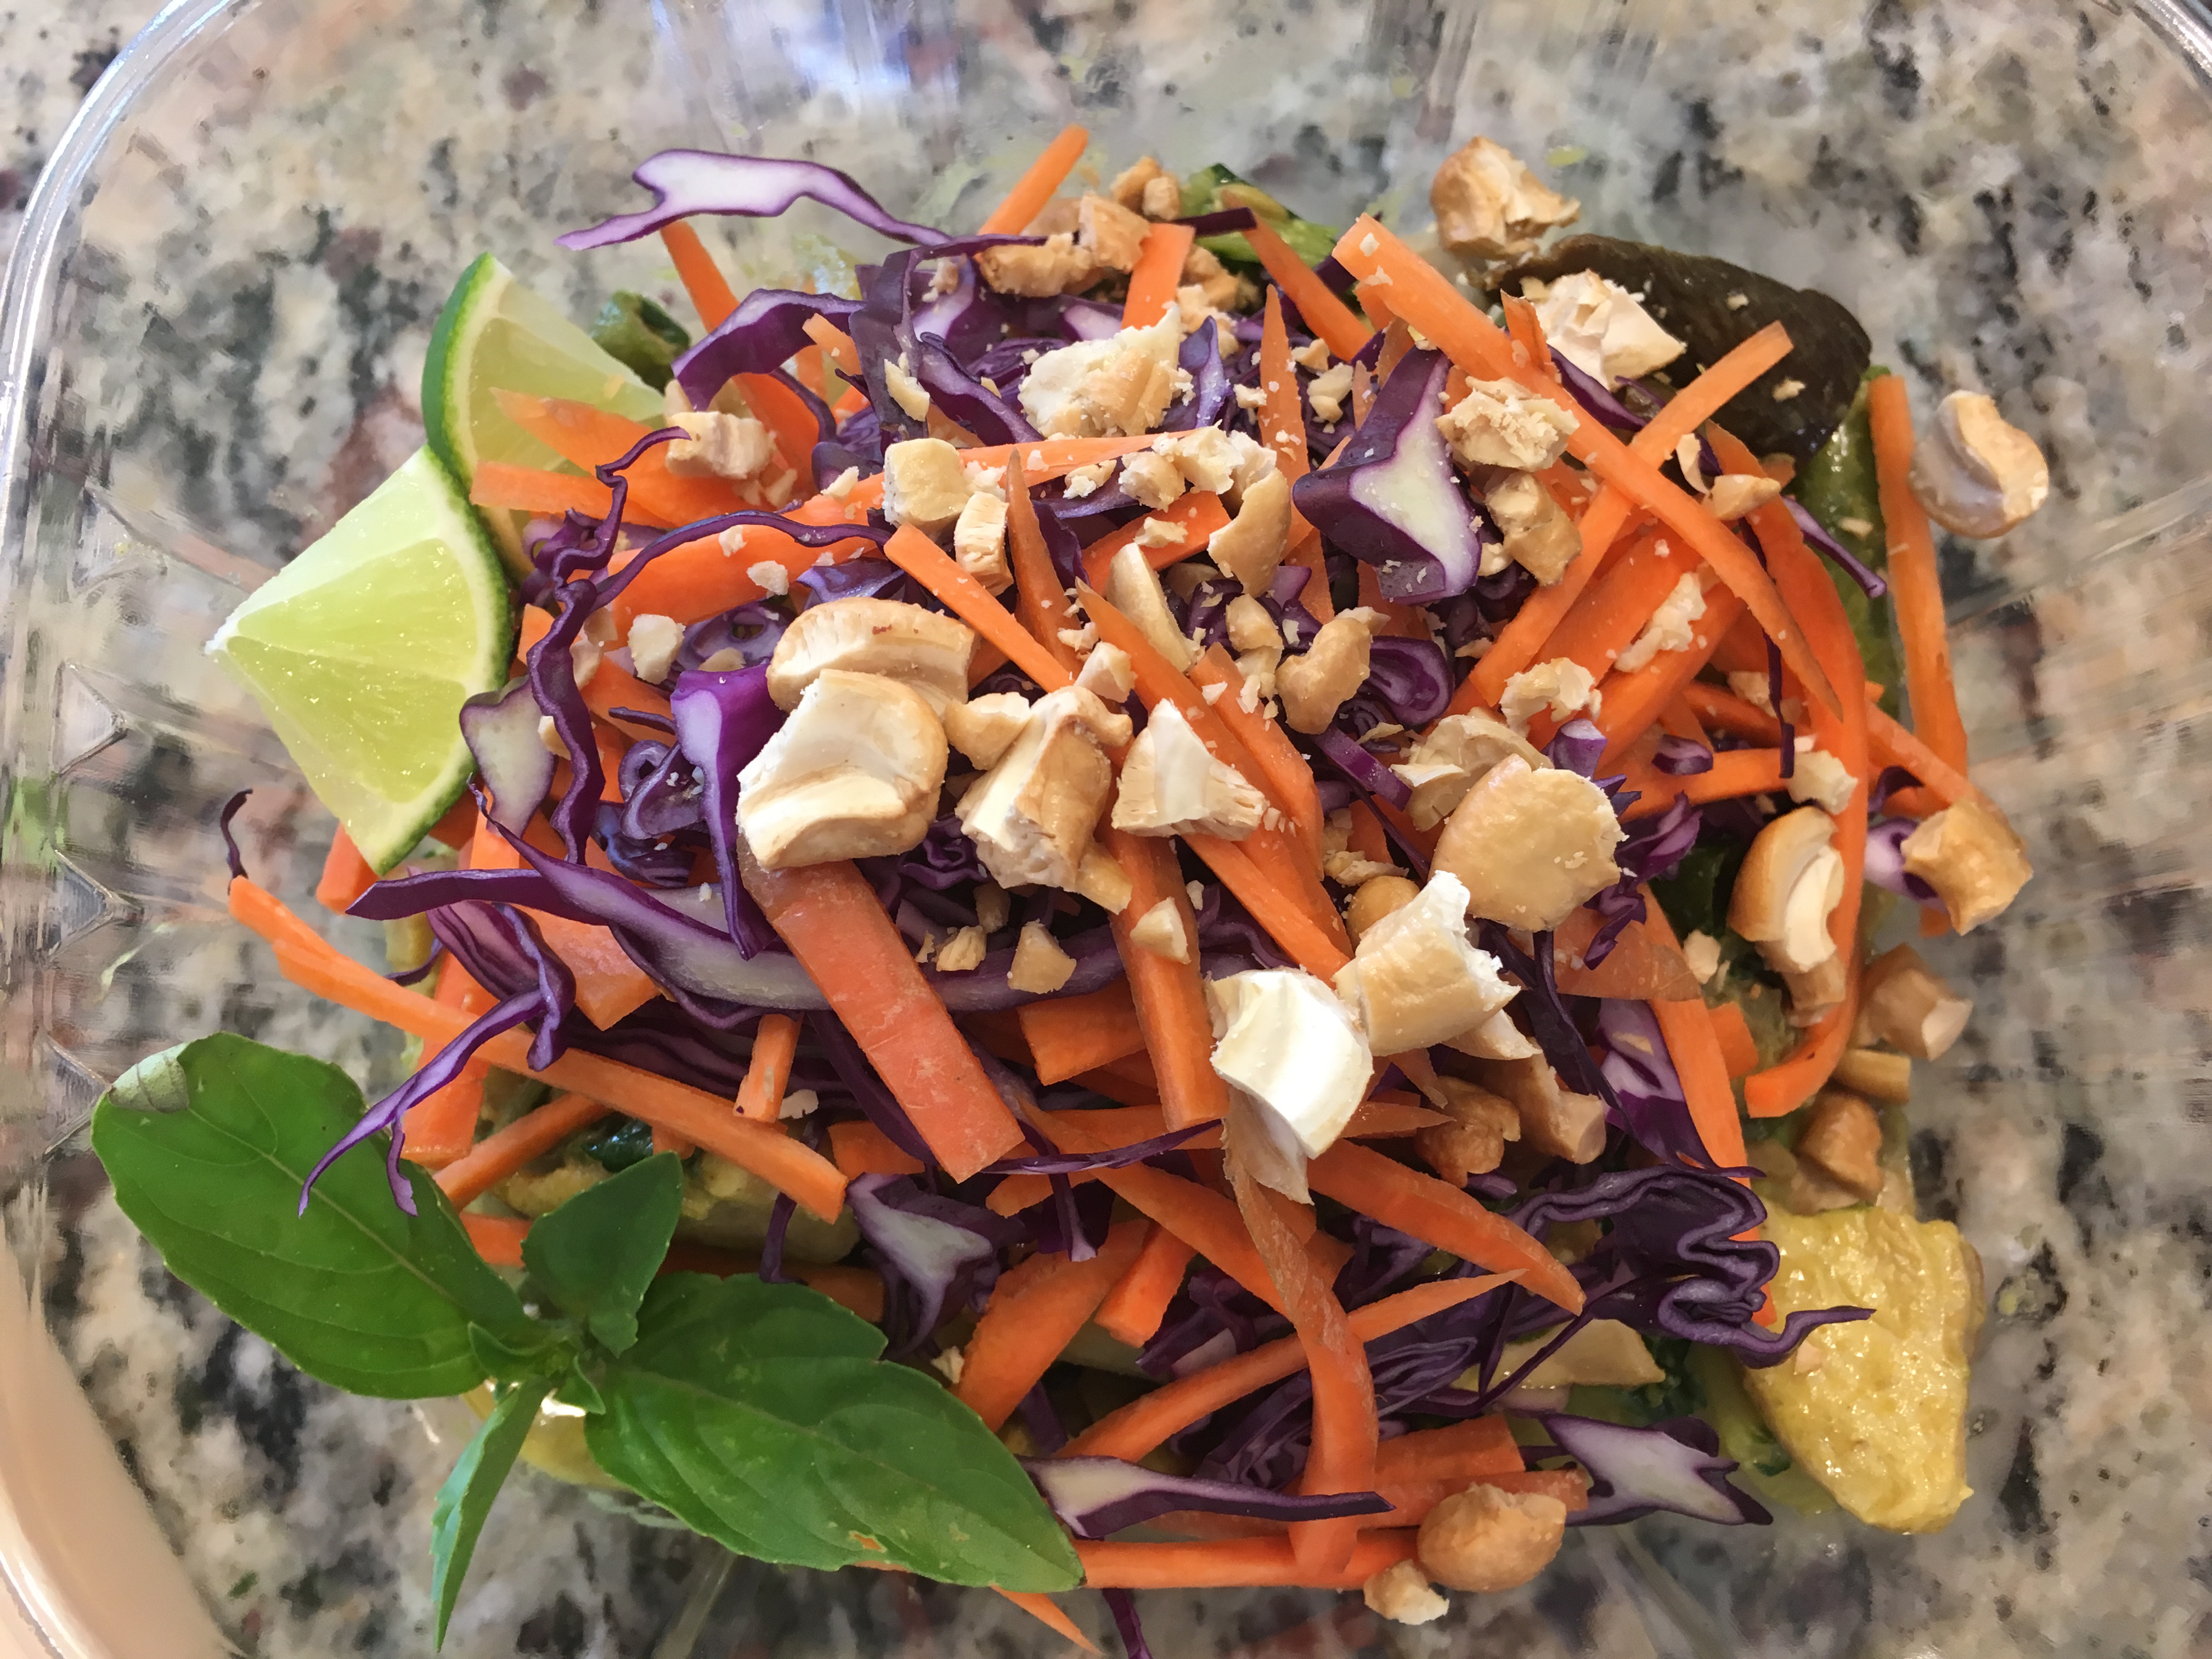
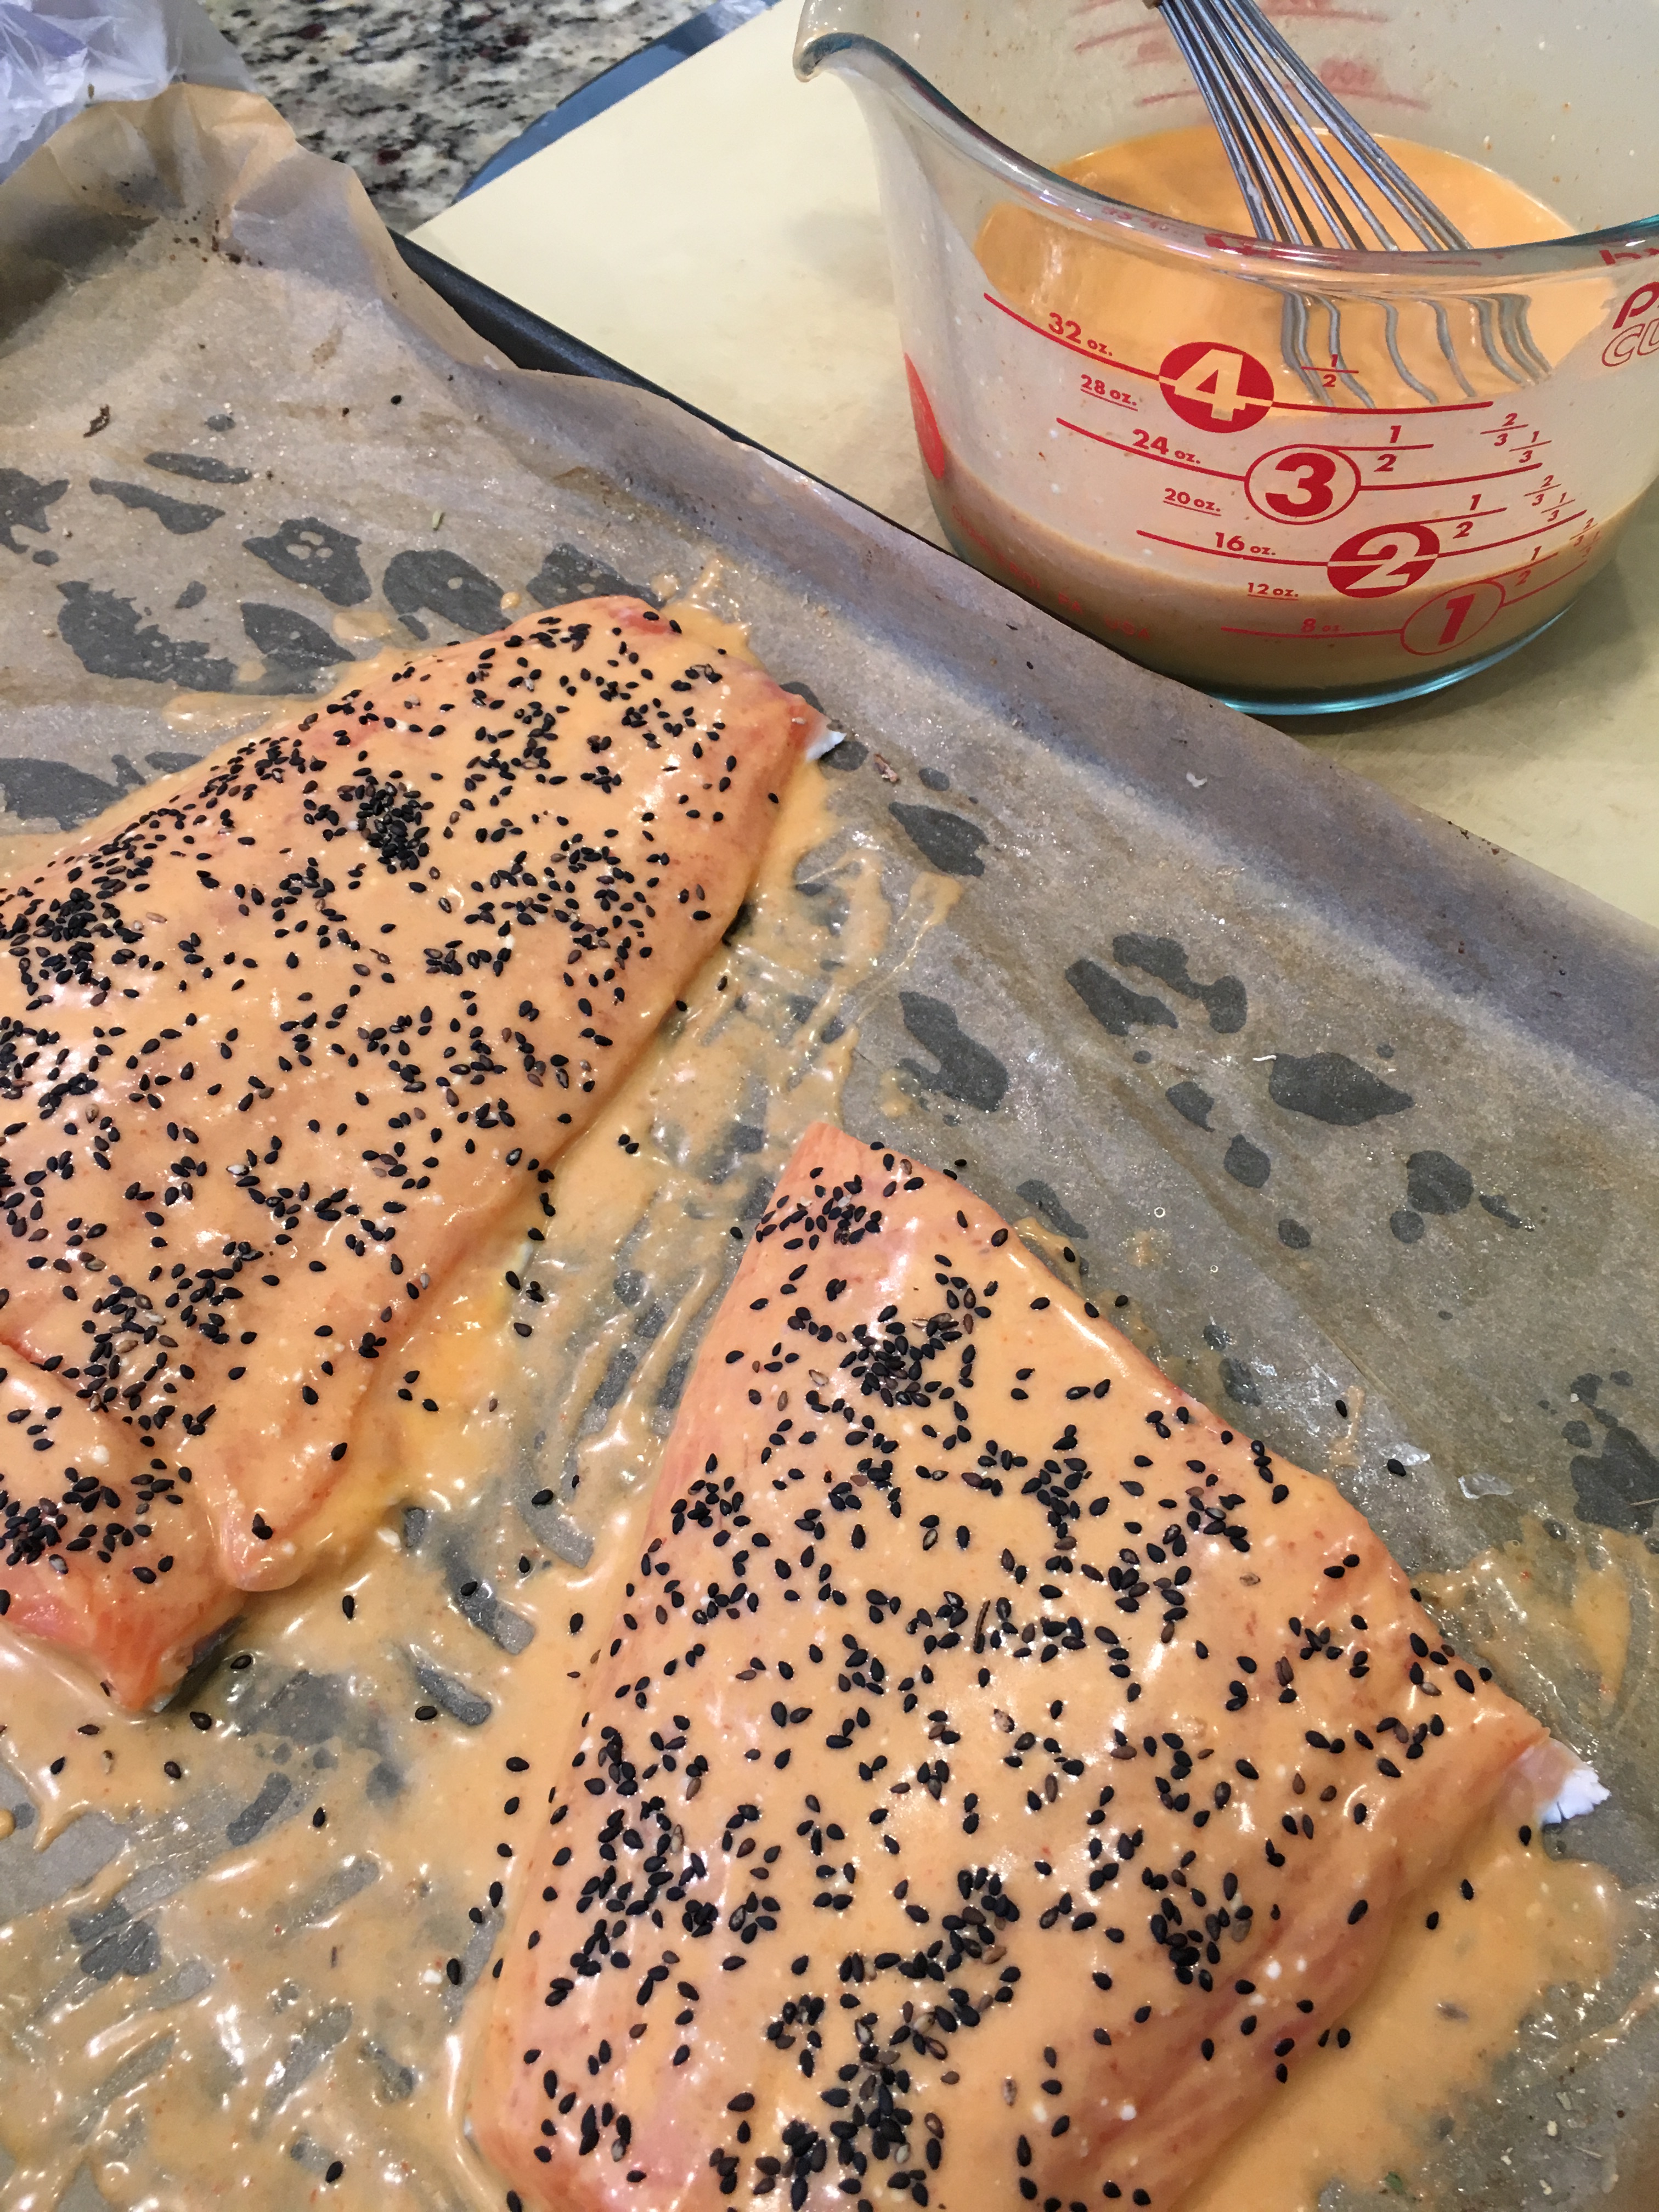
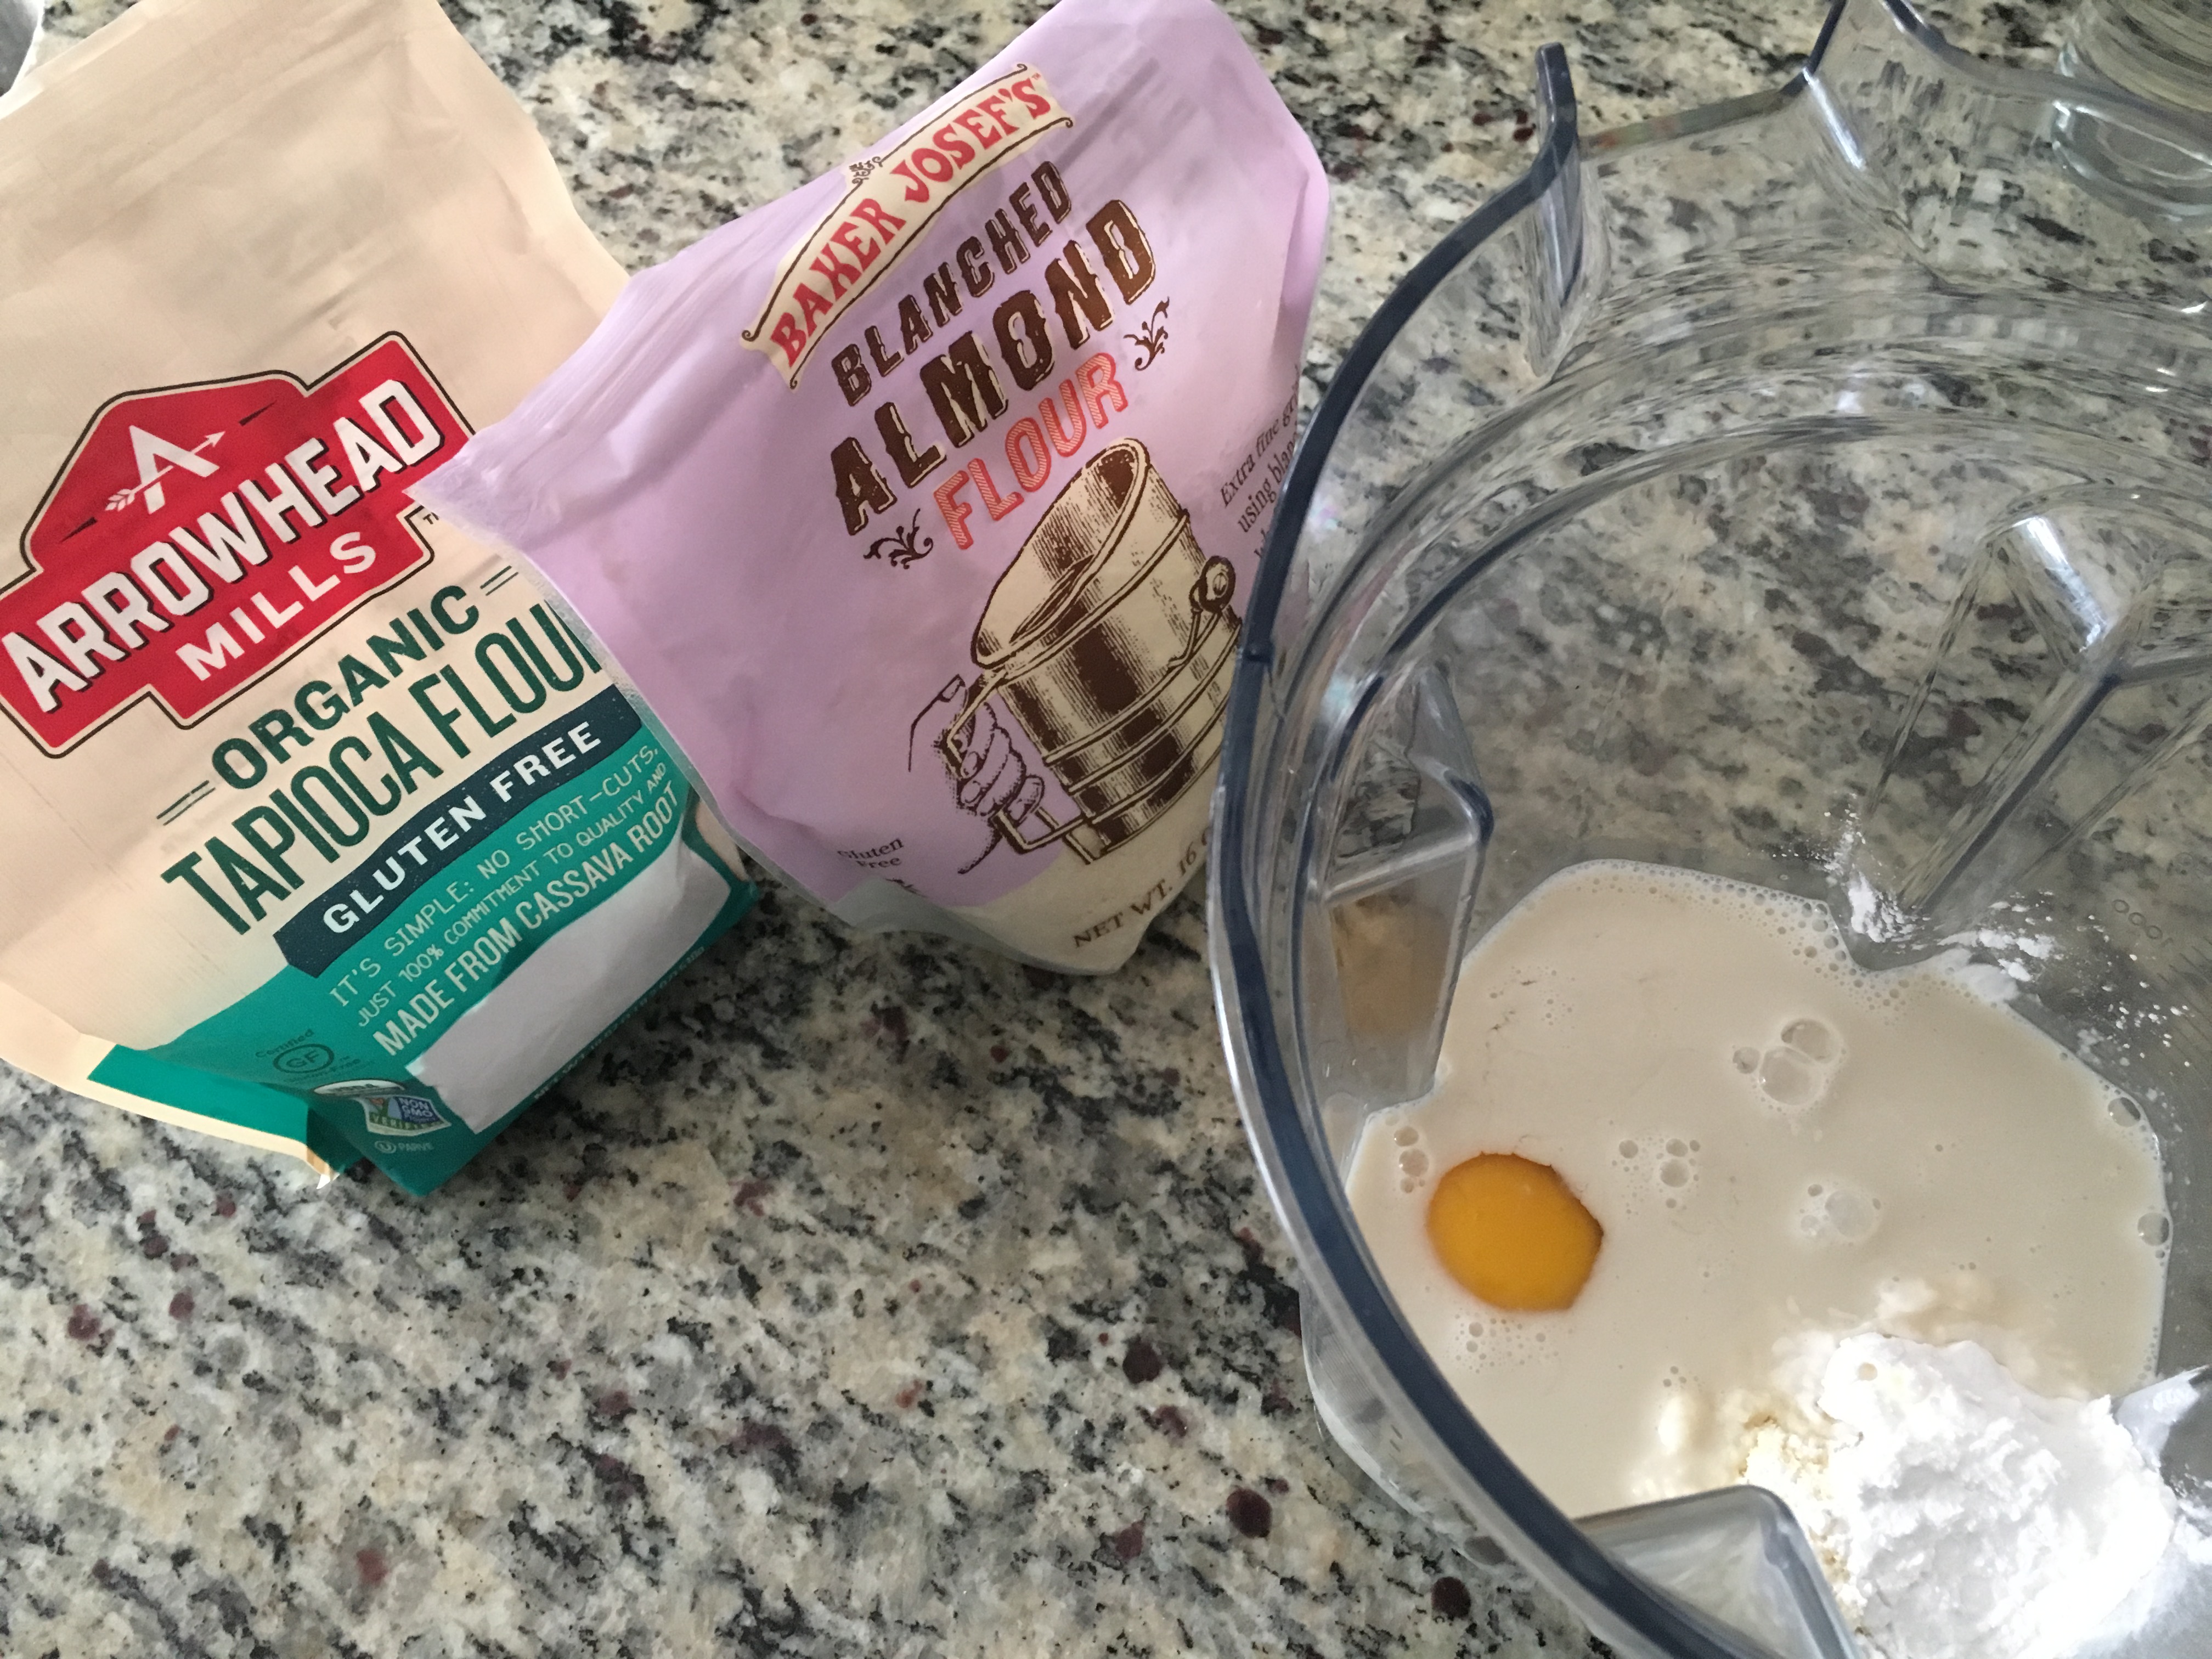
Here’s the recipe for my Auntie Linda’s pumpkin bread. The high ratio of wet ingredients to dry makes this bread incredibly moist. It keeps at room temperature for a week (but how would I know, it never lasts that long!) This recipe makes 2 loaves, perfect for baking one and giving the other away!
Auntie Linda’s Pumpkin Bread
Makes 2 loaves
Ingredients:
2c pumpkin puree (look for BPA-free cans)
1 c neutral oil (I prefer sunflower or safflower)
4 eggs, preferably pasture-raised
3 c granulated sugar (unbleached if possible)
2 1/4 c all-purpose flour
2 tsp sea salt
1 tsp nutmeg
1 tsp cinnamon
1 tsp cloves
1 tsp baking powder
1 tsp baking soda
optional add-ins:
1 c walnuts or pecans, roughly chopped, dried cranberries, chocolate chips or diced apples
Instructions:
Preheat oven to 350°.
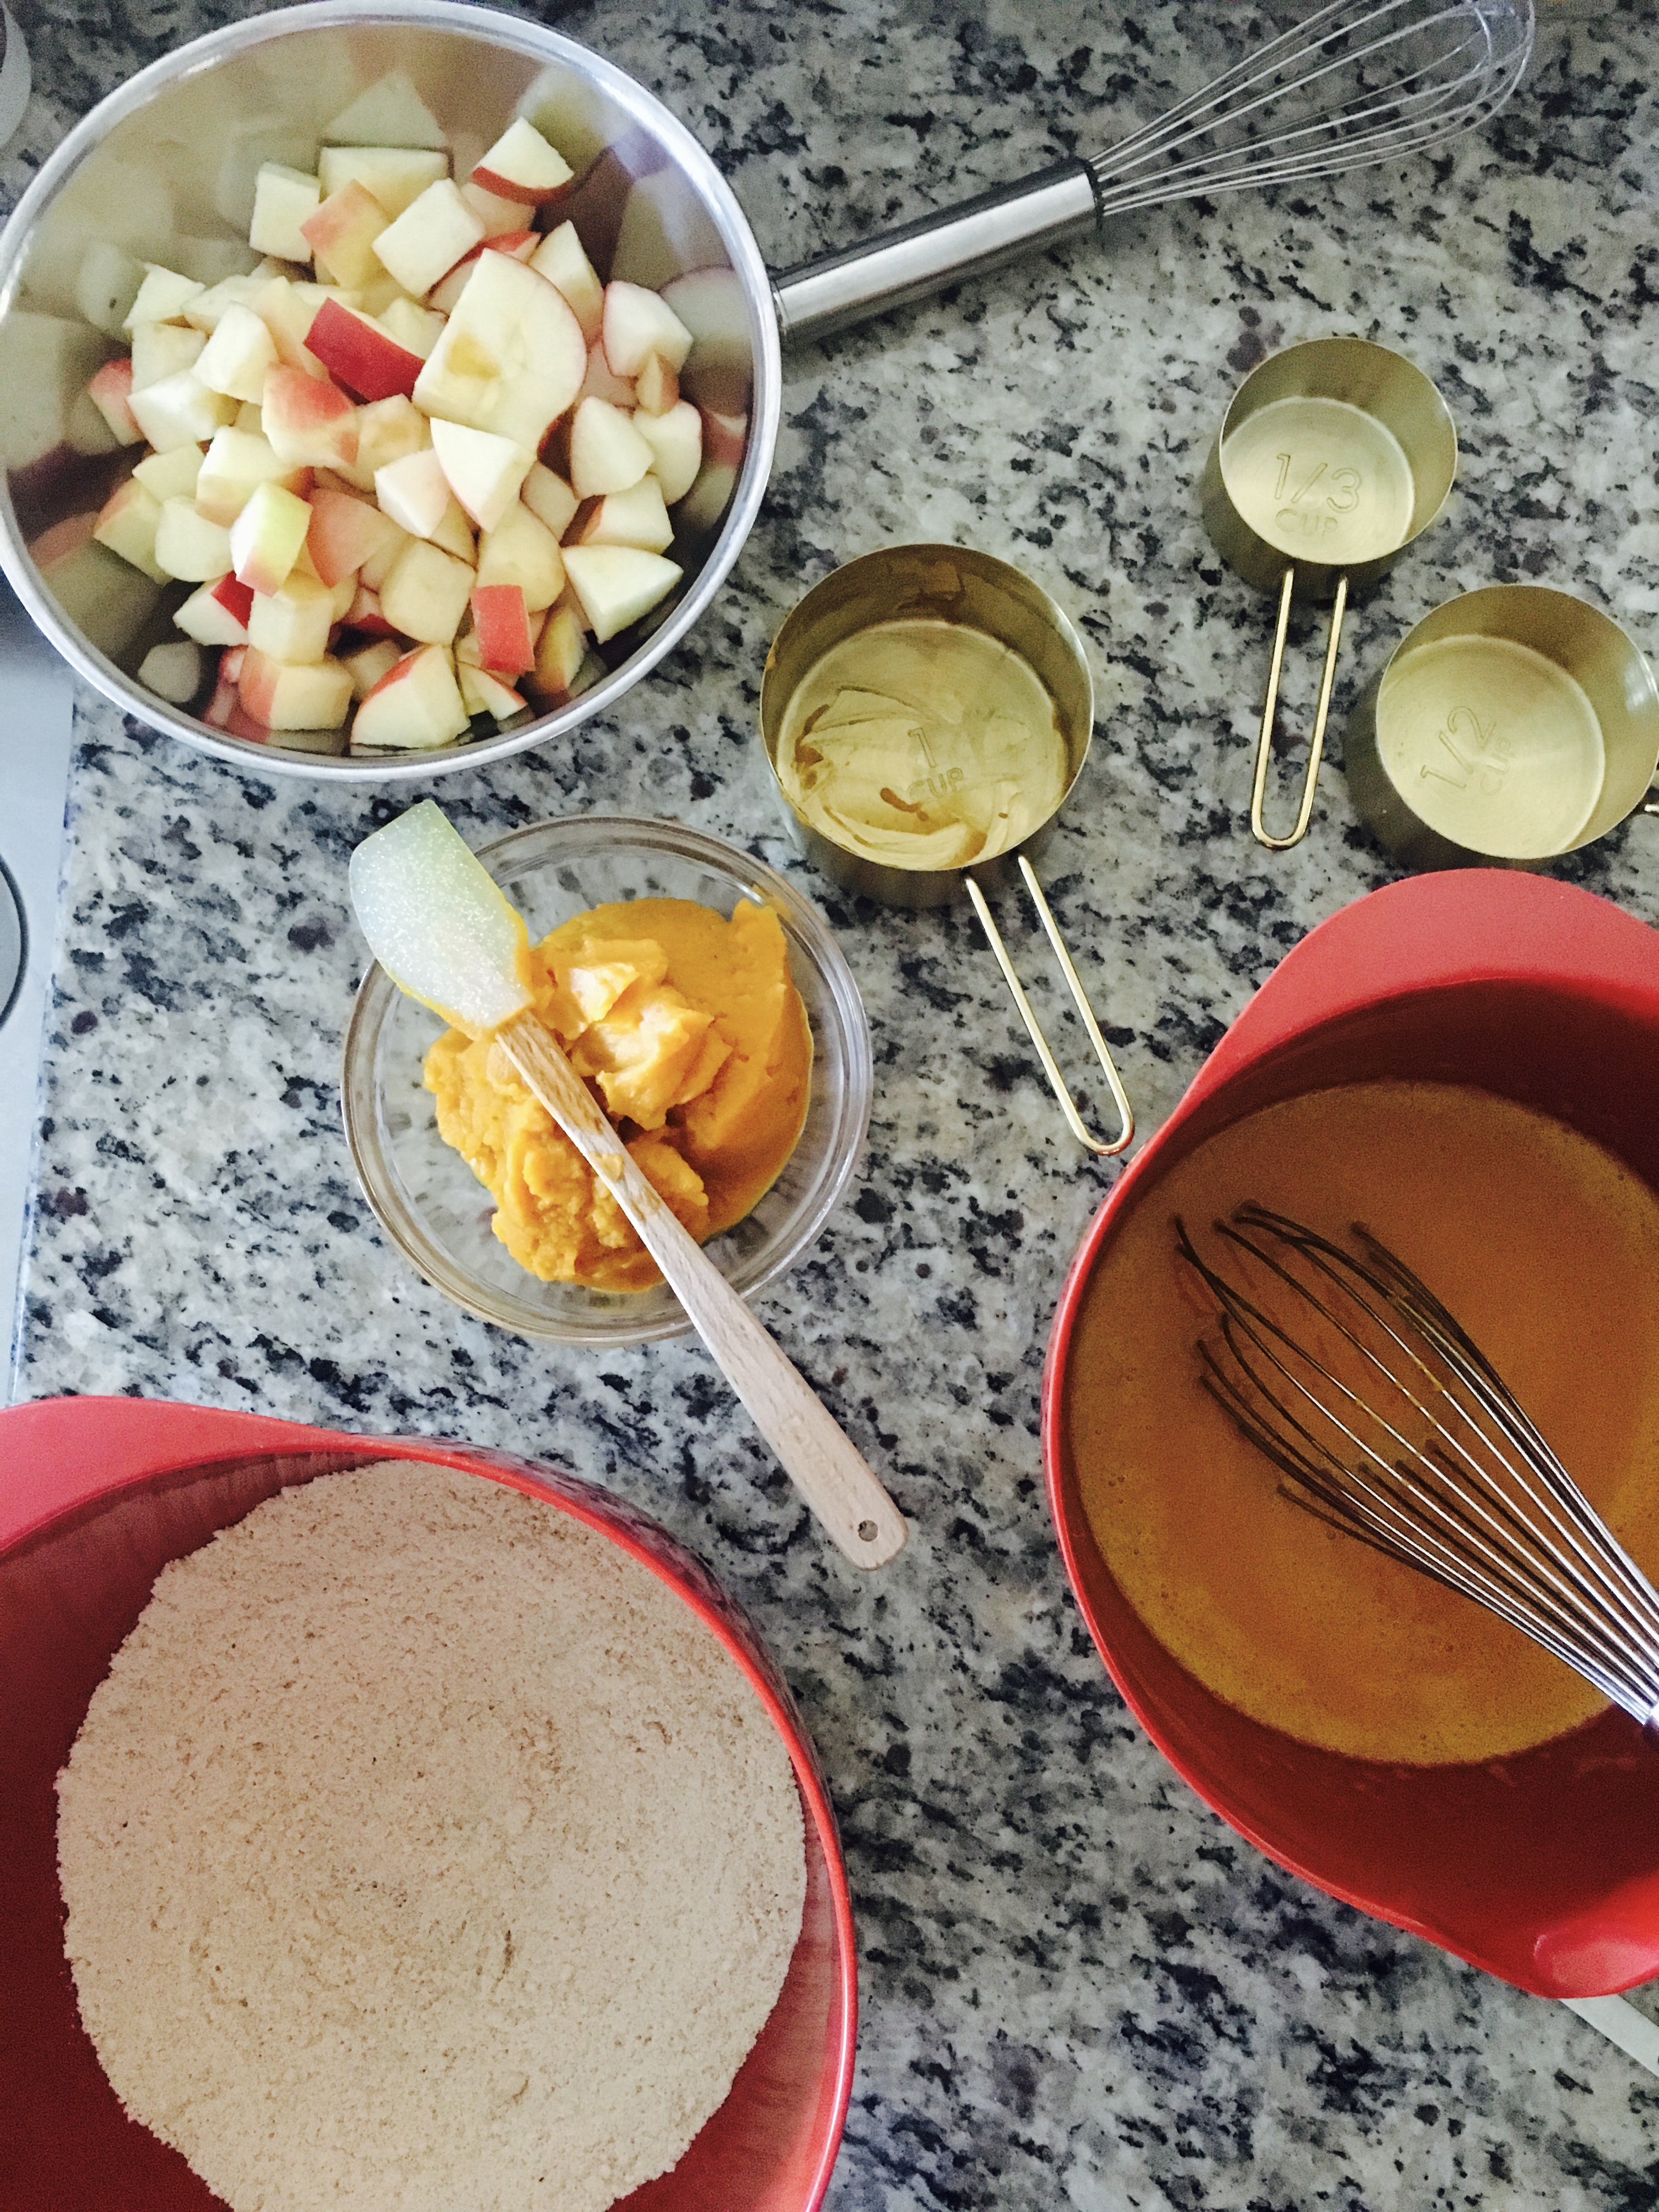
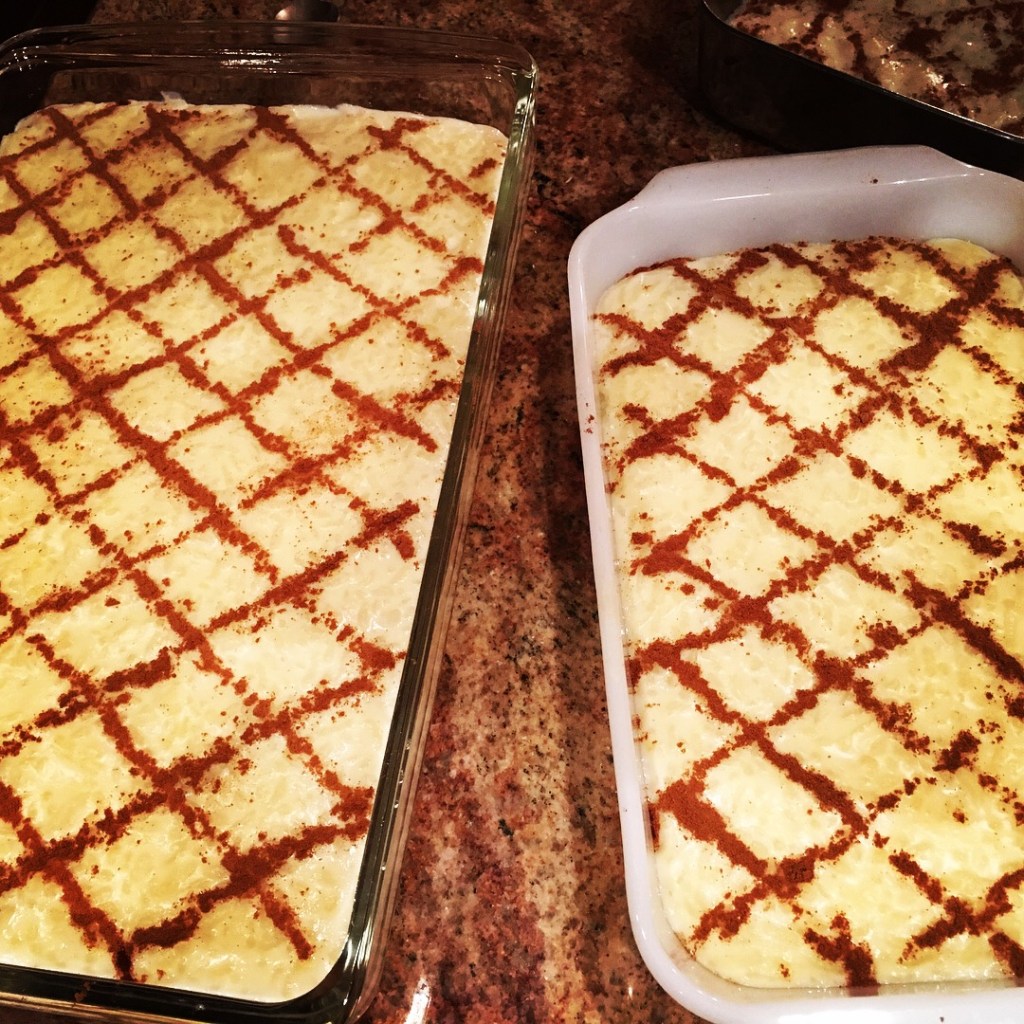
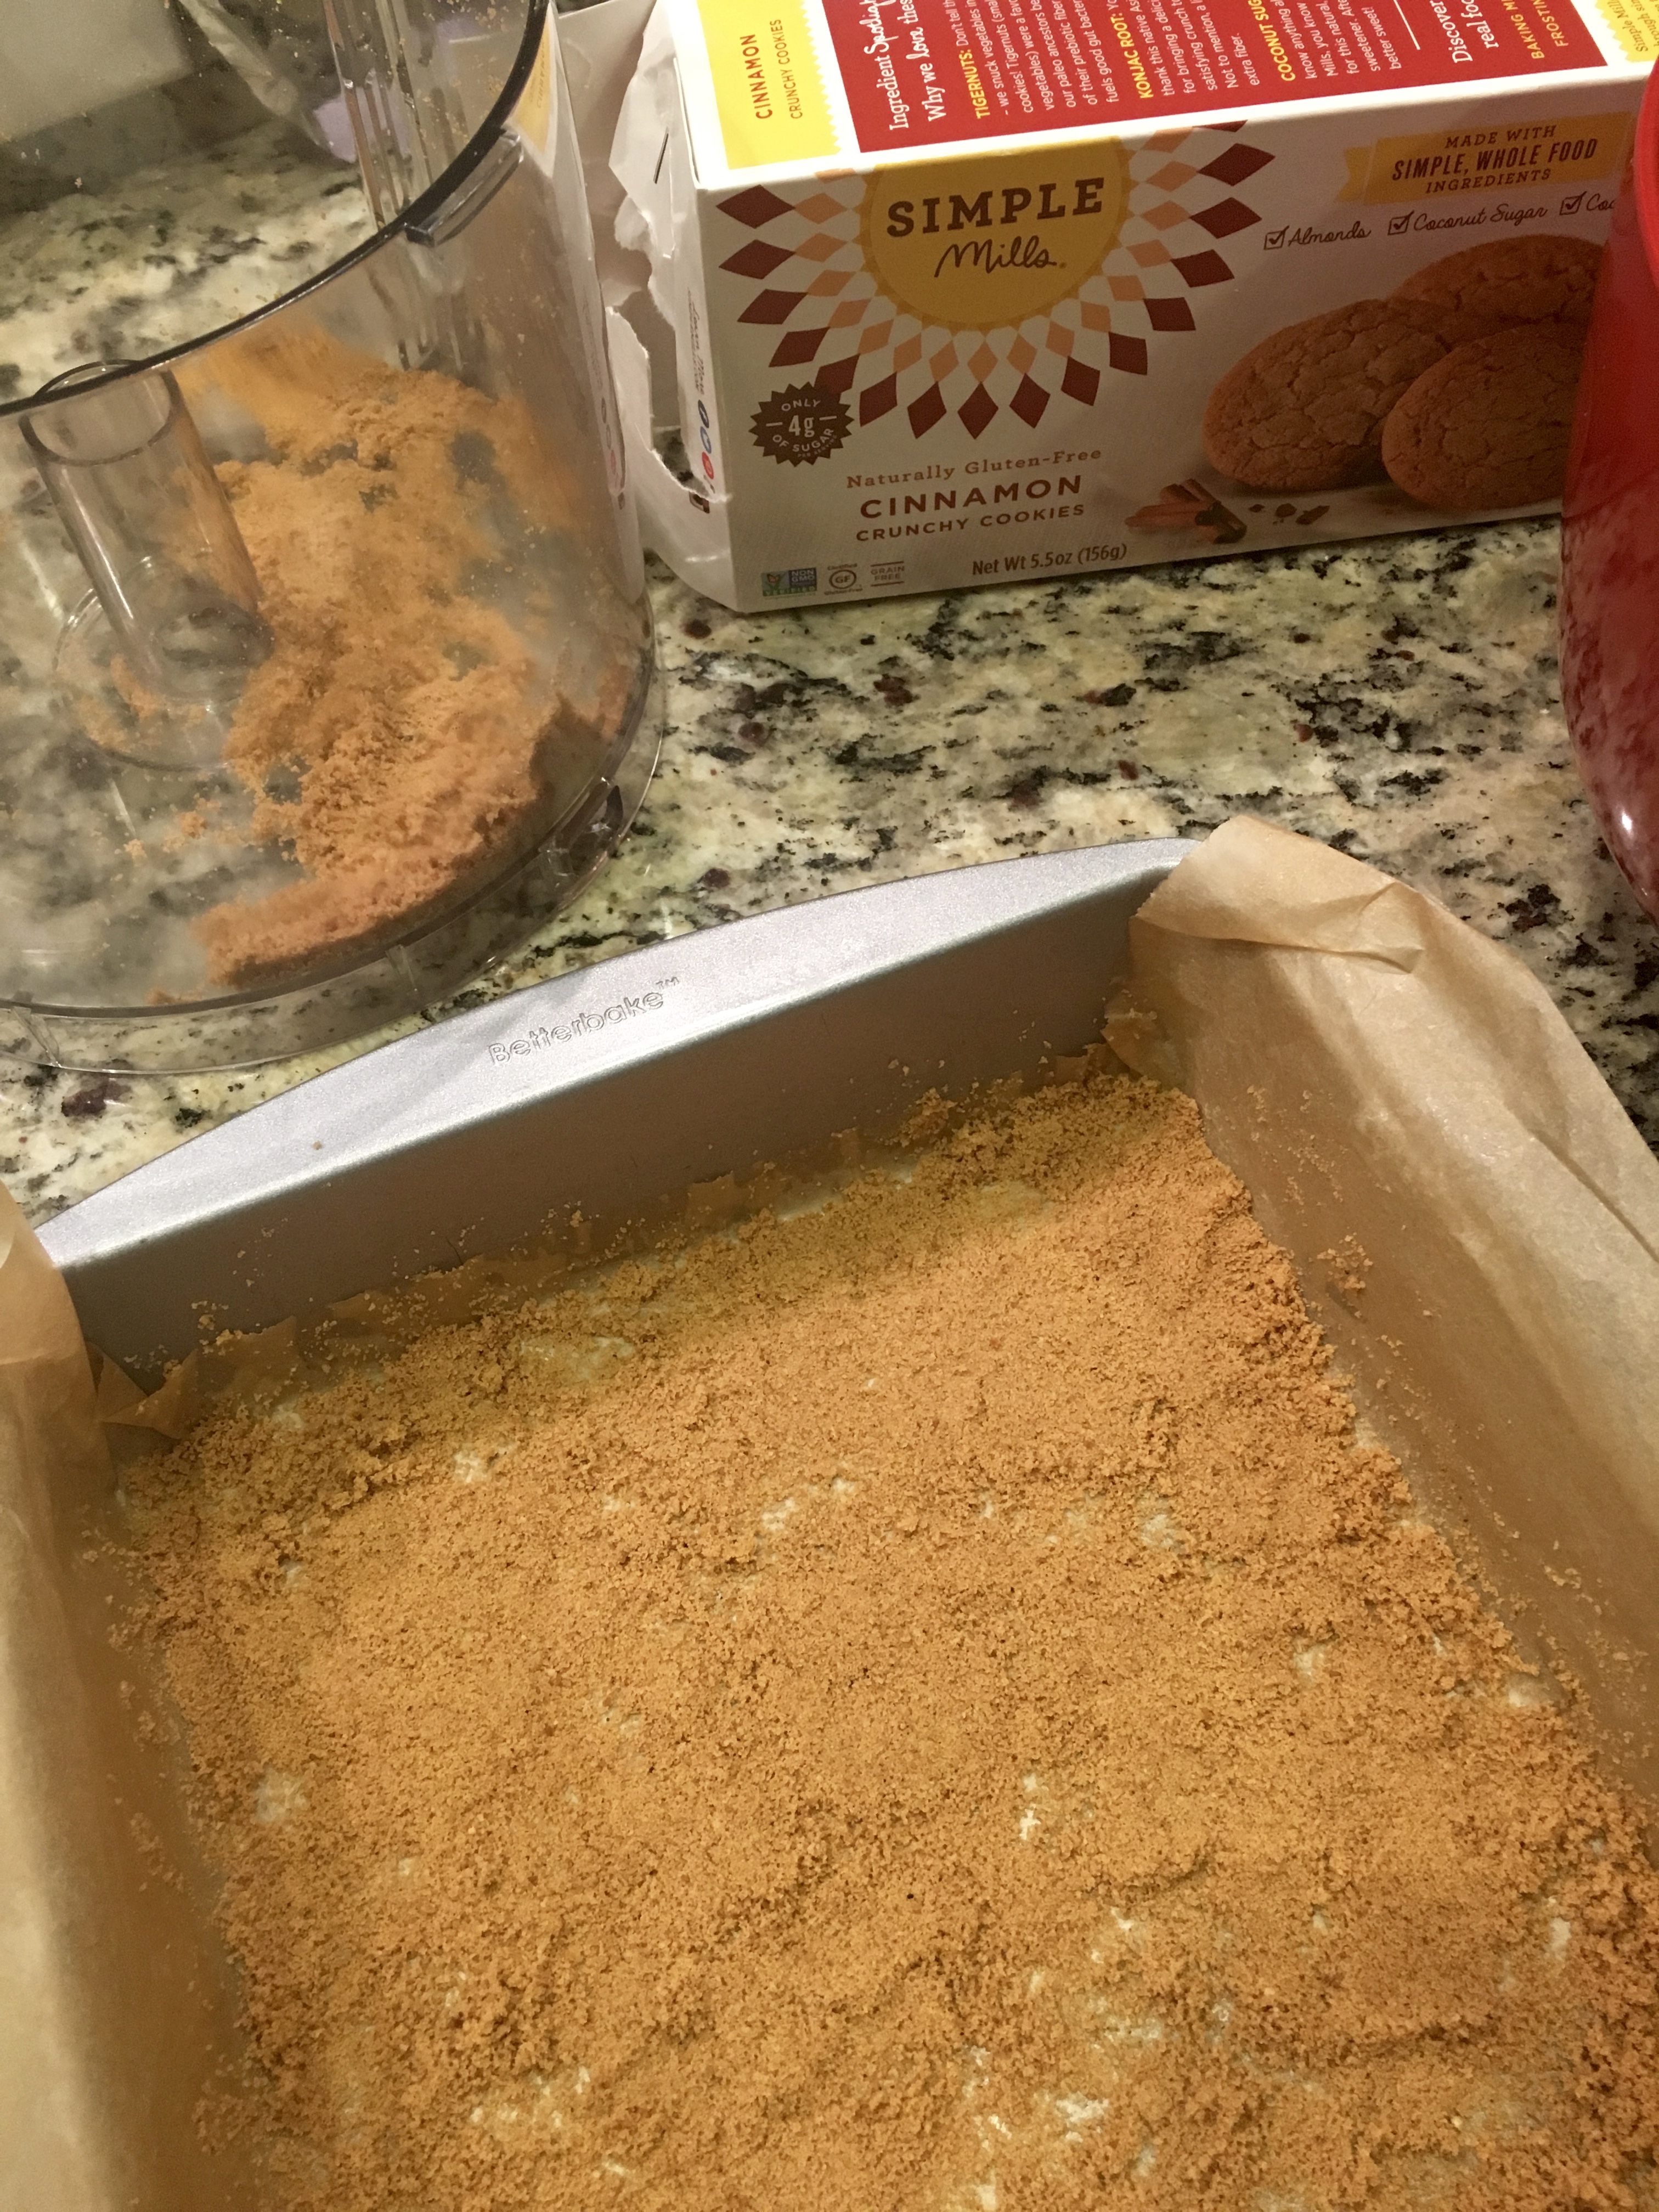
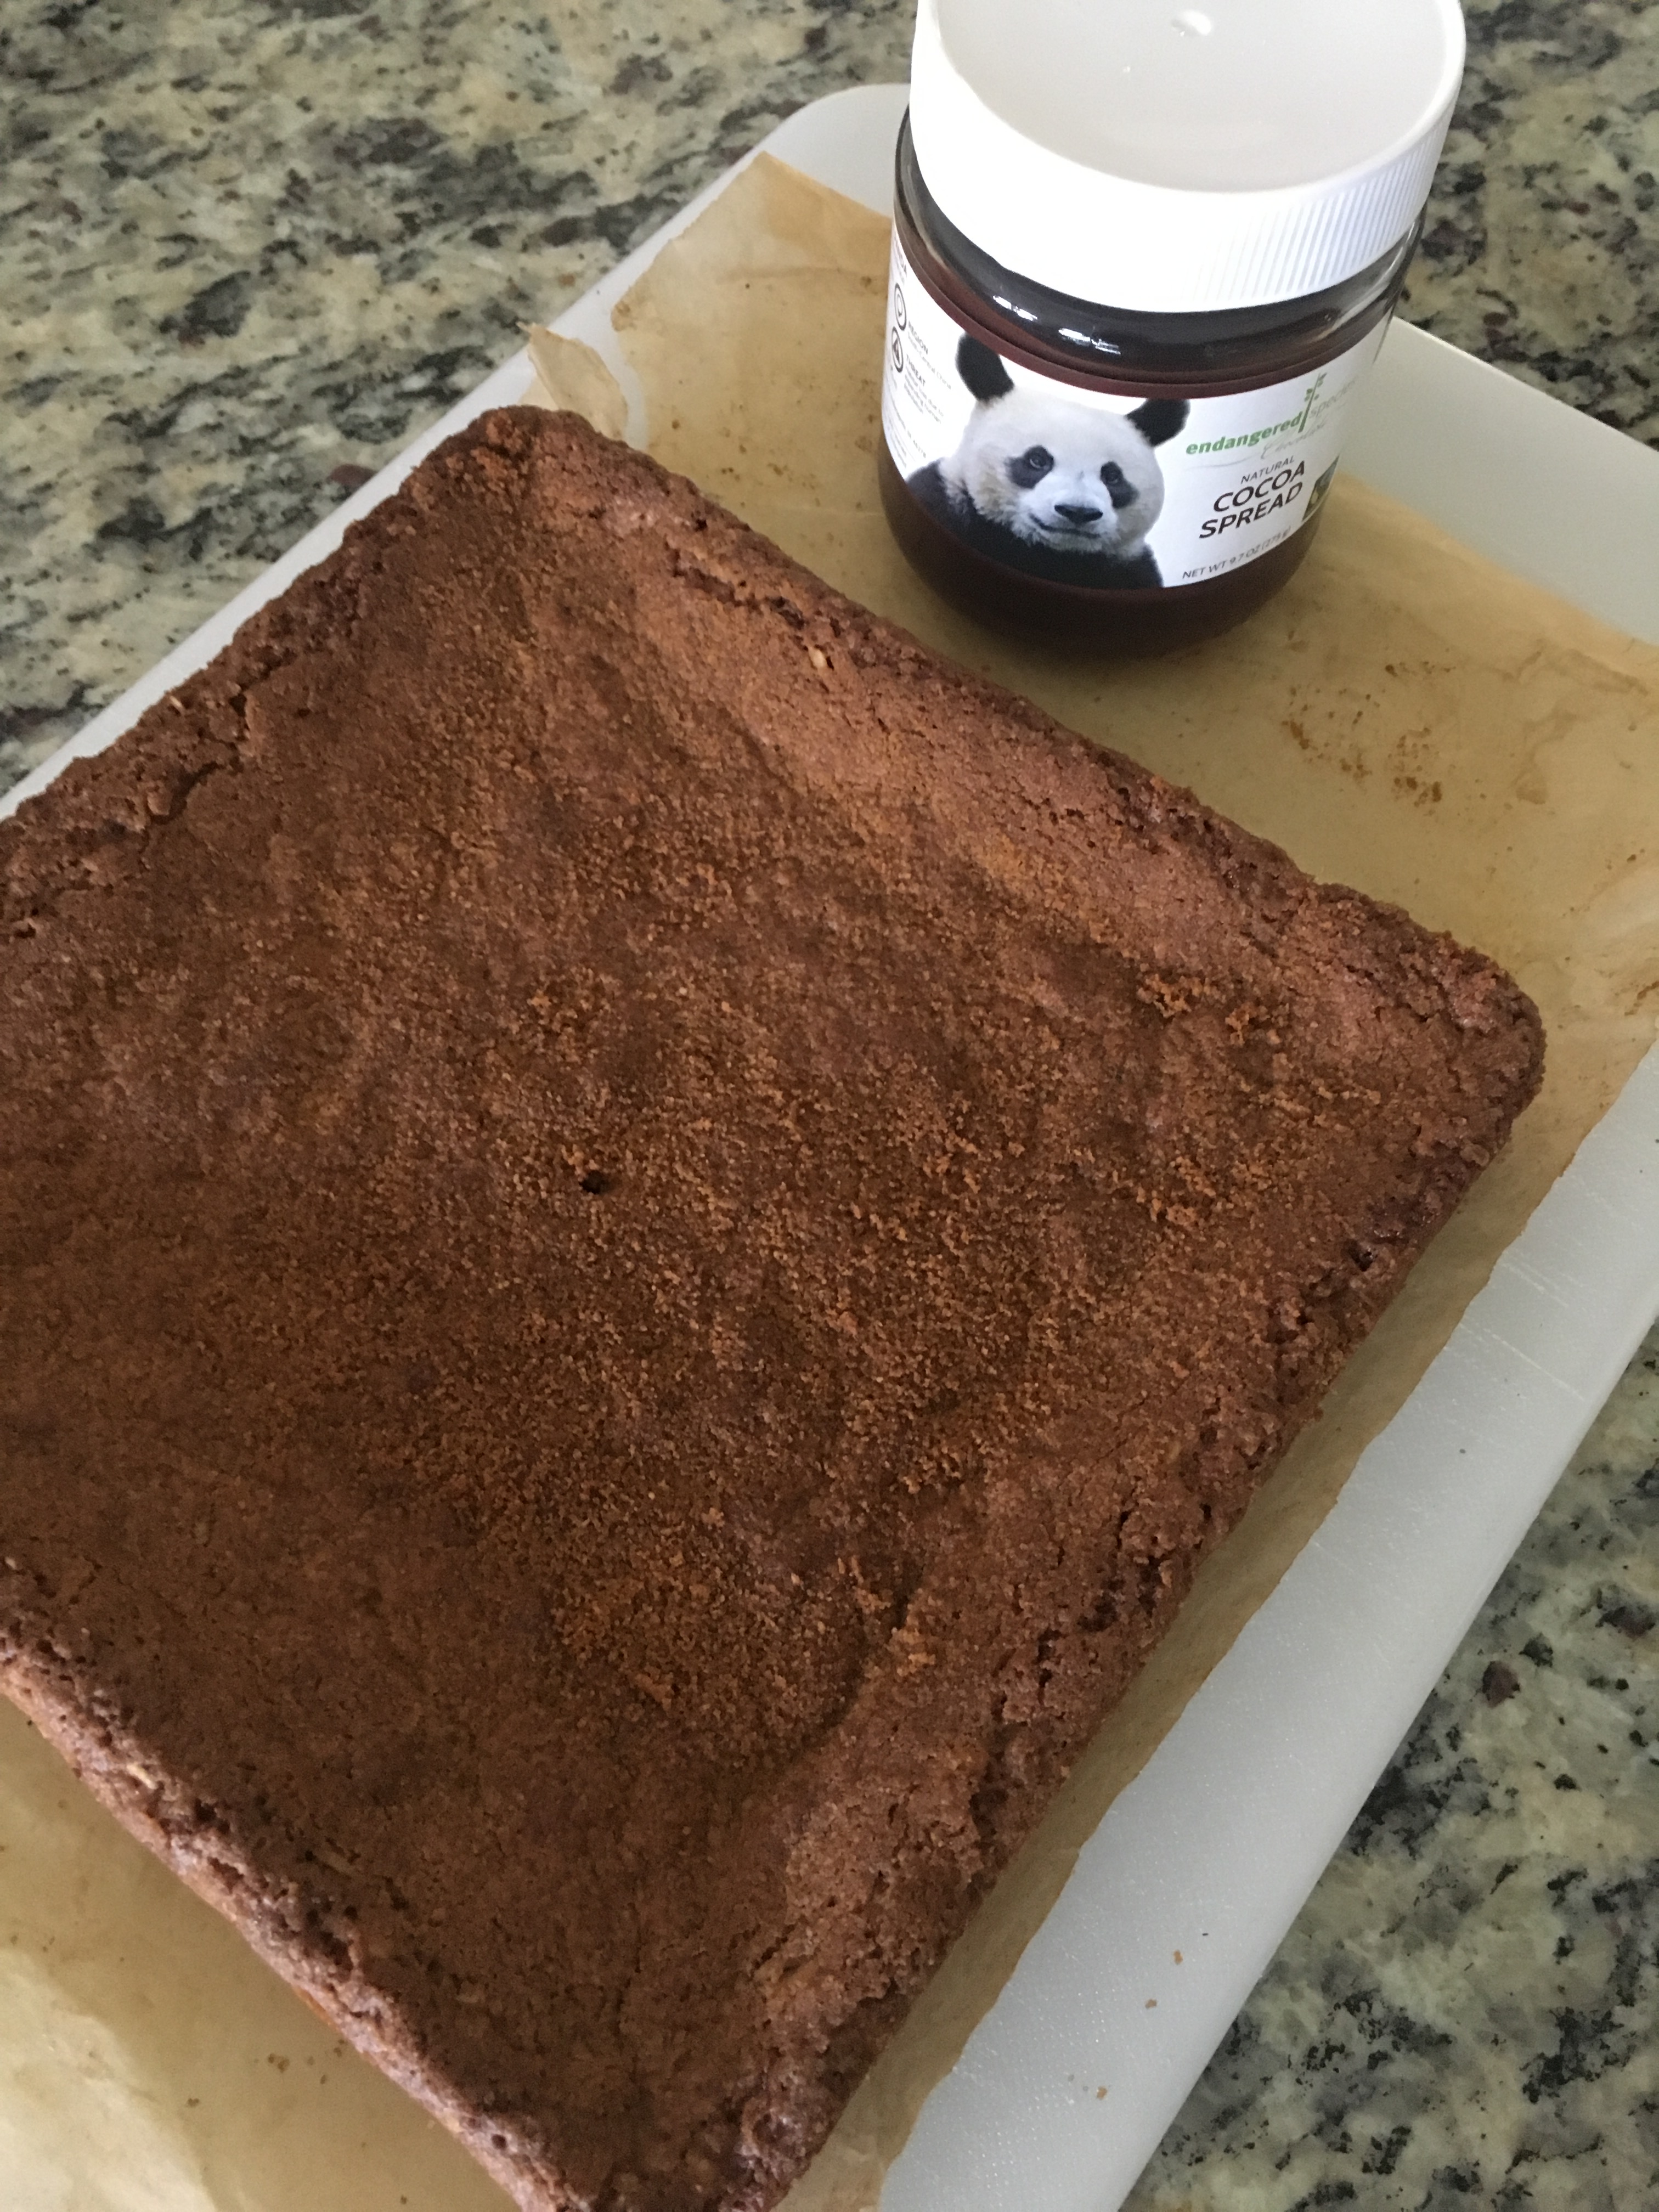
In a large bowl, whisk together the eggs, sugar and pumpkin puree. Separately, whisk together flour, salt, spices, baking powder and baking soda. Add dry ingredients to pumpkin mixture and mix until just combined. Mix in nuts cranberries, or chocolate chips if using. Grease 2, 9″ loaf pans then line with parchment. Pour batter into pans and bake for 50 minutes or until a cake tester inserted into the center of the loaf comes out clean (a bit of crumbs may cling to your tester and that’s fine, just make sure the batter in the center of the pan has fully cooked).
Let cool on a wire rack, then keep wrapped at room temperature for up to a week.
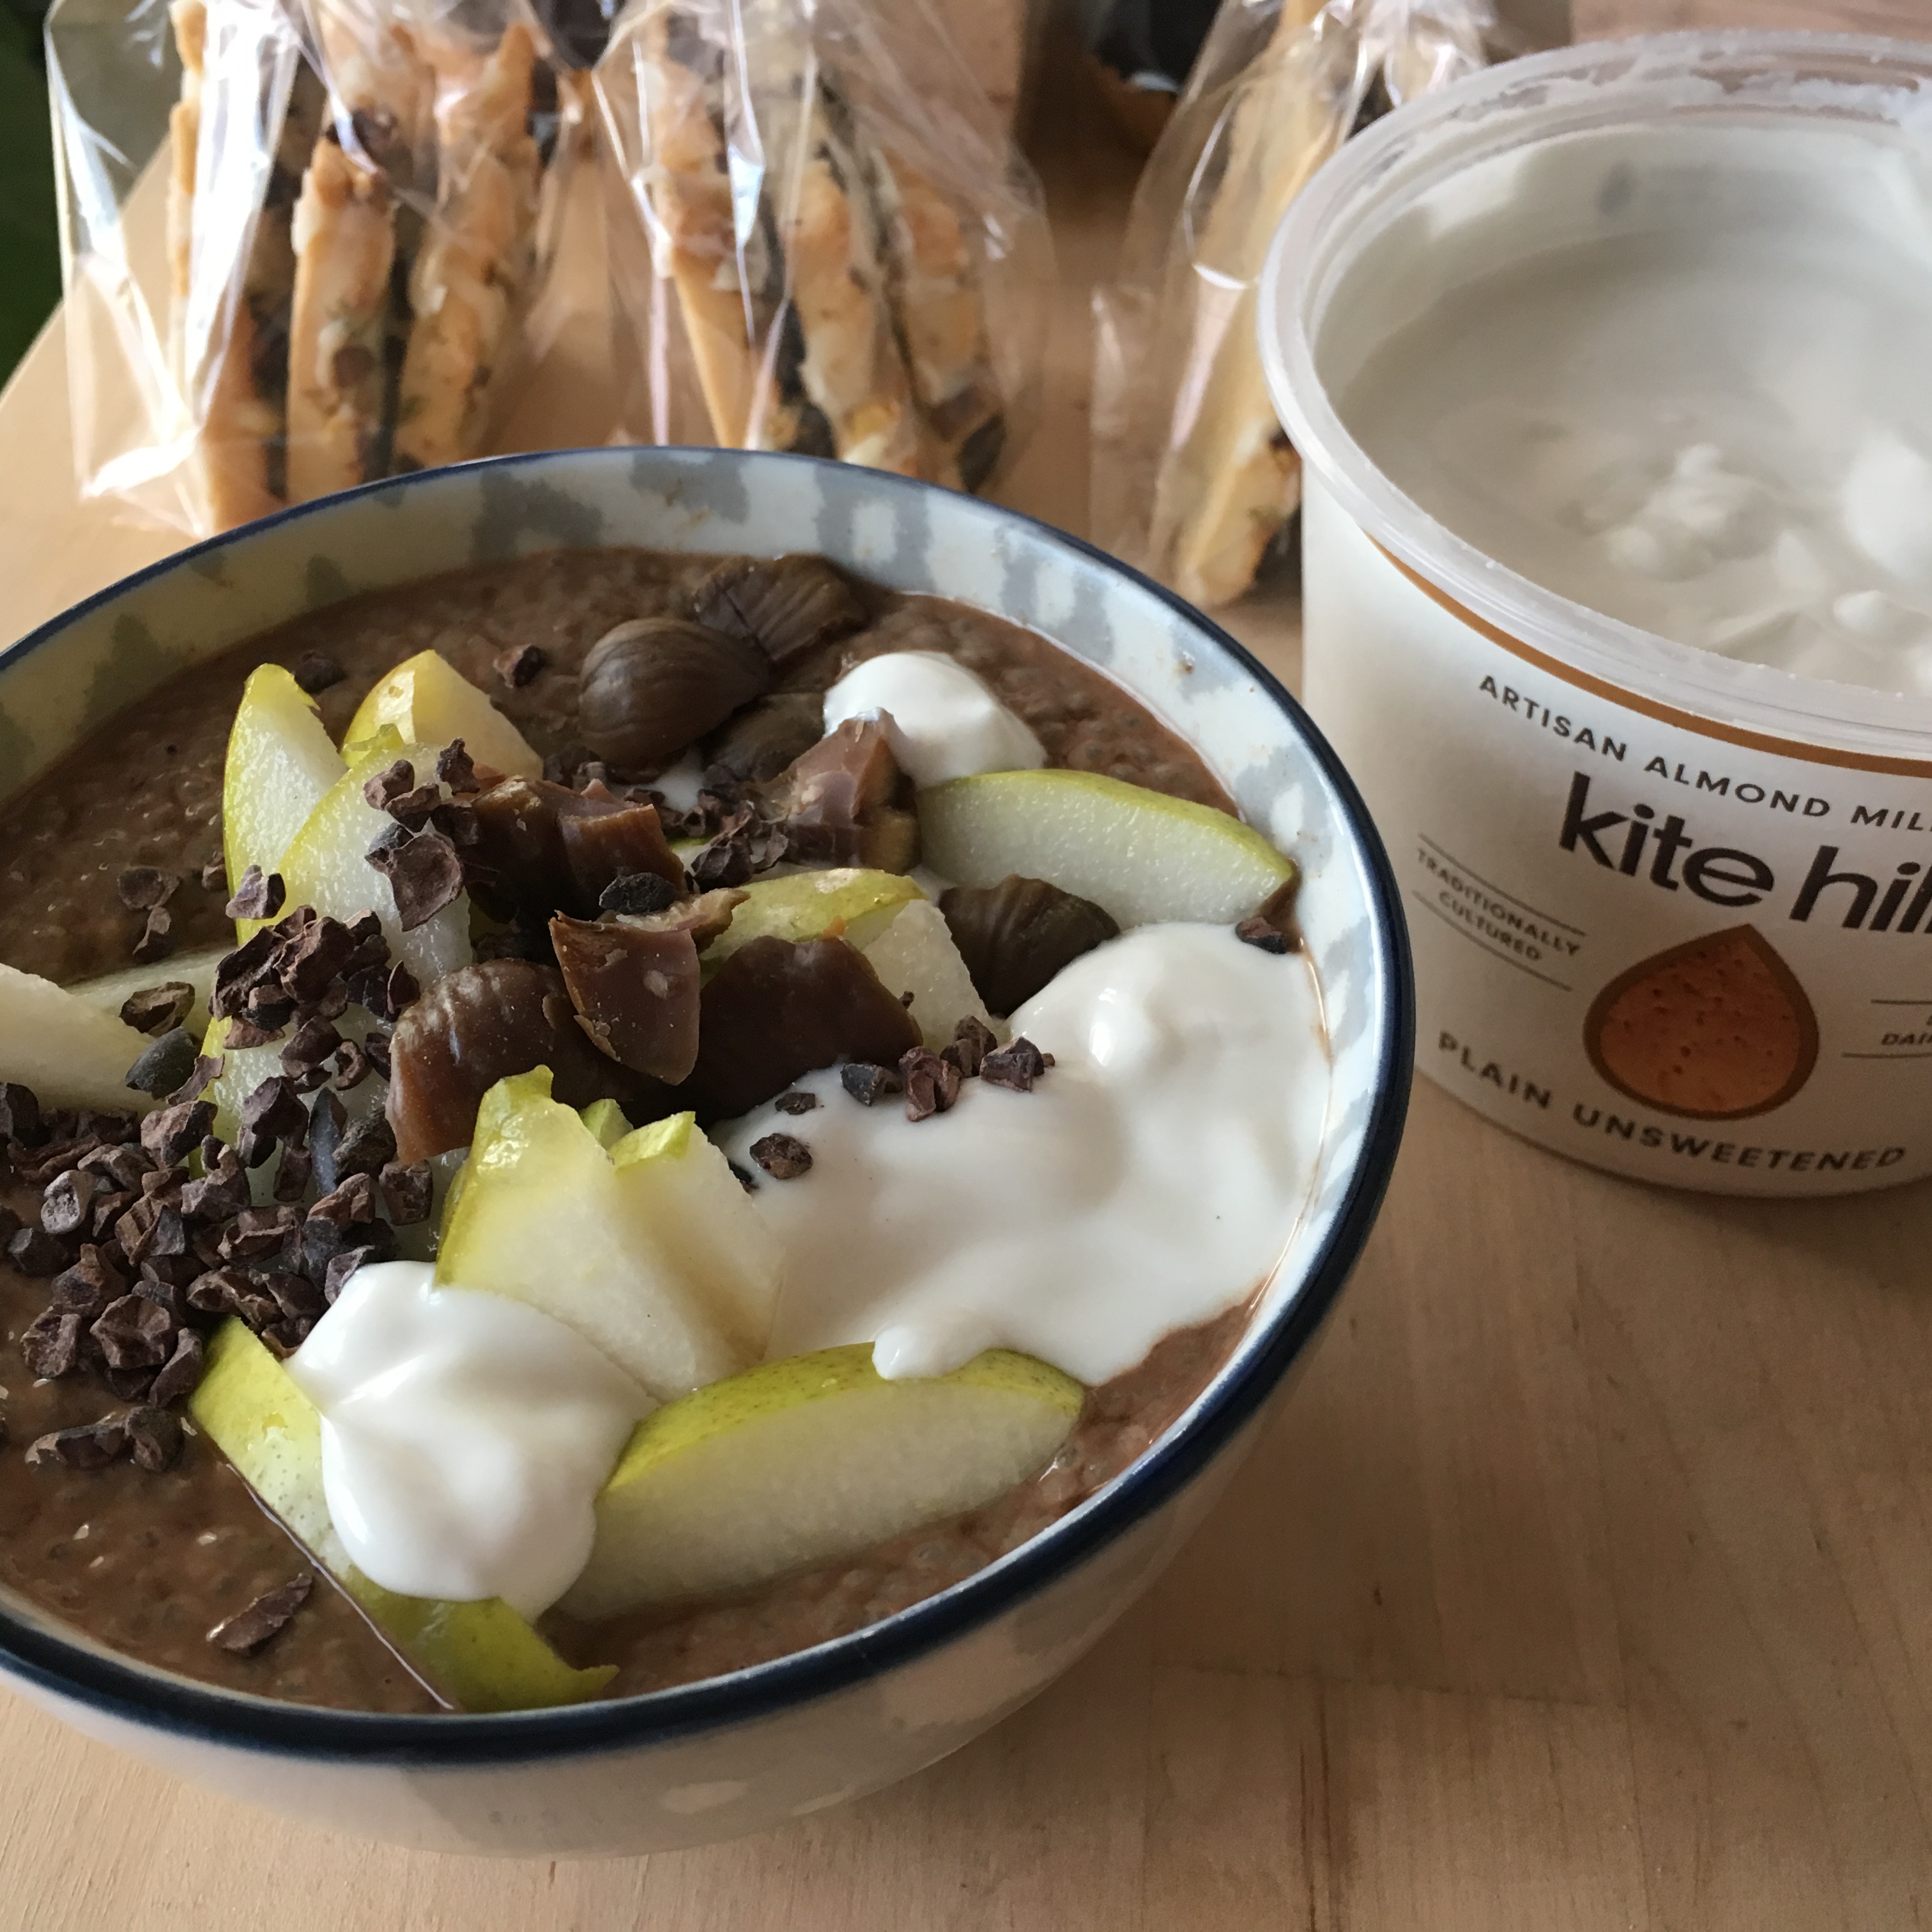
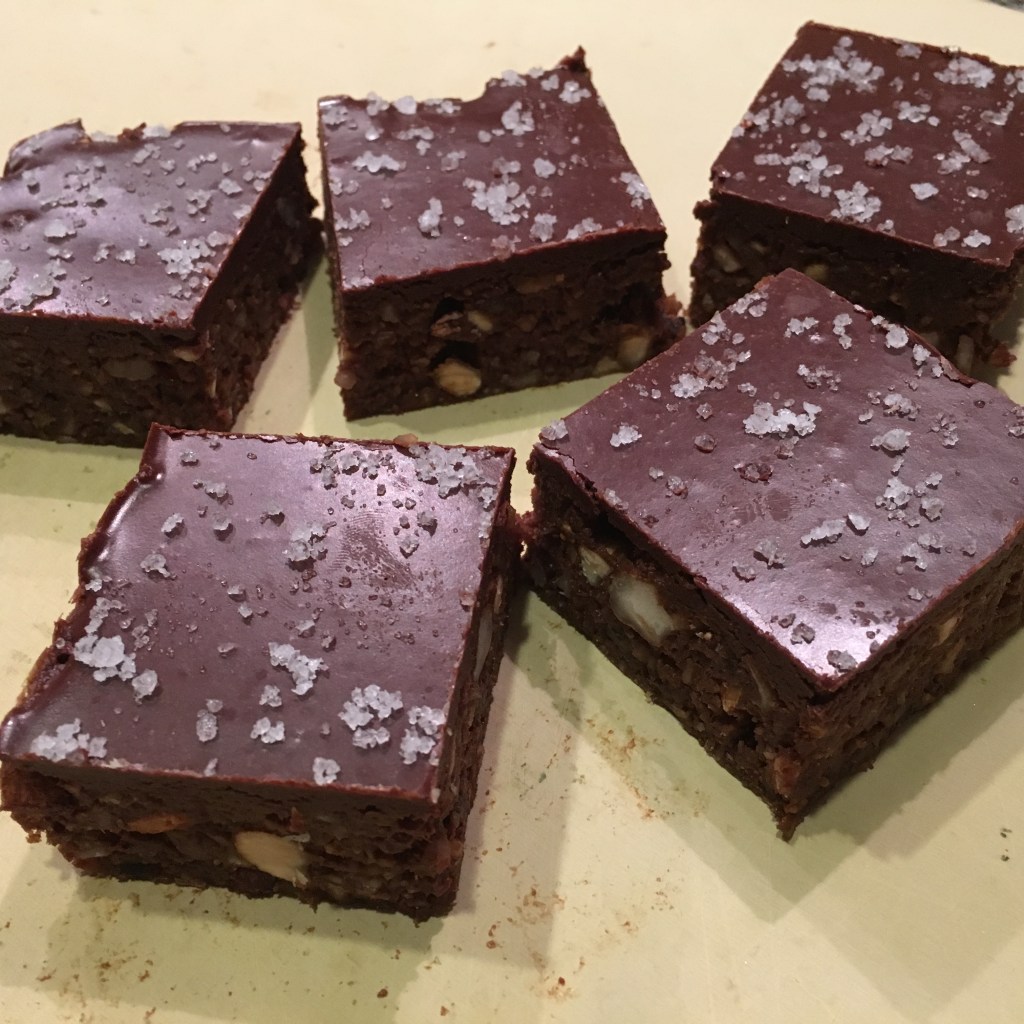
Paleo Pumpkin Bread
Lightly sweetened with maple syrup and packed with protein, fiber & healthy fats, you can feel good about eating this pumpkin bread any time of day! Also makes 2 loaves…you know what to do with that second one!
Ingredients:
Wet ingredients
1, 15oz can pumpkin puree (look for BPA-free cans)
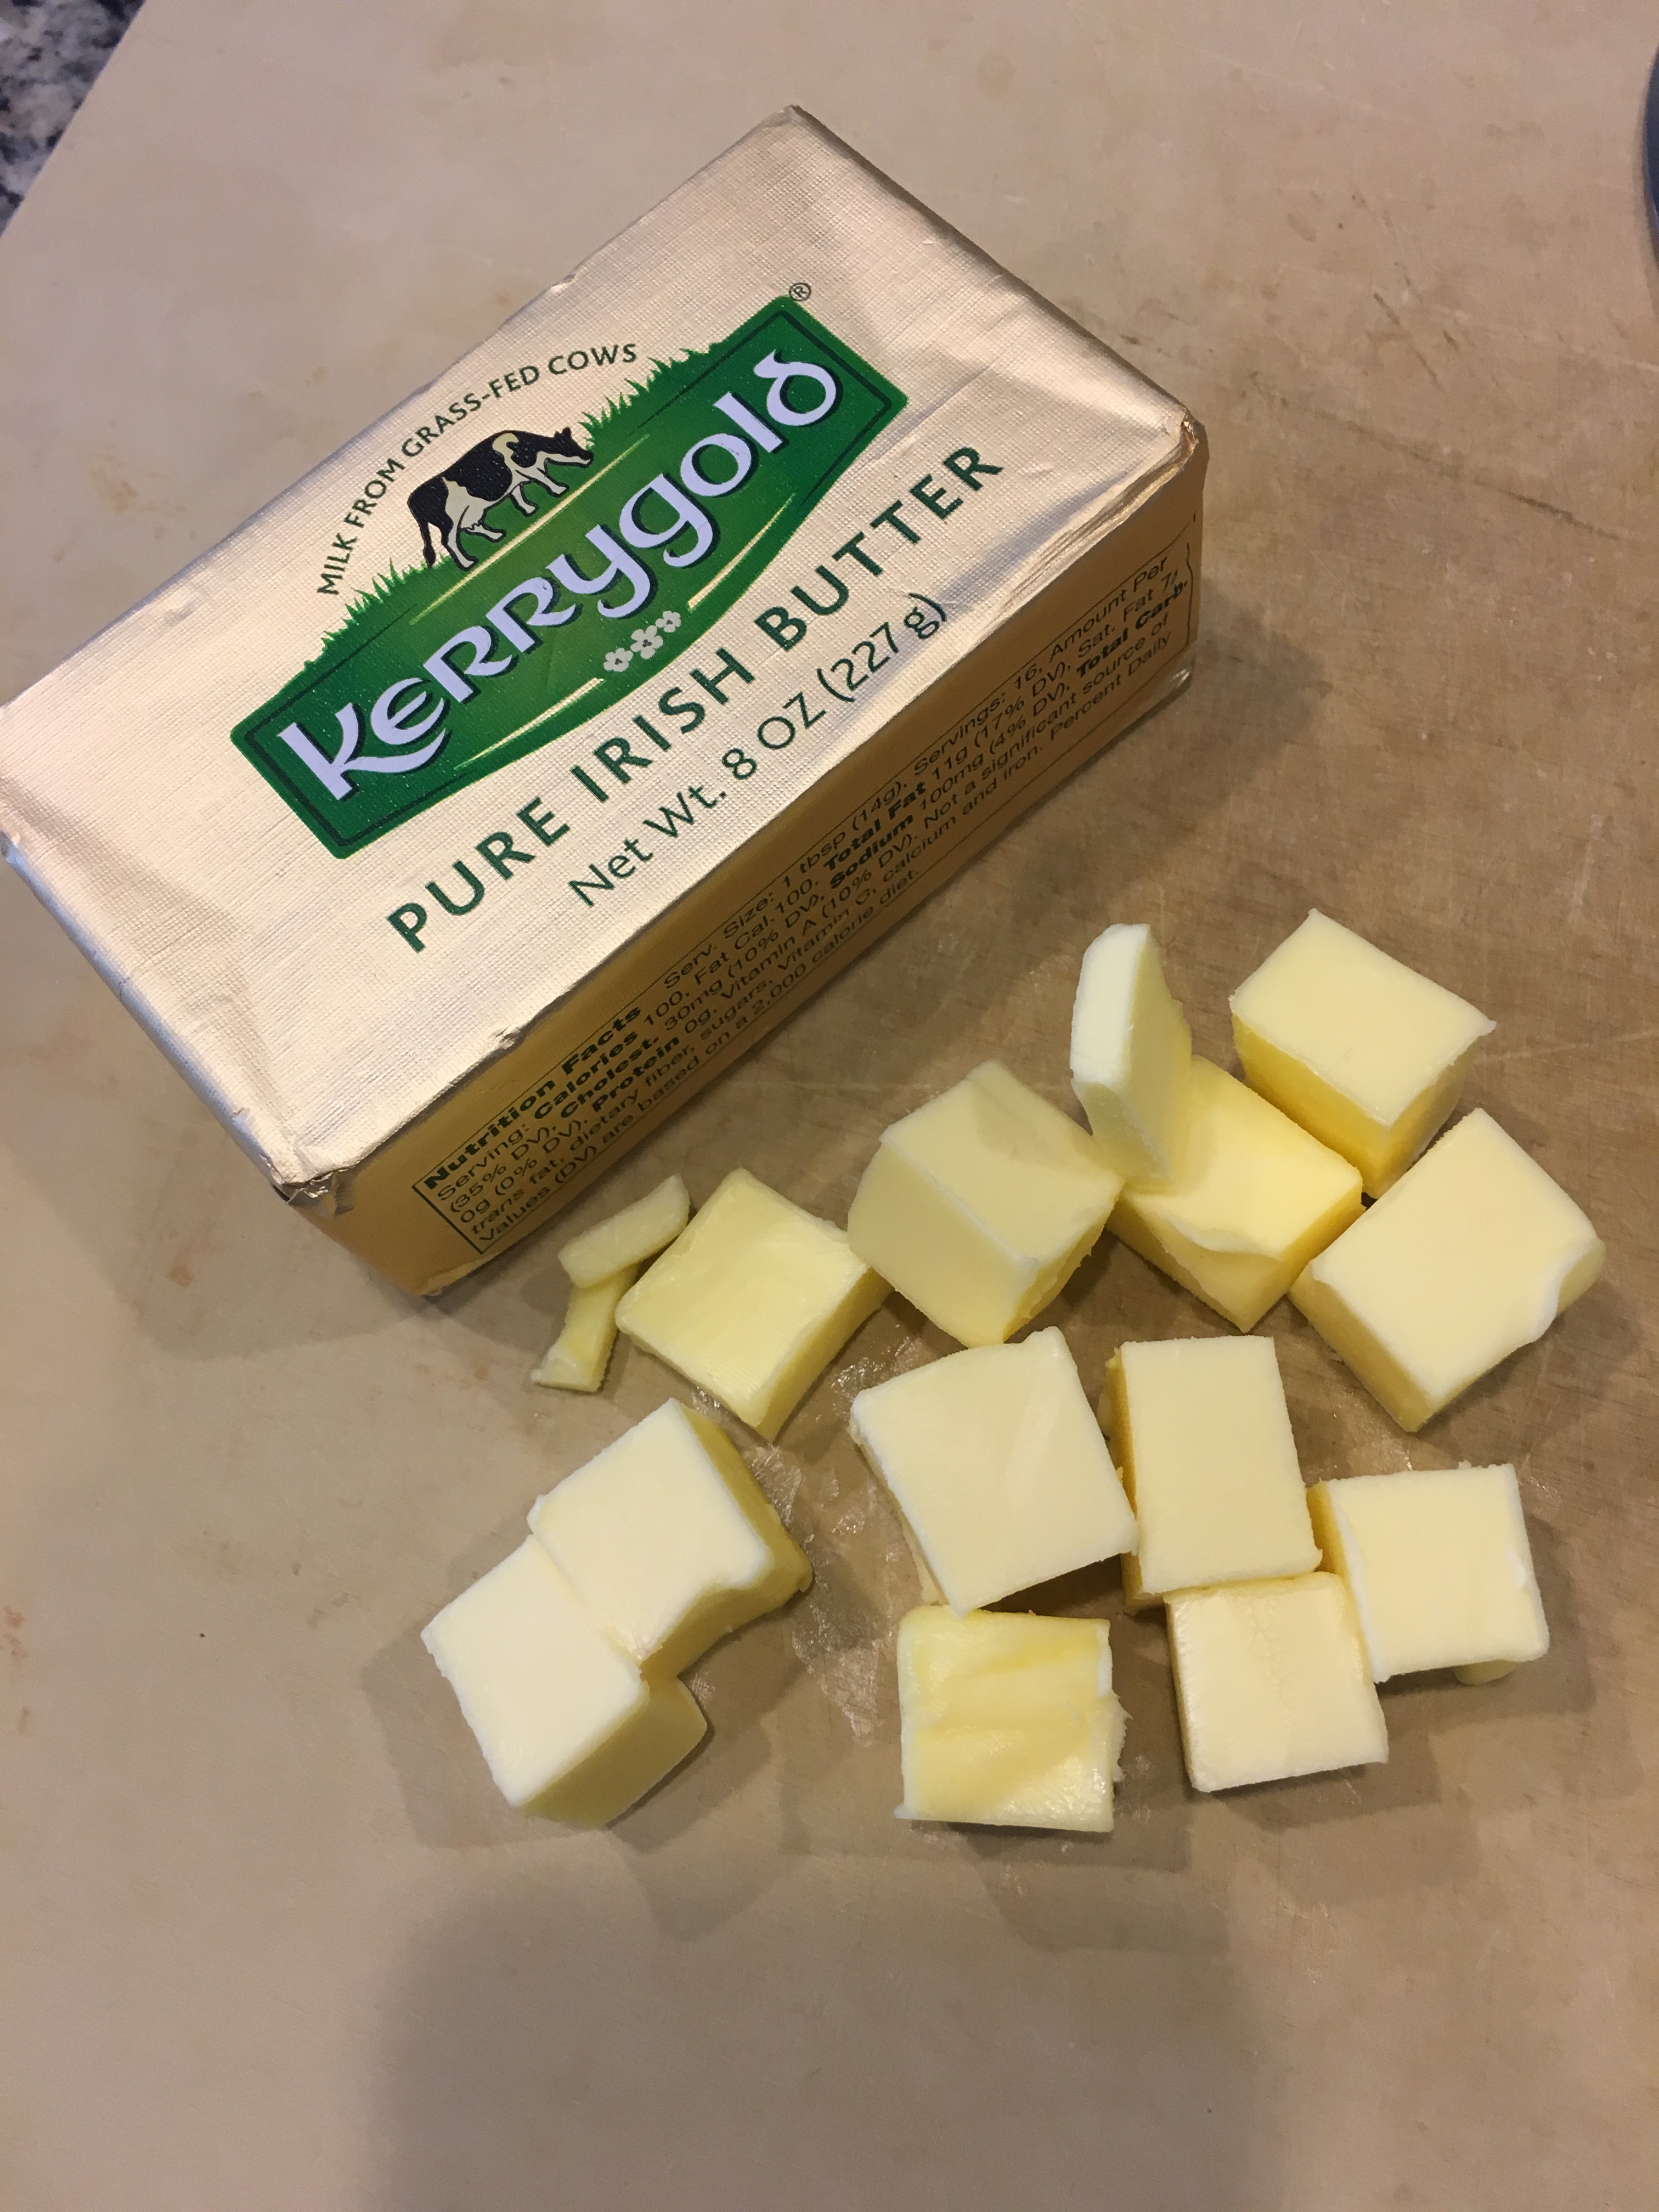
1/4 c melted butter or ghee
6 extra-large eggs, room temperature
6 TBSP sweetener of choice (I recommend maple syrup)
Dry ingredients
3/4 c coconut flour
1 1/4 c almond, hazelnut or cashew flour
3 scoops collagen powder (optional)
1 TBSP pumpkin pie spice
1 1/2 tsp baking powder
3/4 tap sea salt
1/2 tsp baking soda
optional add-ins:
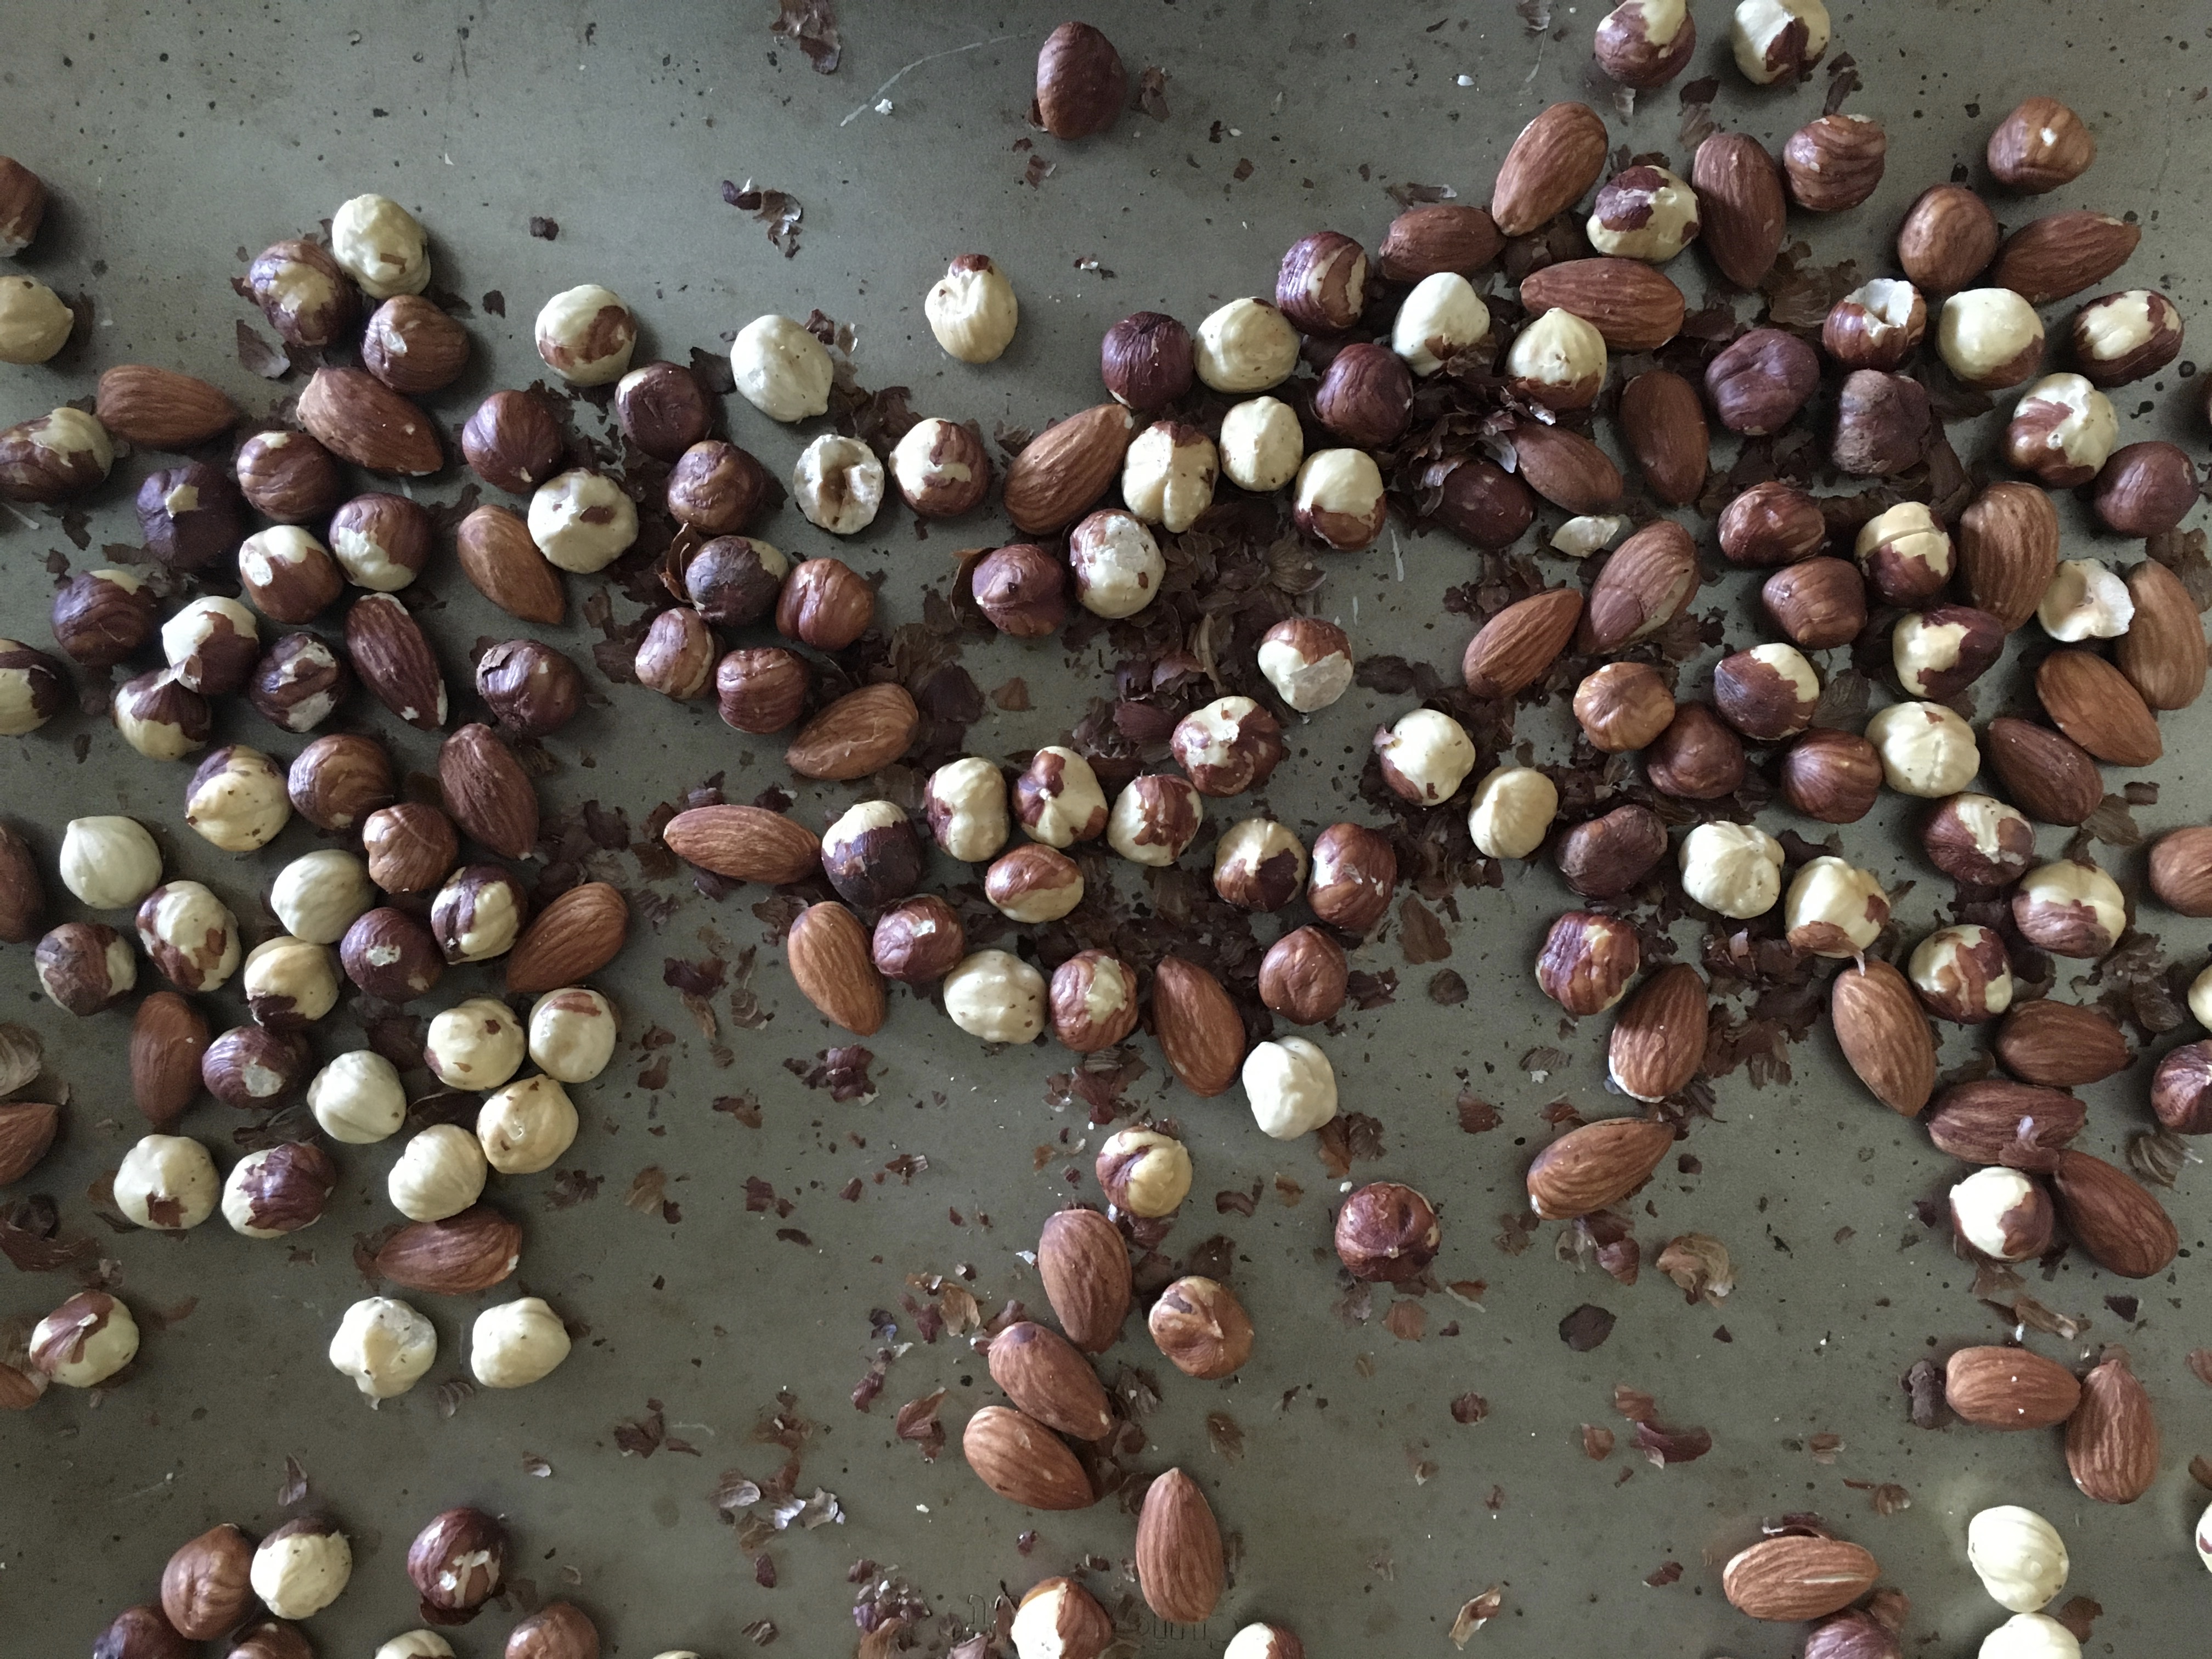
1 c walnuts or pecans, toasted & roughly chopped, dried cranberries, chocolate chips or diced apples
Instructions:
Preheat oven to 350°.
In a small bowl, whisk together your dry ingredients. In a large bowl, whisk together your wet ingredients. Add the dry to the wet, and whisk until fully combined. Using a rubber spatula, fold in any add-ins. Grease 2 loaf pans and line with parchment paper. Pour in batter, smoothing the top, and decorate with a scattering of any add-ins you’re using. Bake for 40-45 minutes until a cake tester inserted into the center of the loaf comes out clean and the top of the bread is firm to the touch. Let cool on a wire rack.
*Note, after a day this bread should be store in the refrigerator because of the high moisture content.*


 rice, apples, and bitter melon.
 he was the only one to sacrifice her chocolate for my raisins.
 tried to get them to sit in a circle to play duck-duck-goose, but as I joined hands with them and tried to have them move into a circle, it instead resulted in them swarming me – a sea of kids pushing me in all directions, and then playing tug of war with each other’s arms.
 said we could bring them with us the next day to the Christmas party in Payatas.
 als on school bags, water bottles, coloring books, and school supplies for the 40 kids at the school.
 one of the girls was literally wearing boots with fur!
  ards for the children in CCT’s boarding school in Malungon.